
How to Crochet a Magic Ring: Amigurumi Fundamentals [Video Tutorial]
Learning how to crochet a magic ring is the most important step in your amigurumi journey. It is THE foundational skill, but don’t worry, it’s not difficult and I’ll be with you every step of the way.
I am so excited for you. Like seriously excited for you.
Crocheting amigurumi was something I thought only “other people” could do.
But once I realized that toy making was just a series of simple skills all put together, a lightbulb went off. This WAS something I could do.
I want you to go through this series and master each technique. These skills will build upon one another and in no time you’ll be crocheting the cutest animals and dolls.
I use the word skill purposefully. Many folks think crocheting toys is a talent and I’m here to tell you that it’s not. It’s a practiced skill, the more you practice, the better you’ll get.
So let’s go ahead and get started before I continue rambling on and on….. That happens a lot around these parts, lol.
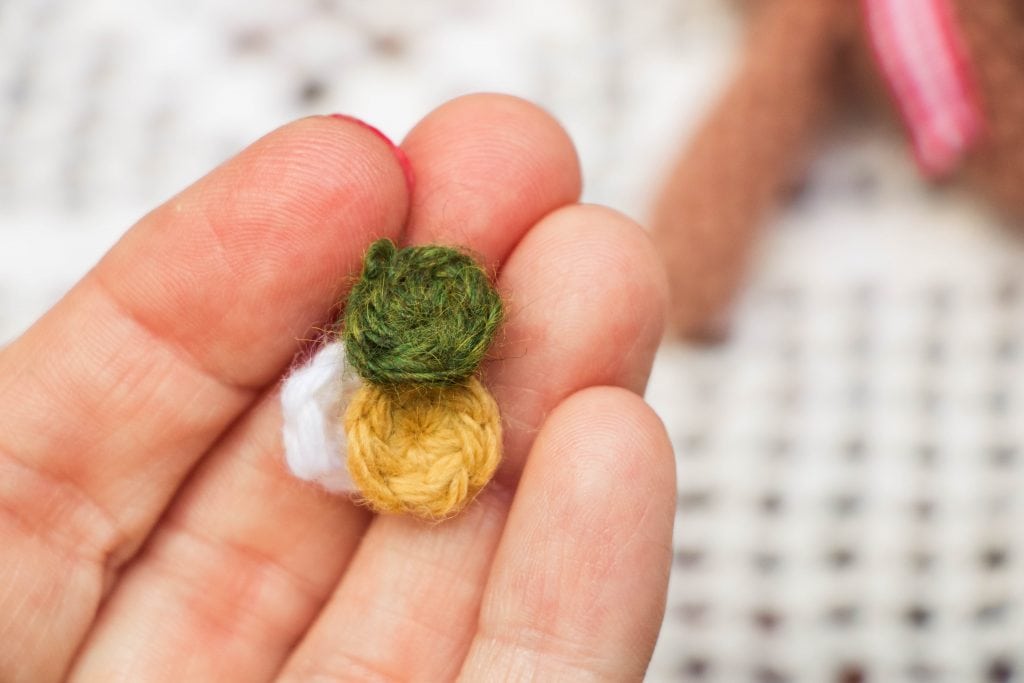
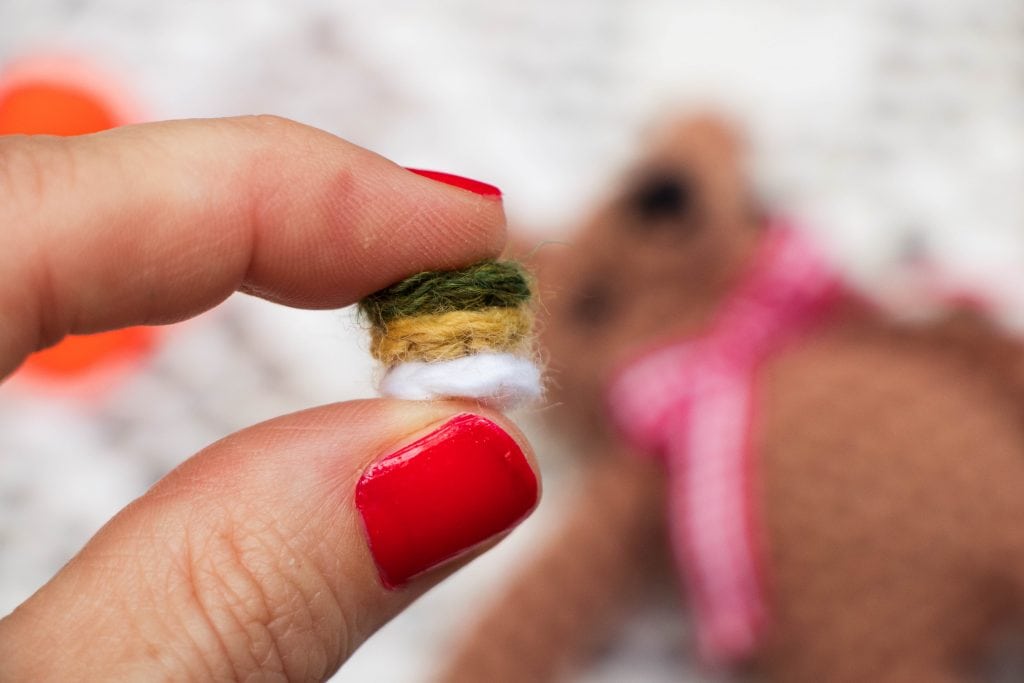
Most of the time you will not finish a magic ring, after only one round, like these pictured above. You may need to do this if you are making little appliqued cheeks for toys, but you will most likely use the color pink for them.
I just thought they were too cute not to show you. Why are teeny tiny things always so adorable?
Amigurumi Fundamentals
In this new series, I will be sharing the fundamentals of amigurumi and we are going to begin with the magic ring.
The magic ring is also known as the magic circle. The terms are used interchangeably. It is used for creating circular shapes in many different crochet projects.
But for our purpose we are learning how to do it so that we can crochet amigurumi.
The reason we use the magic ring, and not the chain method (which also creates a circle), is because it creates a tight ring without a visible hole.
The chain method is a common way to begin making granny squares where a nice space in the center of the circle is desired.
The Magic Ring
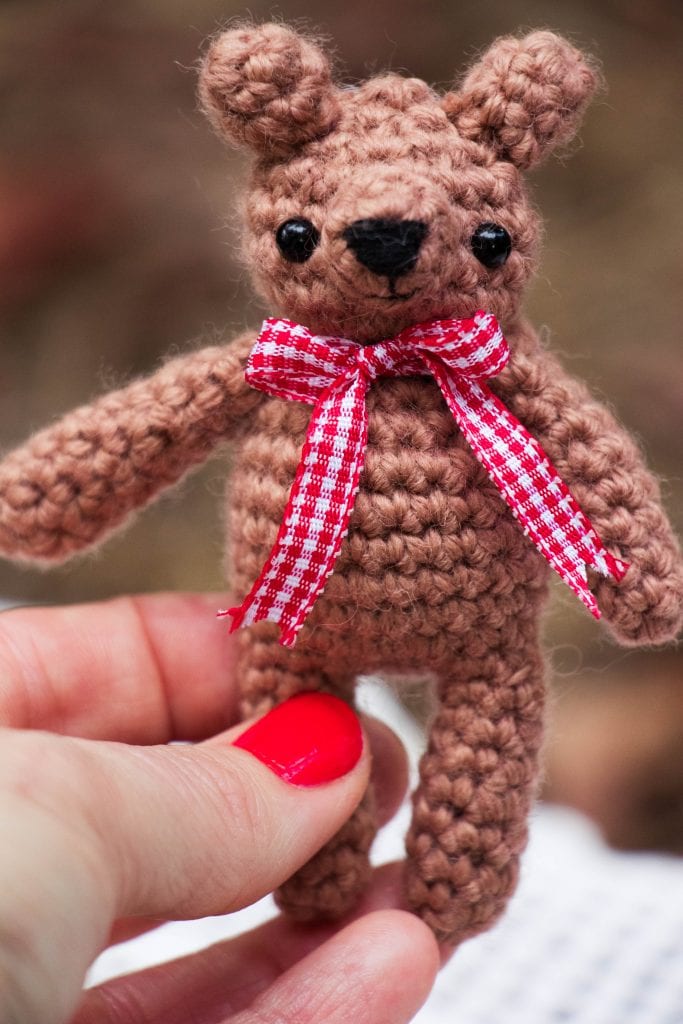
You won’t find many amigurumi patterns that don’t have a magic ring in it somewhere. In fact, I don’t think I’ve ever crocheted an amigurumi project without one.
Video Tutorial
Since I am right handed, this is a video for right handed crocheters. My daughter is left handed but she learned how to crochet right handed, so that she could use video tutorials much easier.
But I do realize some left handed people want, and need, left handed tutorials. There are some really good ones for the magic ring and I’m listing them here for you:
- BHooked video How to Crochet in the Round – (skip to 11:10 for the section about how to crochet a magic ring)
- Planet June – Magic Ring for Crochet Left Handed Version
- Crochet Guru – Crochet Magic Circle Left Hand Stitch Guide
Yarn and Hook
I am using a worsted weight yarn and 3.5 mm crochet hook, which I use for almost all of my amigurumi projects. You can use whatever yarn you have and an appropriate hook size for that fiber weight.
This post contains affiliates links and at no cost to you I may earn a teeny tiny commission if you choose to purchase them. Please know that I only recommend products I use and love! Thank you for supporting Le Petit Saint Crochet! You can read my full (and slightly boring) full disclosure here.
These are the specific materials I used in the video to make the magic rings.
Crochet Hook for the Yarn Weight Cheat Sheet
Selecting the right size hook for the yarn weight is really important. There is some wiggle room for sure but somewhere in the ballpark is necessary.
This is an amazing cheat sheet from Joy of Motion Crochet and it will help guide you to the right size hook for the yarn you have on hand.
Also check out my Amigurumi Yarn Recommendations to find yarns that are perfect for toy making.
I hope you found this tutorial helpful and make sure to check out some of the other posts I have mentioned. Once you get bitten by the amigurumi bug it’s hard to get rid of it, not that you’d want to anyway.
When you learn how to crochet a magic ring you be well on your way to making adorable amigurumi toys.
Happy Stitching!
Pin for Later!

![How to Crochet Amigurumi [Video Tutorial & Free Pattern]](https://eliserosecrochet.com/wp-content/uploads/2021/04/How-to-Crochet-Amigurumi.png)
![How to Crochet a Mini Birthday Hat [+ Video Tutorial]](https://eliserosecrochet.com/wp-content/uploads/2021/07/How-to-Crochet-a-Party-Hat.png)

6 Comments