How To Photograph Amigurumi
Everyone loves sharing their finished objects, especially when it comes to amigurumi. When you’ve worked on a crocheted toy for hours, it’s only natural to want to share it with the world. Taking a good photo is the best way to showcase all that hard work. In How to Photograph Amigurumi, you’ll find tips for taking photos and finding your own photography style.
Taking photos of your finished amigurumi is part of the creative process. You’ve worked so hard to crochet or knit your adorable toys and now it’s time to show them off.
Let me start off by telling you that I am NOT an expert. But I do have a little experience under my belt and have made a mistake or two (or five hundred, hehe). I’ve also stumbled upon a few tips and tricks along the way and I hope they will help you feel more confident when learning how to photograph amigurumi.
You’ll find my basic rules for how to photograph amigurumi at the beginning of this post. Further down there’s information about how to find your own photography style. You’ll find lots of inspiration when taking your own photos.
This post contains affiliate links and at no cost to you I may earn a teeny tiny commission if you choose to purchase them. Please know that I only recommend products I use and love! Thank you for supporting Le Petit Saint Crochet! You can read my full (and slightly boring) full disclosure here.
Watch the YouTube Video
How to Photograph Amigurumi
For the purposes of this post, I’m only giving basic information. If you’re interested in learning more about photography and using a DSLR camera, I highly recommend these courses:
- Product Photography Basics for Your Handmade Business by Kristina Turner
- Mastering Manual Exposure from Click Photo School
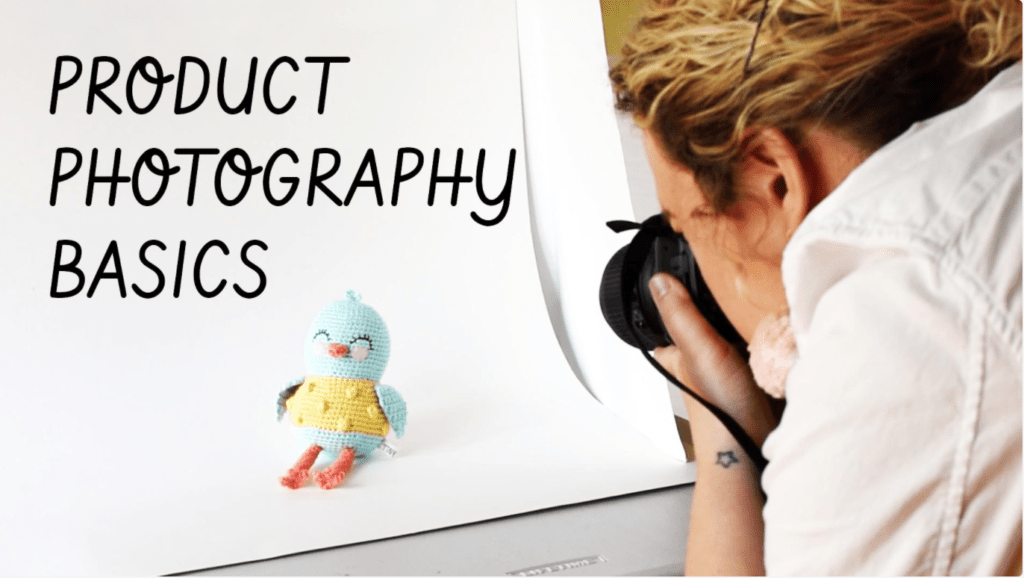
When learning how to photograph amigurumi, make sure to start with having a little fun. Amigurumi is whimsical by nature and being all serious and stuffy about it makes the process way more stressful than it needs to be. Start by being gentle with yourself and finding joy experimenting with photography.
My Rules for Taking Photos of Amigurumi
- Use natural lighting! If you only do one thing, this is it! DO NOT USE artificial lighting, unless you are an expert, but then of course you wouldn’t be reading this! Don’t put amigurumi in direct sunlight, which creates really harsh shadows. Indirect sun is perfect, like near a window or in a spot with a little shade or cover.
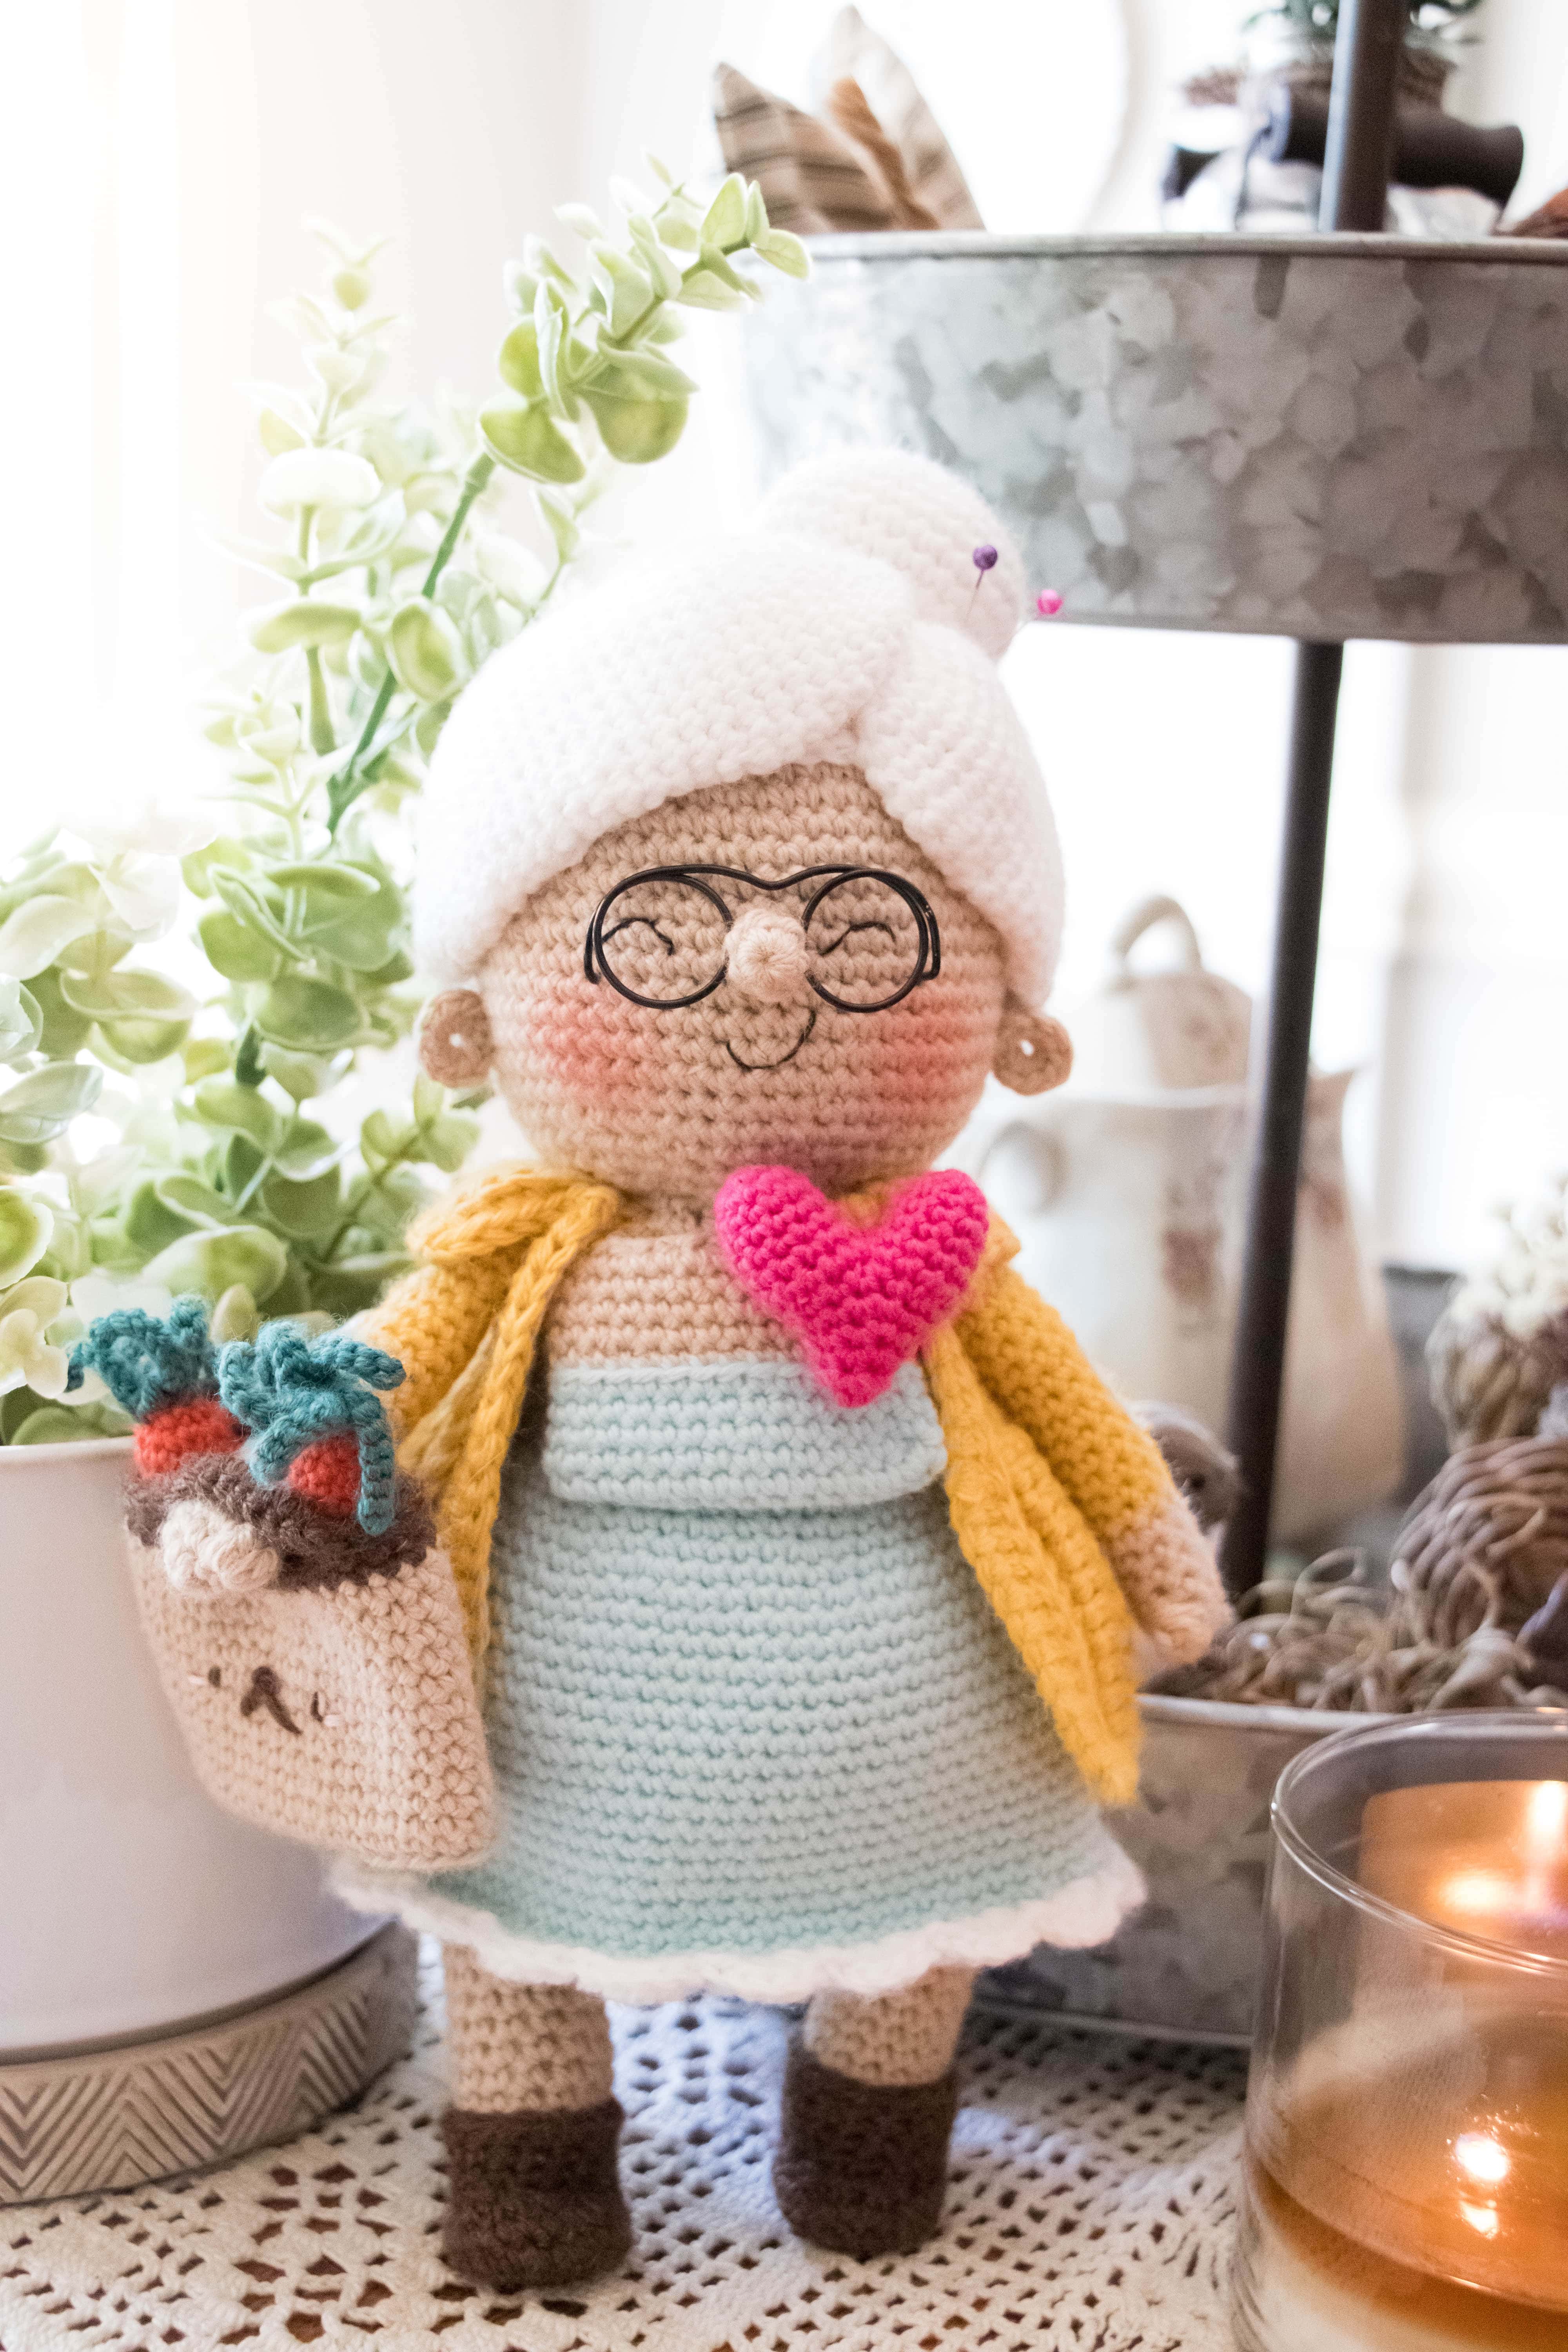
- Look at what is in the background of your photo. Is there dirty laundry in the corner? Is the cat in the litter box to the side? Did your husband walk through the front door just as you were taking the perfect shot? Background matters. Make sure everything in your photo is styled perfectly. Trust me when I tell you that you would be horrified if you saw what was off to the side in my own photos!
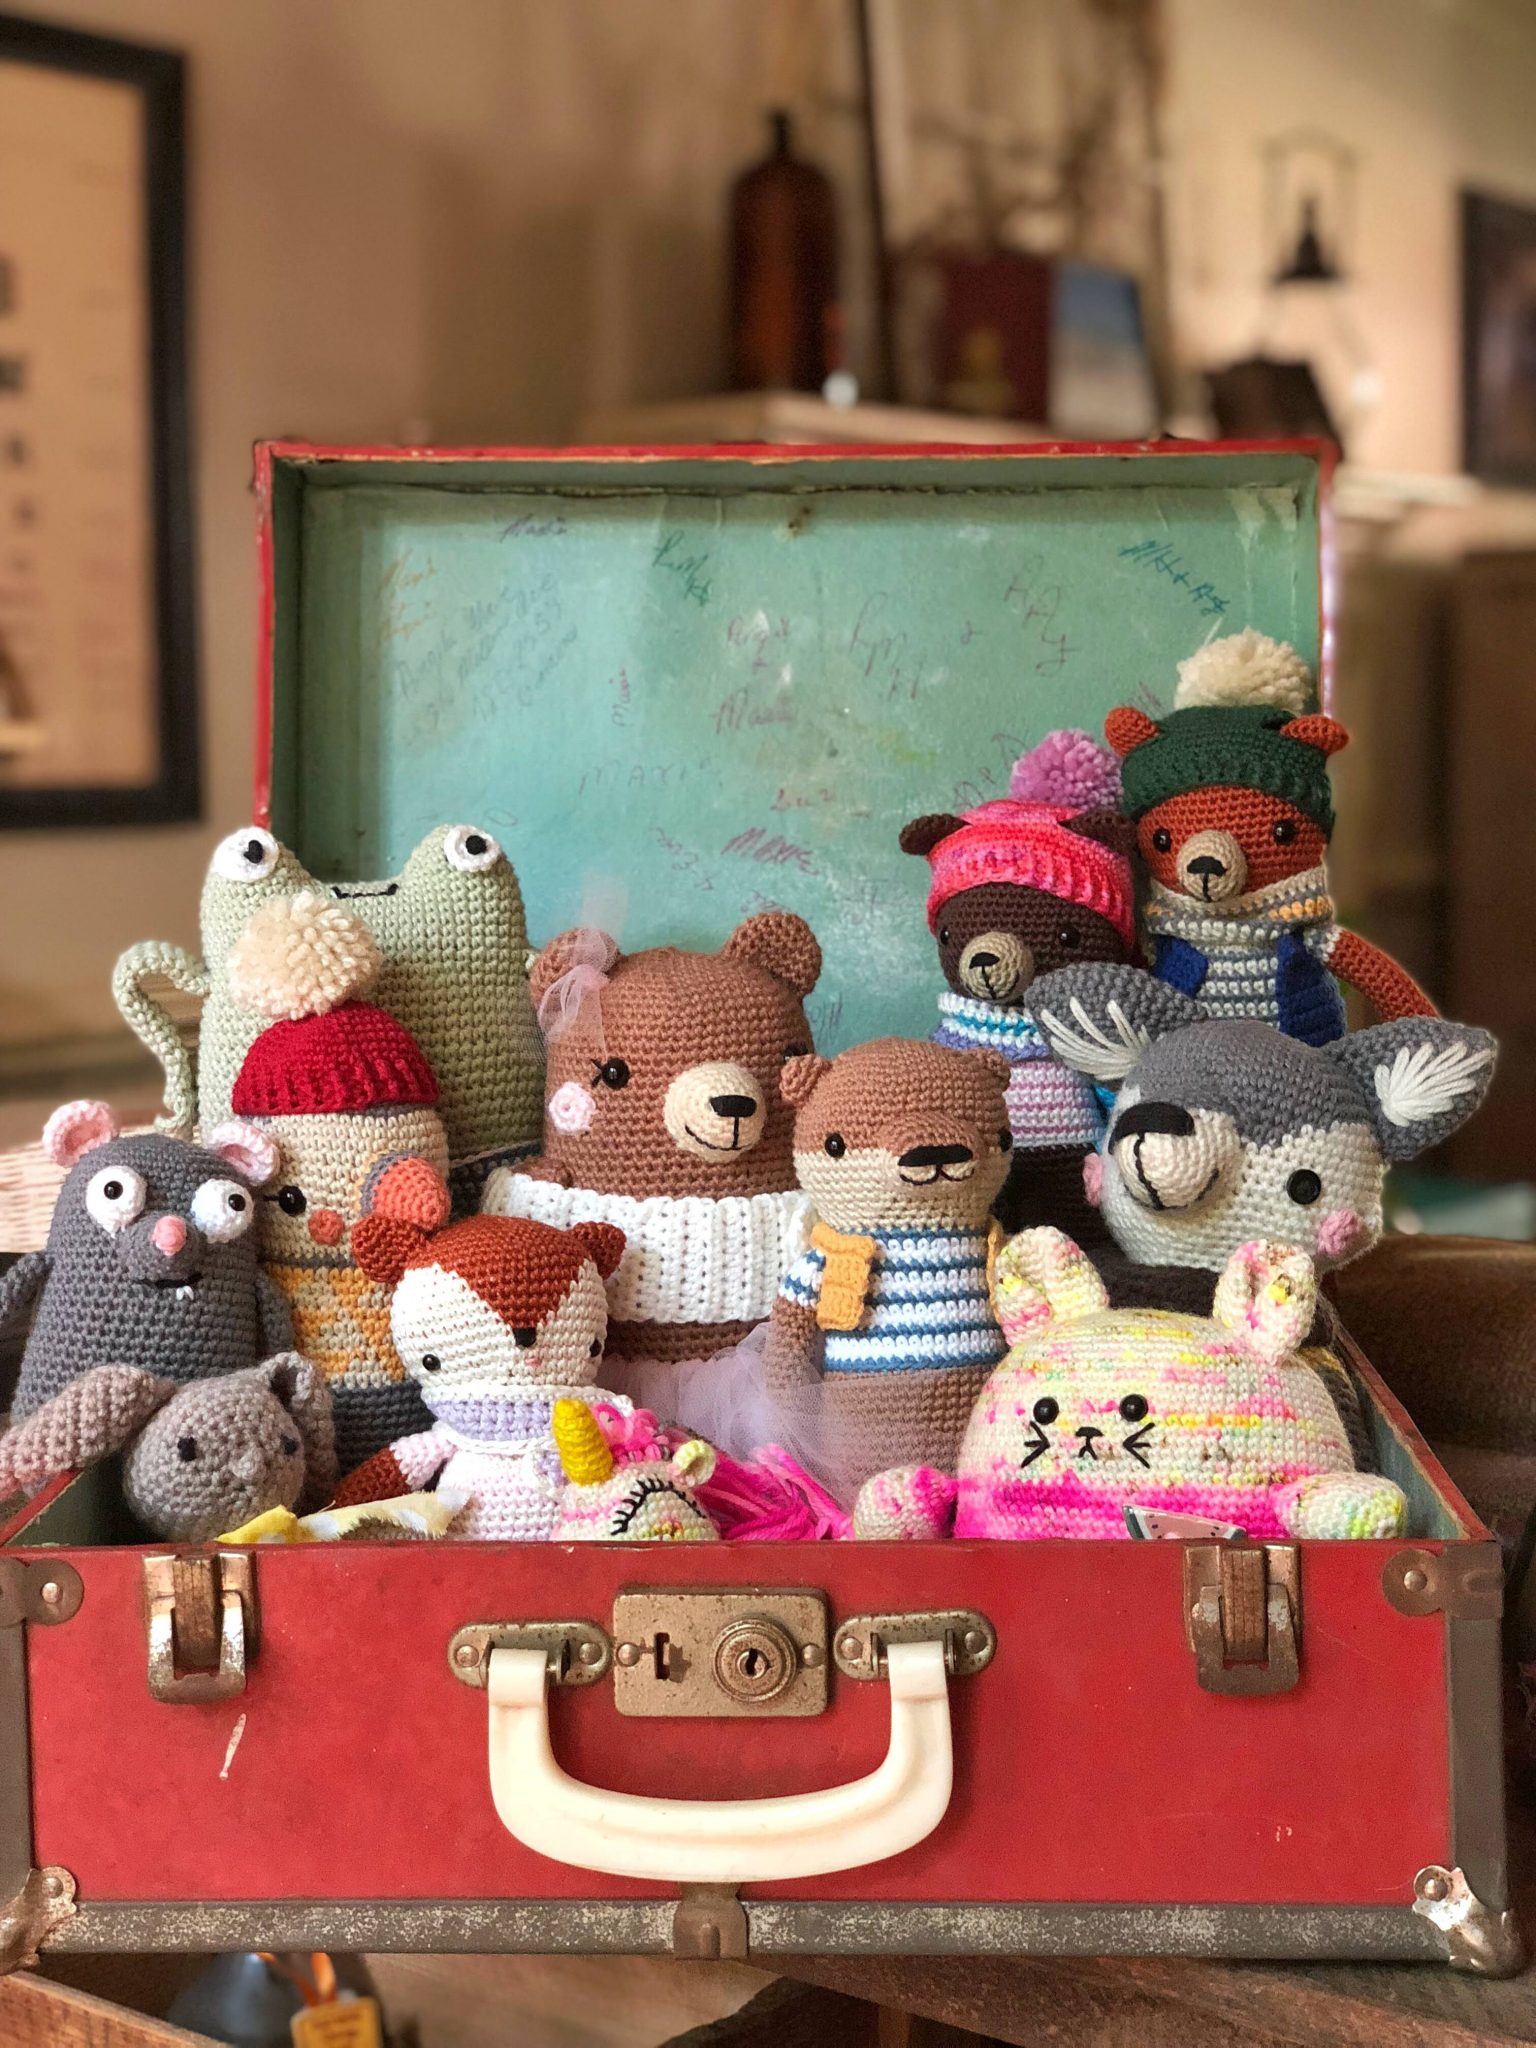
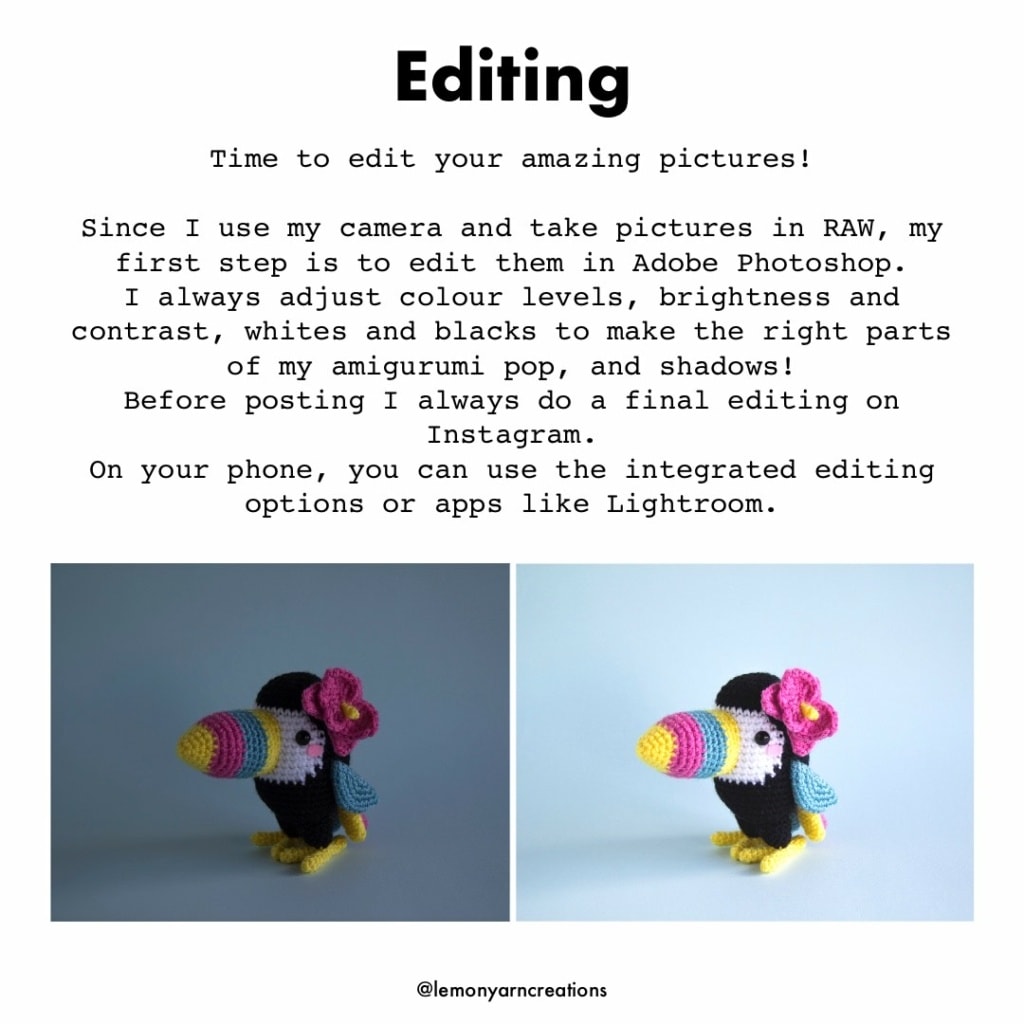
- Edit your photos. Learn a little bit about photo editing. I use the free app, Snapseed and I don’t use filters, but I do use tools. I adjust for brightness, sharpness, shadows, etc. If you have good lighting your photos typically won’t need much editing.
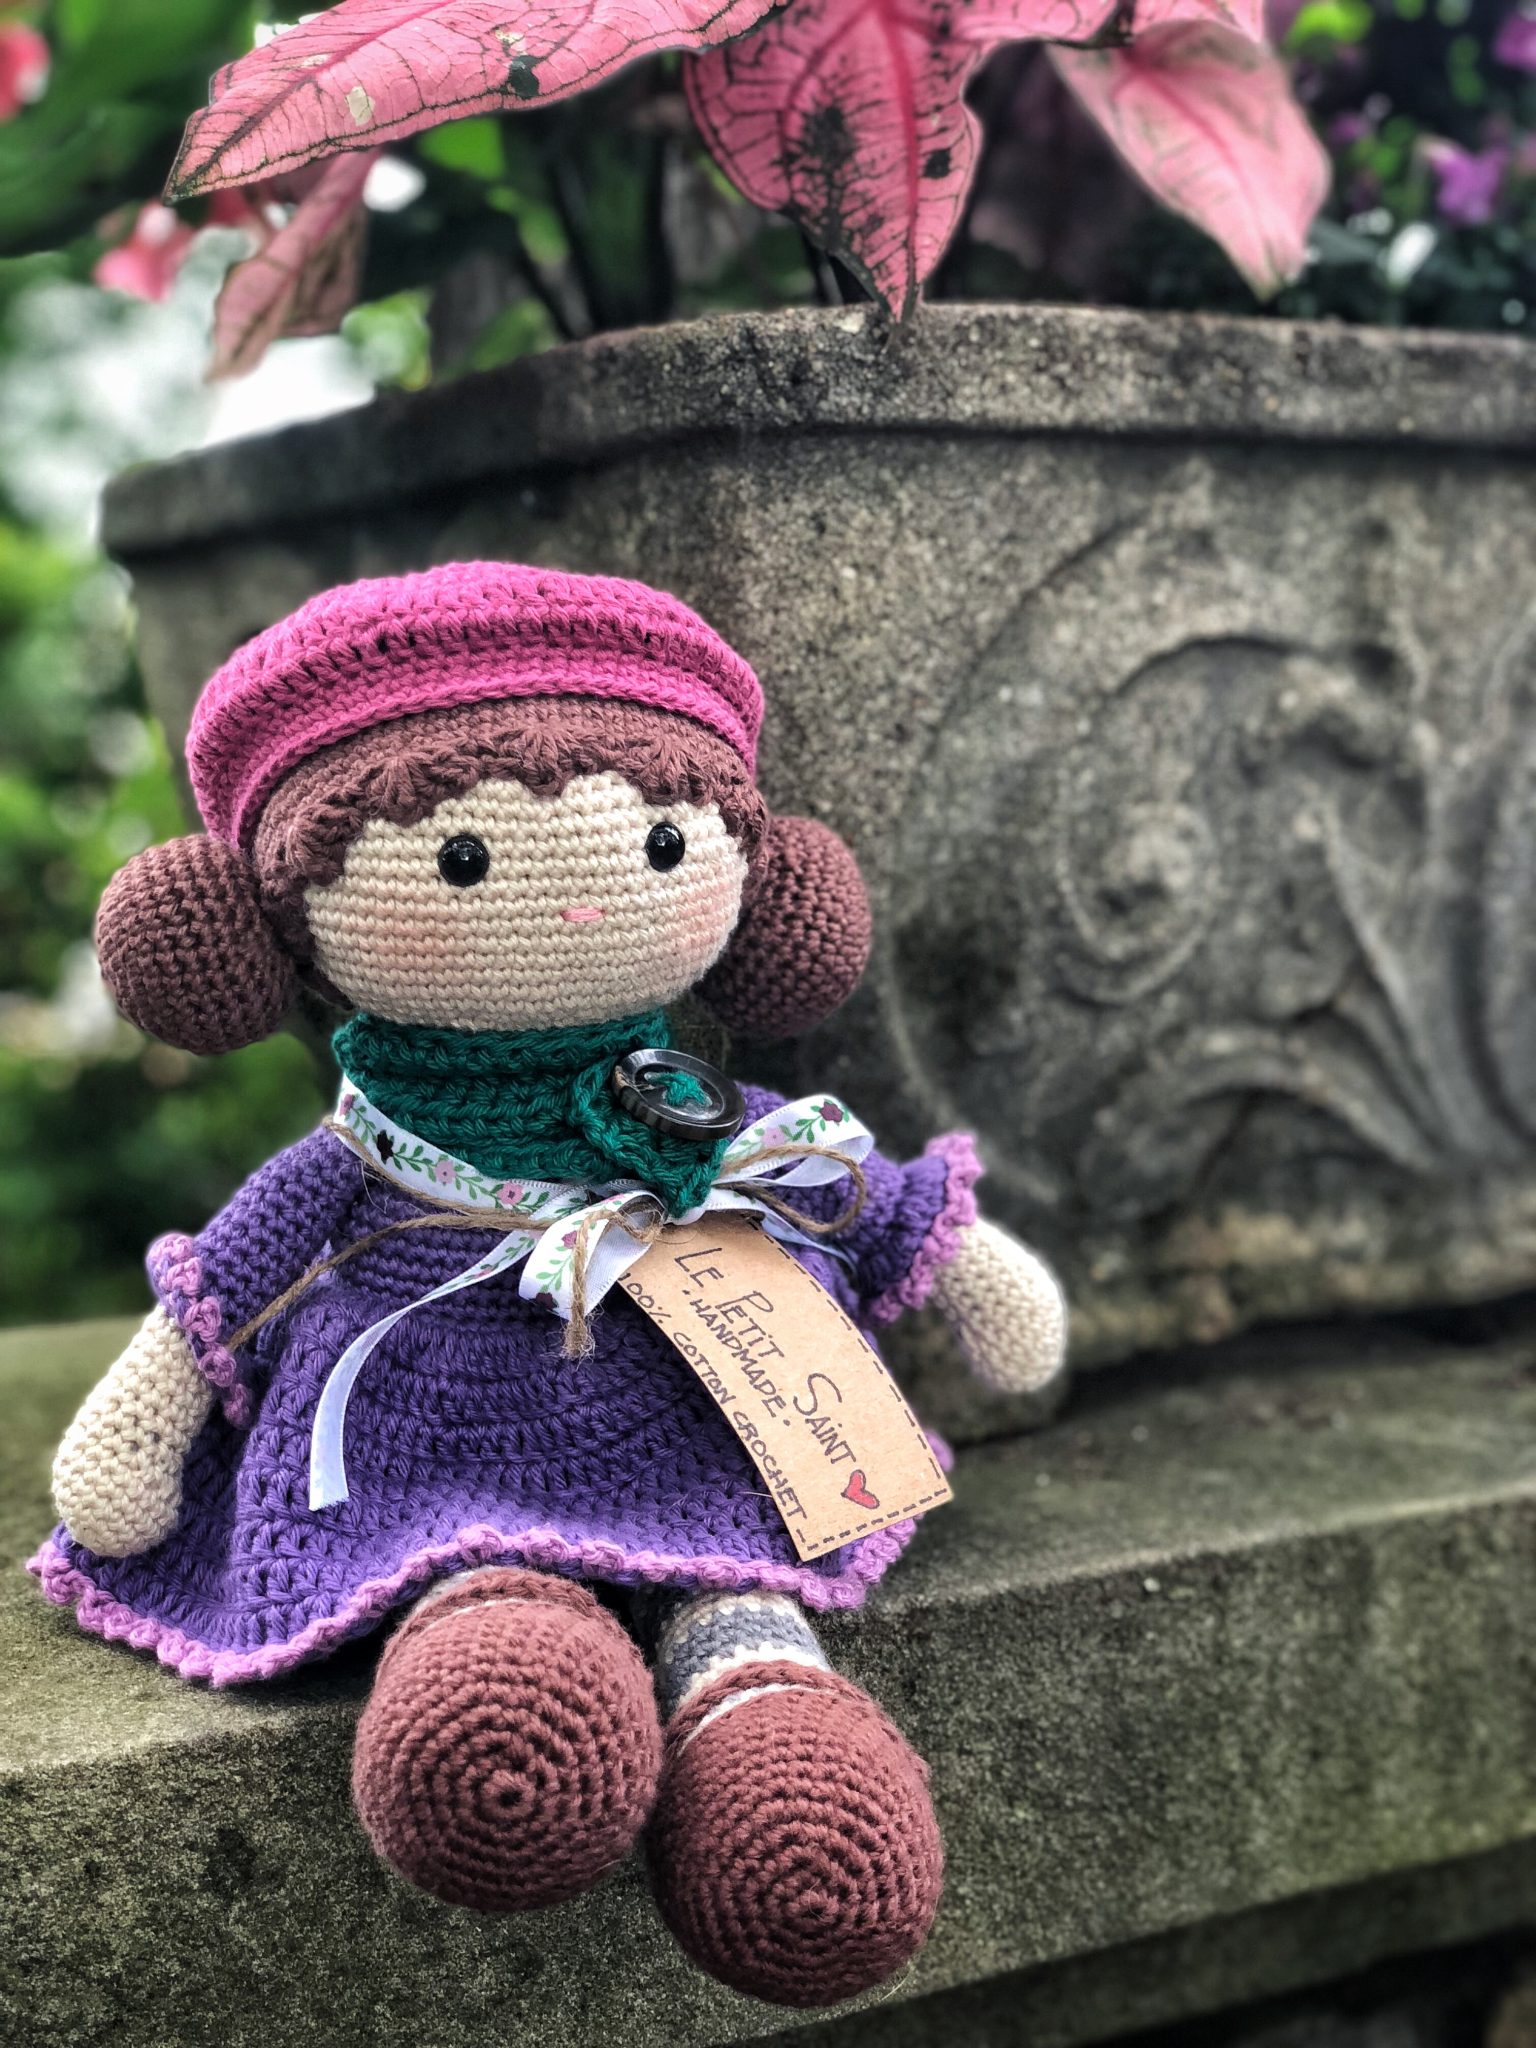
- Style your photos to make them visually interesting. Play around with props and putting more than one amigurumi animal in a shot. Use what you already have around your home to make your photos more interesting.
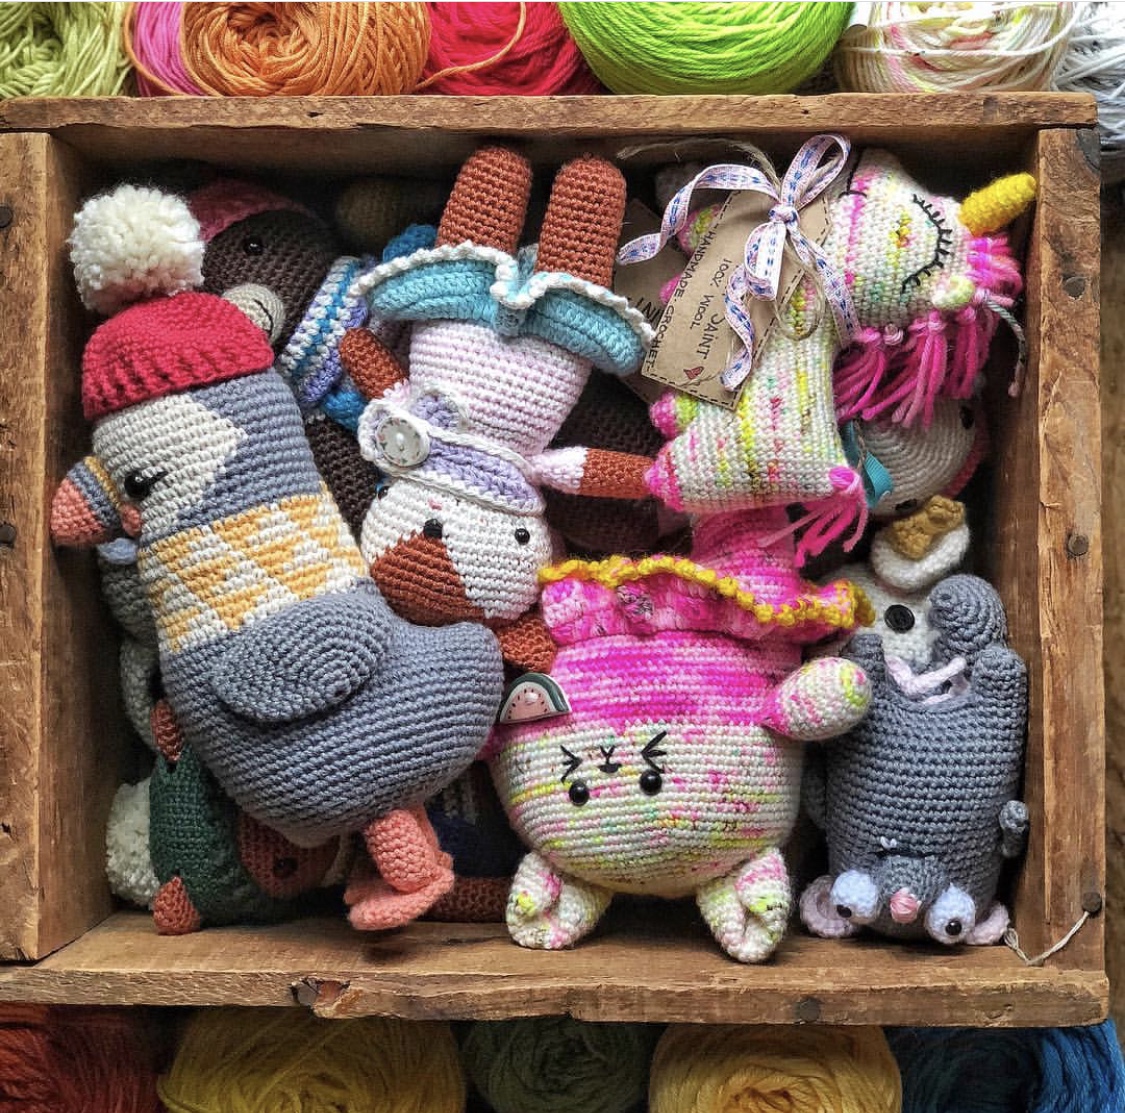
- Practice, practice, practice. I take dozens more photos than I ever actually use. Train your eye by looking at good photography, not just of amigurumi. Have fun! Be silly and willing to try ridiculous things! You might just get the perfect shot!
Finding Your Amigurumi Photography Style
Rules are great for taking your photos, but examples are the best way to find your own style.
Finding your own unique style will help you so very much when you go to take photos of your finished objects. You’ll find several amazing amigurumi photographers below, and some of them have shared their best tips when taking photos.
Finding Your Photography Style
I’ve identified two different types of photography style when taking photos of amigurumi:
- Clean
- Eclectic
I definitely fall into the eclectic category, but let’s dive a little further into what each of these mean. When looking at each of these styles, try to find the one that most resonates with you.
Clean Photography


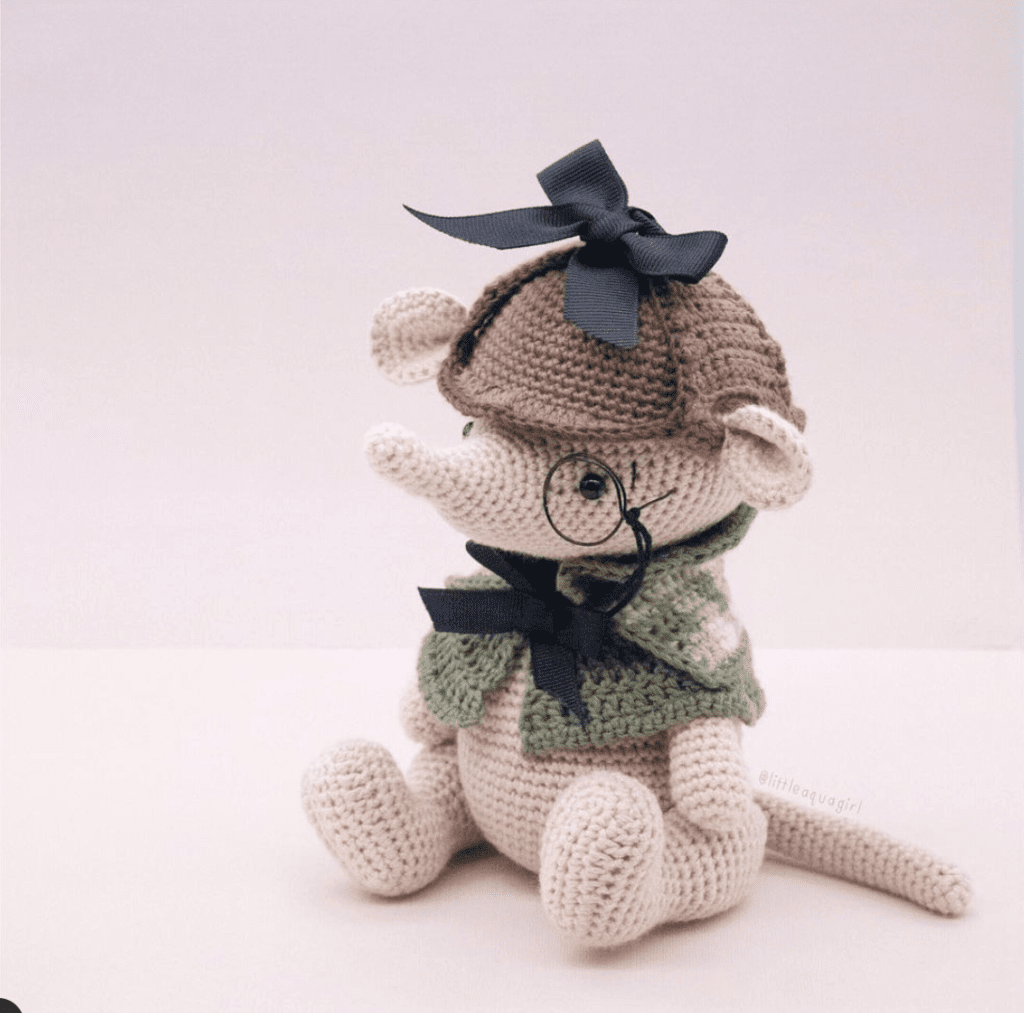
The best way to describe the “clean” style is to look at a few examples. Take Erinna from Little Aqua Girl, her photos are so clean, meaning uncluttered. Many of her photos are just of the toy themselves. There are very few props and the backgrounds are very similar.
Don’t confuse clean for boring, the Little Aqua Girl photos are anything but. They exude personality and whimsy.
Little Aqua Girl has a definite style and it looks amazing. You’ll also notice a ton of consistency in her color choices of her toys and styling.
More Clean Photography Inspiration
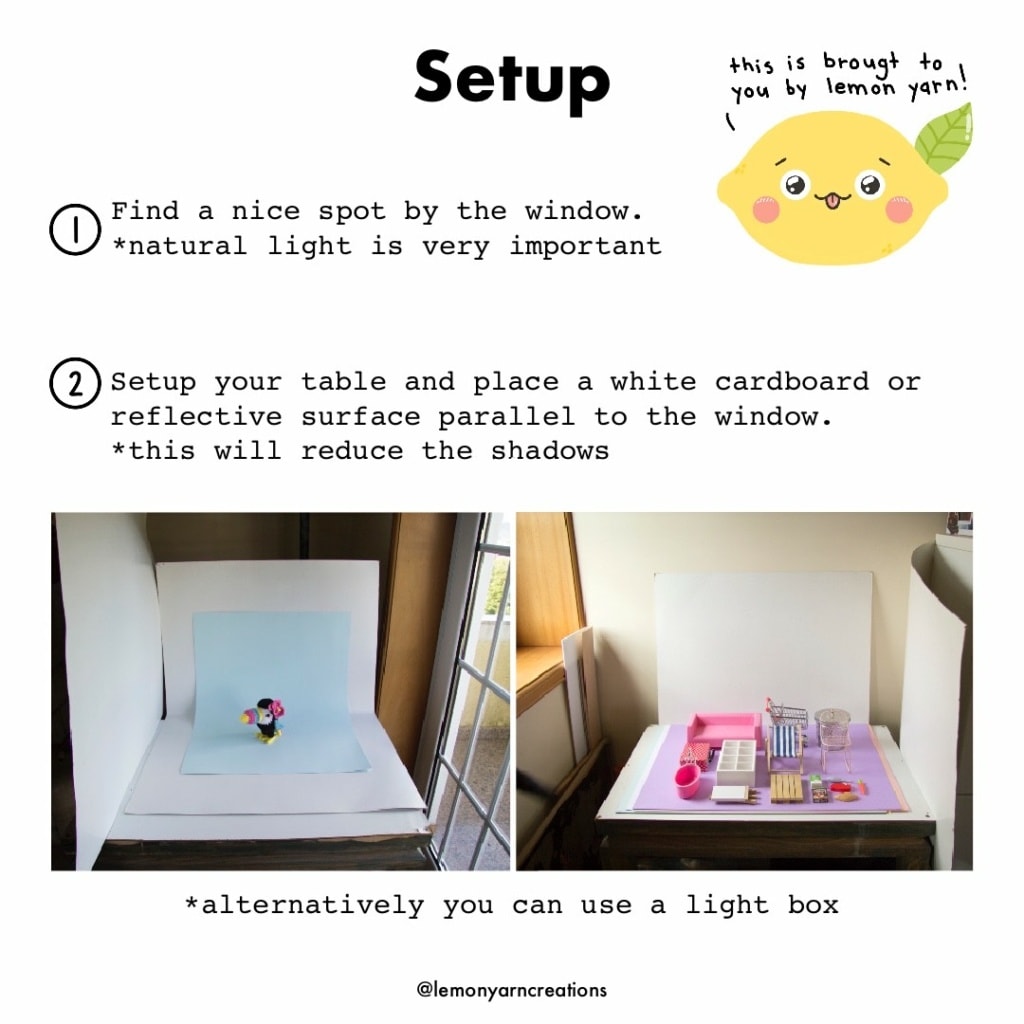
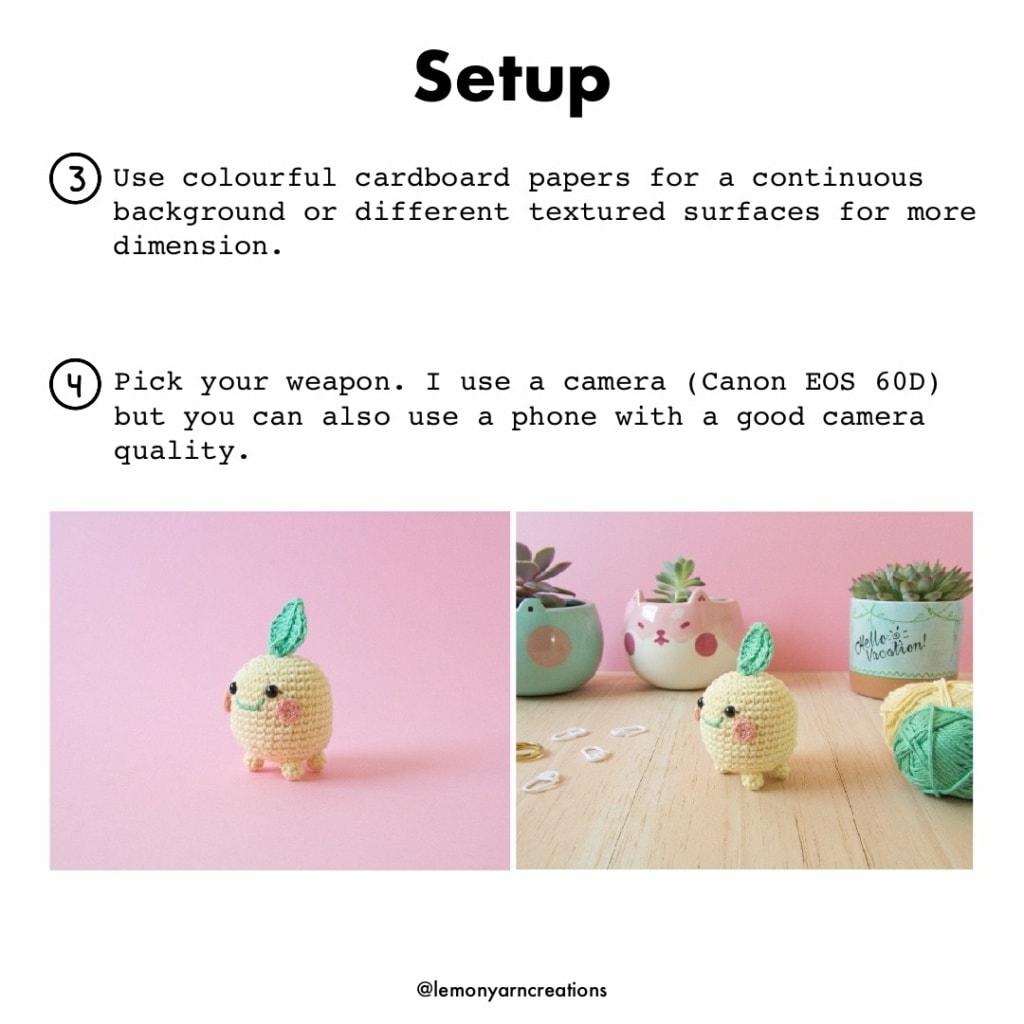
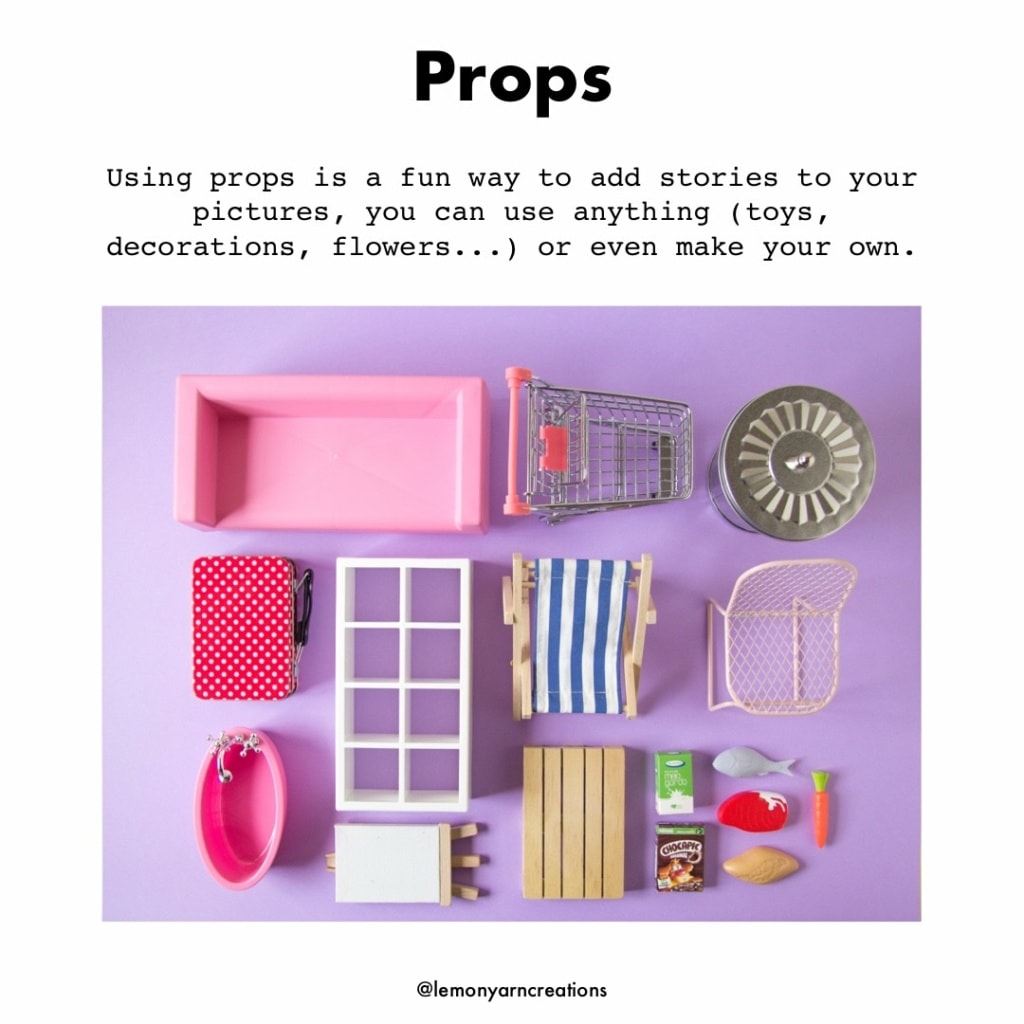
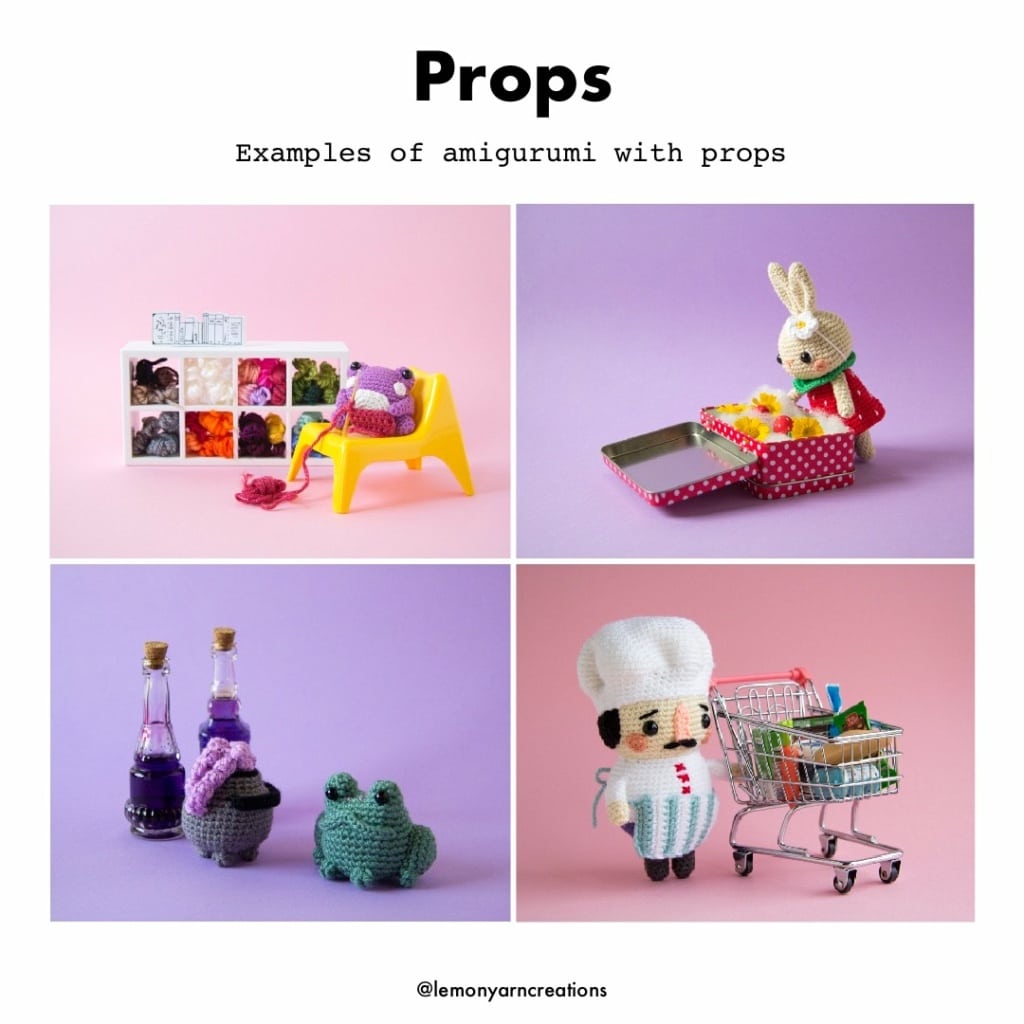
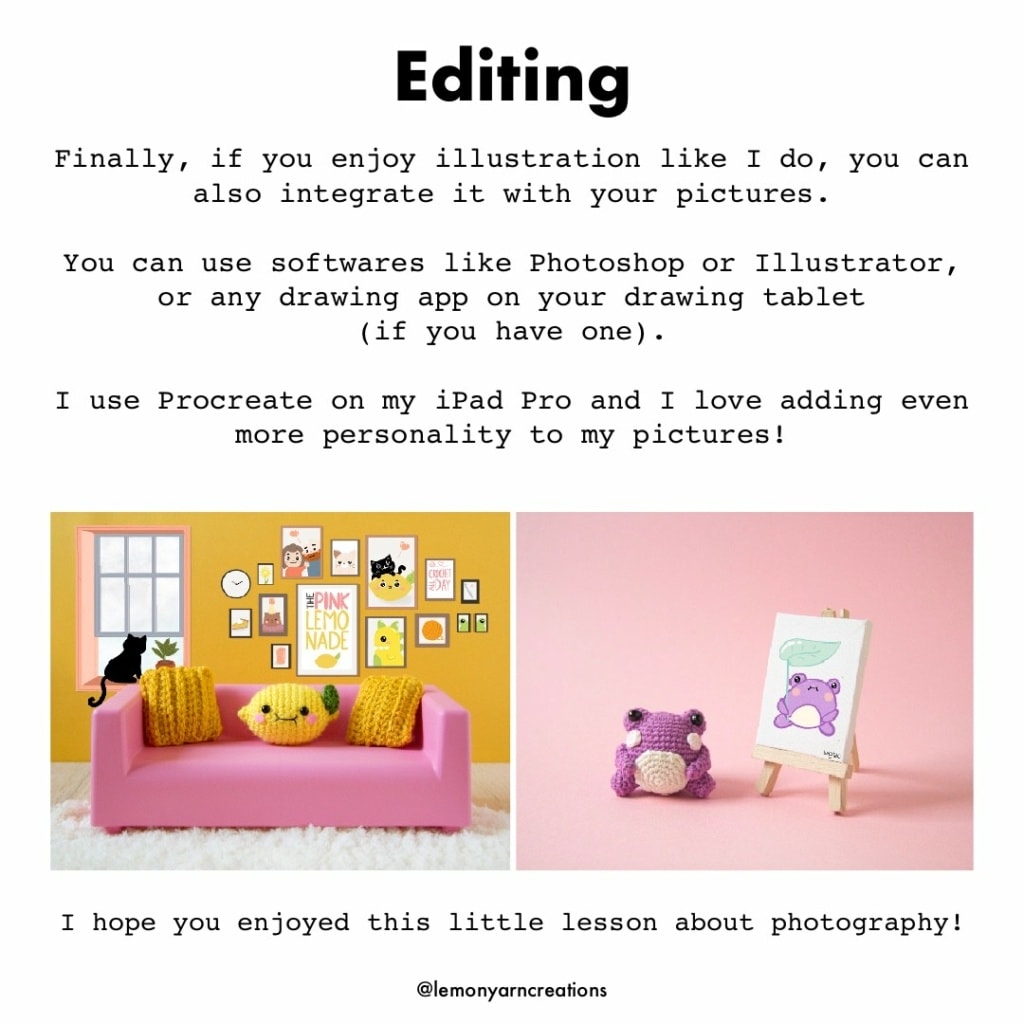
Andreia, from Lemon Yarn Creations has gorgeous photography, but she doesn’t stop there. She has her own advice about how to photograph amigurumi on her Amigurumi Showcase series on her Instagram account and she has graciously permitted me to share it here for you all. You must check it out!
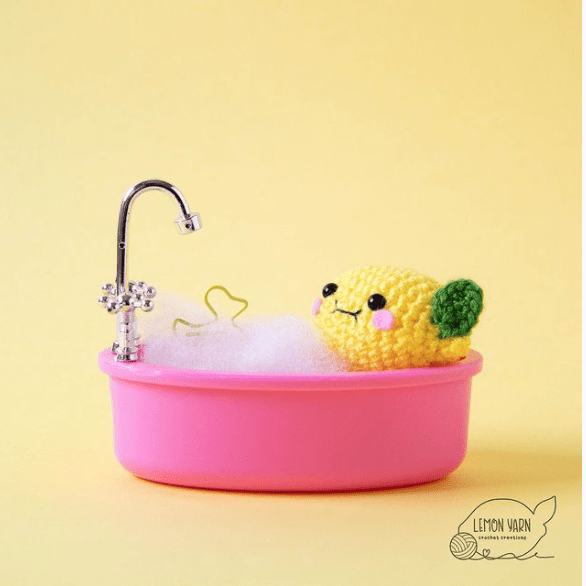
Click on the side buttons to see all of her wonderful tips for how to photograph amigurumi.
Here’s another example of the clean style of amigurumi photography. Foxy Crochet has such cute amigurumi designs and she takes great photos of them. They are great inspiration when trying to get that clean style photography.


Another example is from Jennifer from Super Cute Design. She has so many adorable photos of her amigurumi designs. Each one is brightly colored and is oh so cute! Her clean backgrounds are anything but boring. I love how she uses colored backdrops in bright, fun colors to showcase her amigurumi.


Eclectic Photography for Amigurumi
My own photos fall into this category and here you’ll find four different examples of this type of amigurumi photography style from Diana Patskun, Tecele, Sarah Dee Crochet and Forest Wool.
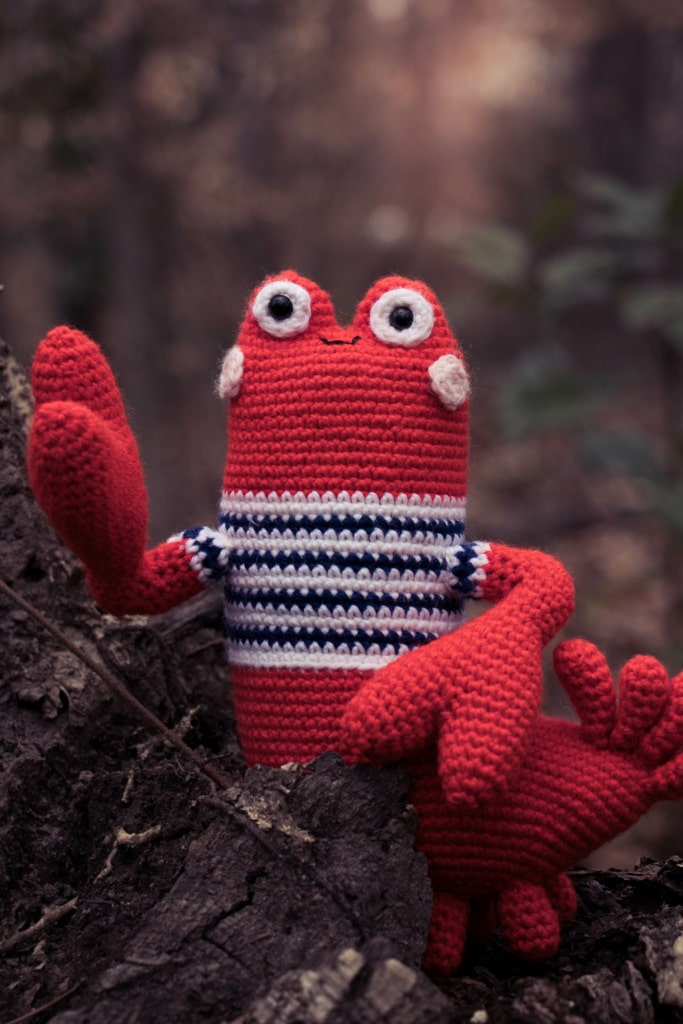
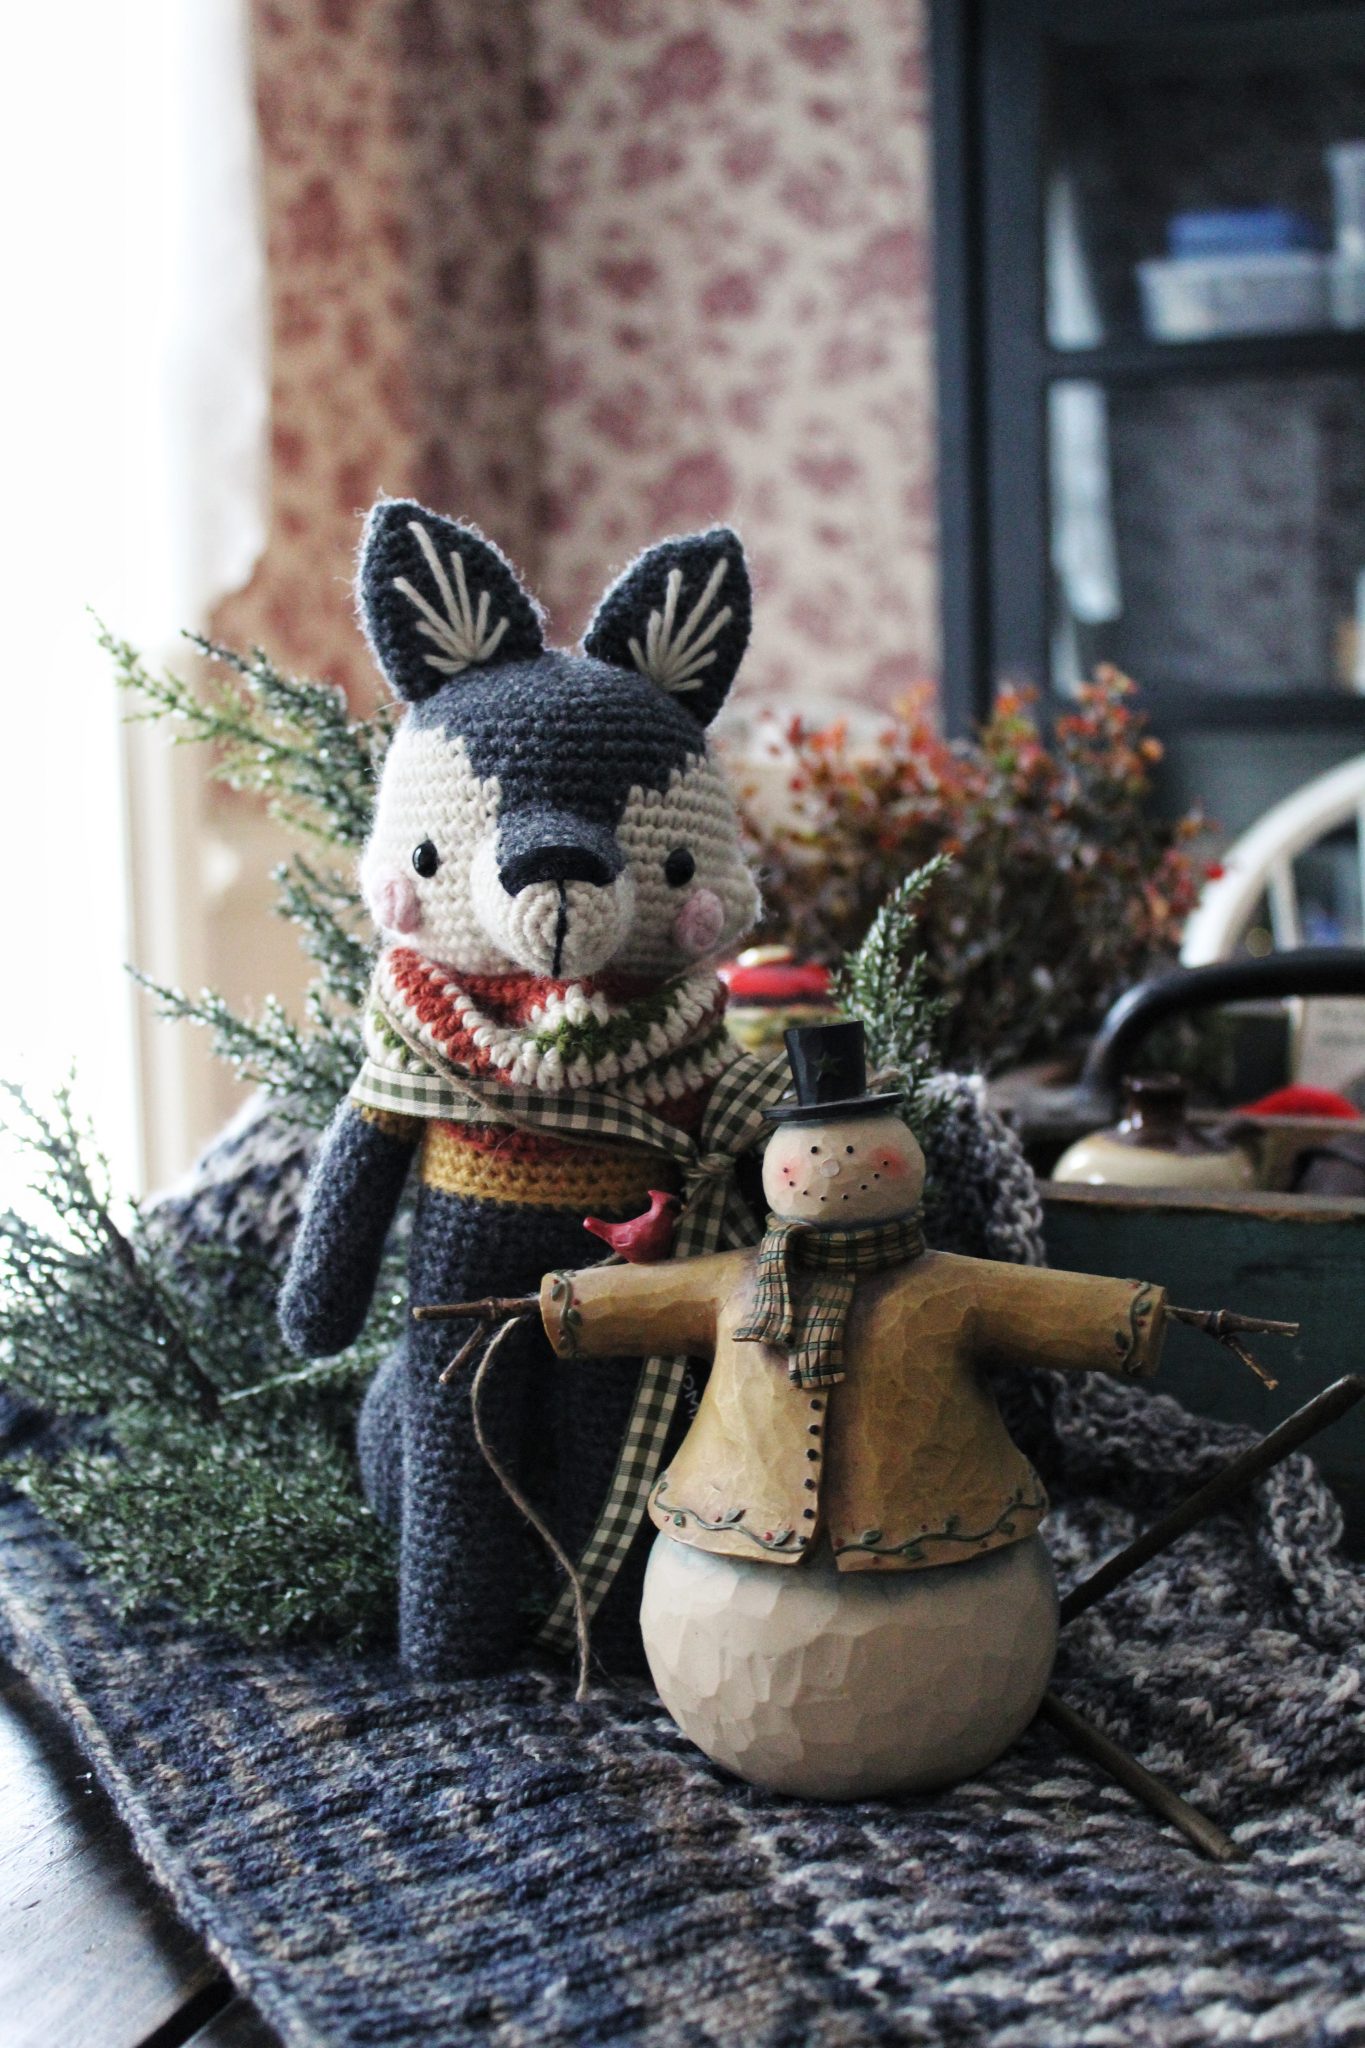
This style of photography has a lot more in the background or has lots of interesting props. The amigurumi is definitely the focus of the photo, but there are other objects of interest in the frame as well.
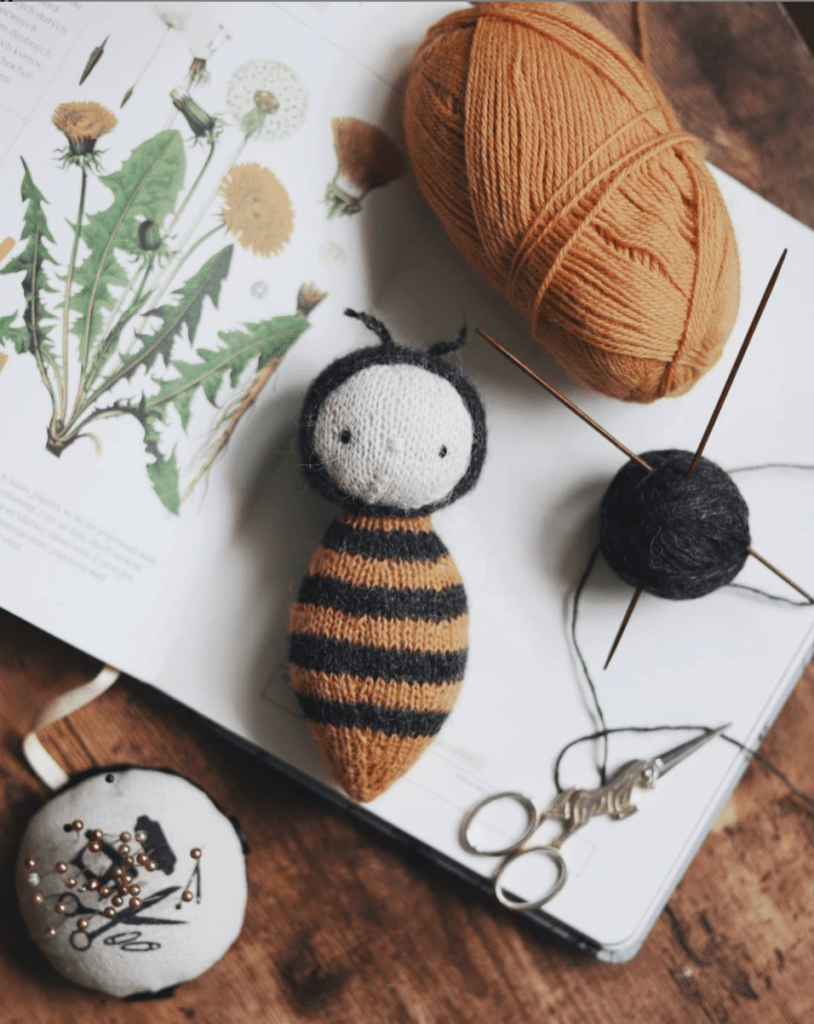
Diana Patskun is a master at eclectic photography for amigurumi. Each one of her photos is a feast for the eyes.
These photos tell a story. While the amigurumi is still the star of the show, there is depth and interest outside of the toy for the viewer to enjoy.


More Eclectic Photography Inspiration
Check out all these other amazing electic style amigurumi photographers for more inspiration.
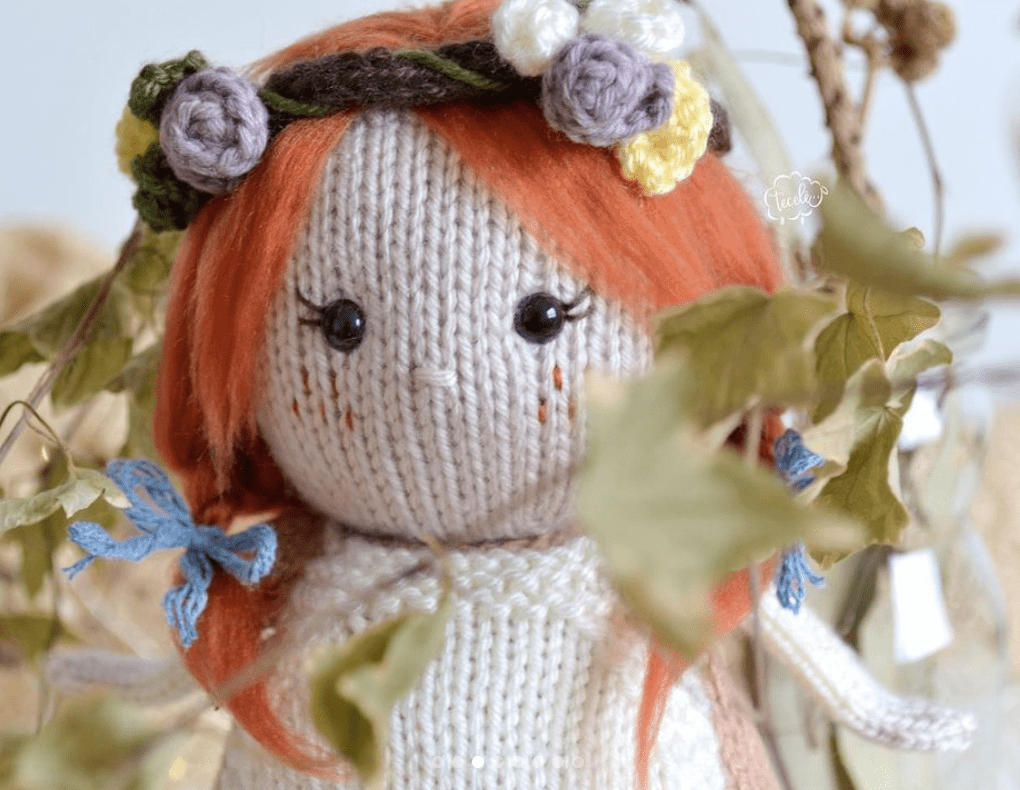
Tecele is such a talented story teller with her amigurumi photography. Her knitted toy designs come to life with her photos. Also check out her Instagram account as she makes a lot of videos and they are darling.


Sarah Dee Crochet has such adorable designs and her photography is gorgeous. Her photos are full of fun and color. I love how each one inspires you to grab your hook and a gorgeous ball of yarn.


Forest Wool is another of my favorite eclectic amigurumi photography accounts. Her photos are stunning. I enjoy looking at all of the elements of her pictures. Each one is full of interest and beauty.


How to Photograph Amigurumi
I hope you found this information helpful and that you feel more confident about taking photos of your crocheted toys. Always remember that it takes practice and that the more you do it, the better you will become.
Happy Stitching!
Pin for Later!



2 Comments