The Lazy Gal’s Guide to Beginner Embroidery
I’m lazy. I hate doing things the hard way. I always have. If there’s an easier way to do something, sign me up! If you want to stitch a beautiful embroidery project with half the effort, this is the tutorial for you!
This beautiful design by Lolli and Grace is perfect for the beginner embroiderer. Not only will learn how to make several foundation stitches, but how to prepare to embroider as well. The Lazy Gal’s Guide to Beginner Embroidery will help you stitch a beautiful hoop without any fussy, unnecessary steps!

Disclosure: Please note that some of these links are affiliate links, and at no cost to you, I will earn a teeny, tiny commission if you decide to purchase them from Amazon. These are products that I know, love, and trust. I have and will continue to recommend them regardless of my affiliate relationship with Amazon. Thank you for supporting Le Petit Saint Crochet!
Never Miss Another Blog Post!
MATERIALS:
Home, Love and Dreams from Lolli and Grace

Darice 39104 Wood Embroidery Hoops 7in

Caydo 12 Inch Embroidery Hoop Bamboo Circle Cross Stitch Hoop Ring for Art Craft Handy Sewing

Edmunds Quilters No-Slip Hoop Tape

Wrights 8823005 Water Soluble Marking Pen, Blue

Aleene’s Fabric Fusion Permanent Fabric Adhesive 4oz
Linen fabric
Felt for backing
Embroidery needles
Scissors
Step 1: Prepare Your Hoop
I have stitched embroidery hoops before and spent too much time trying to keep the fabric stretched taut inside the hoop. The lazy way is use hoop tape that secures your fabric so you don’t waste precious energy adjusting it every five minutes! Hoop tape has an adhesive side and a rubbery side. The adhesive side touches the hoop while the rubbery side touches the fabric. Carefully wrap the tape around the inner hoop. The package will have good instructions as well.
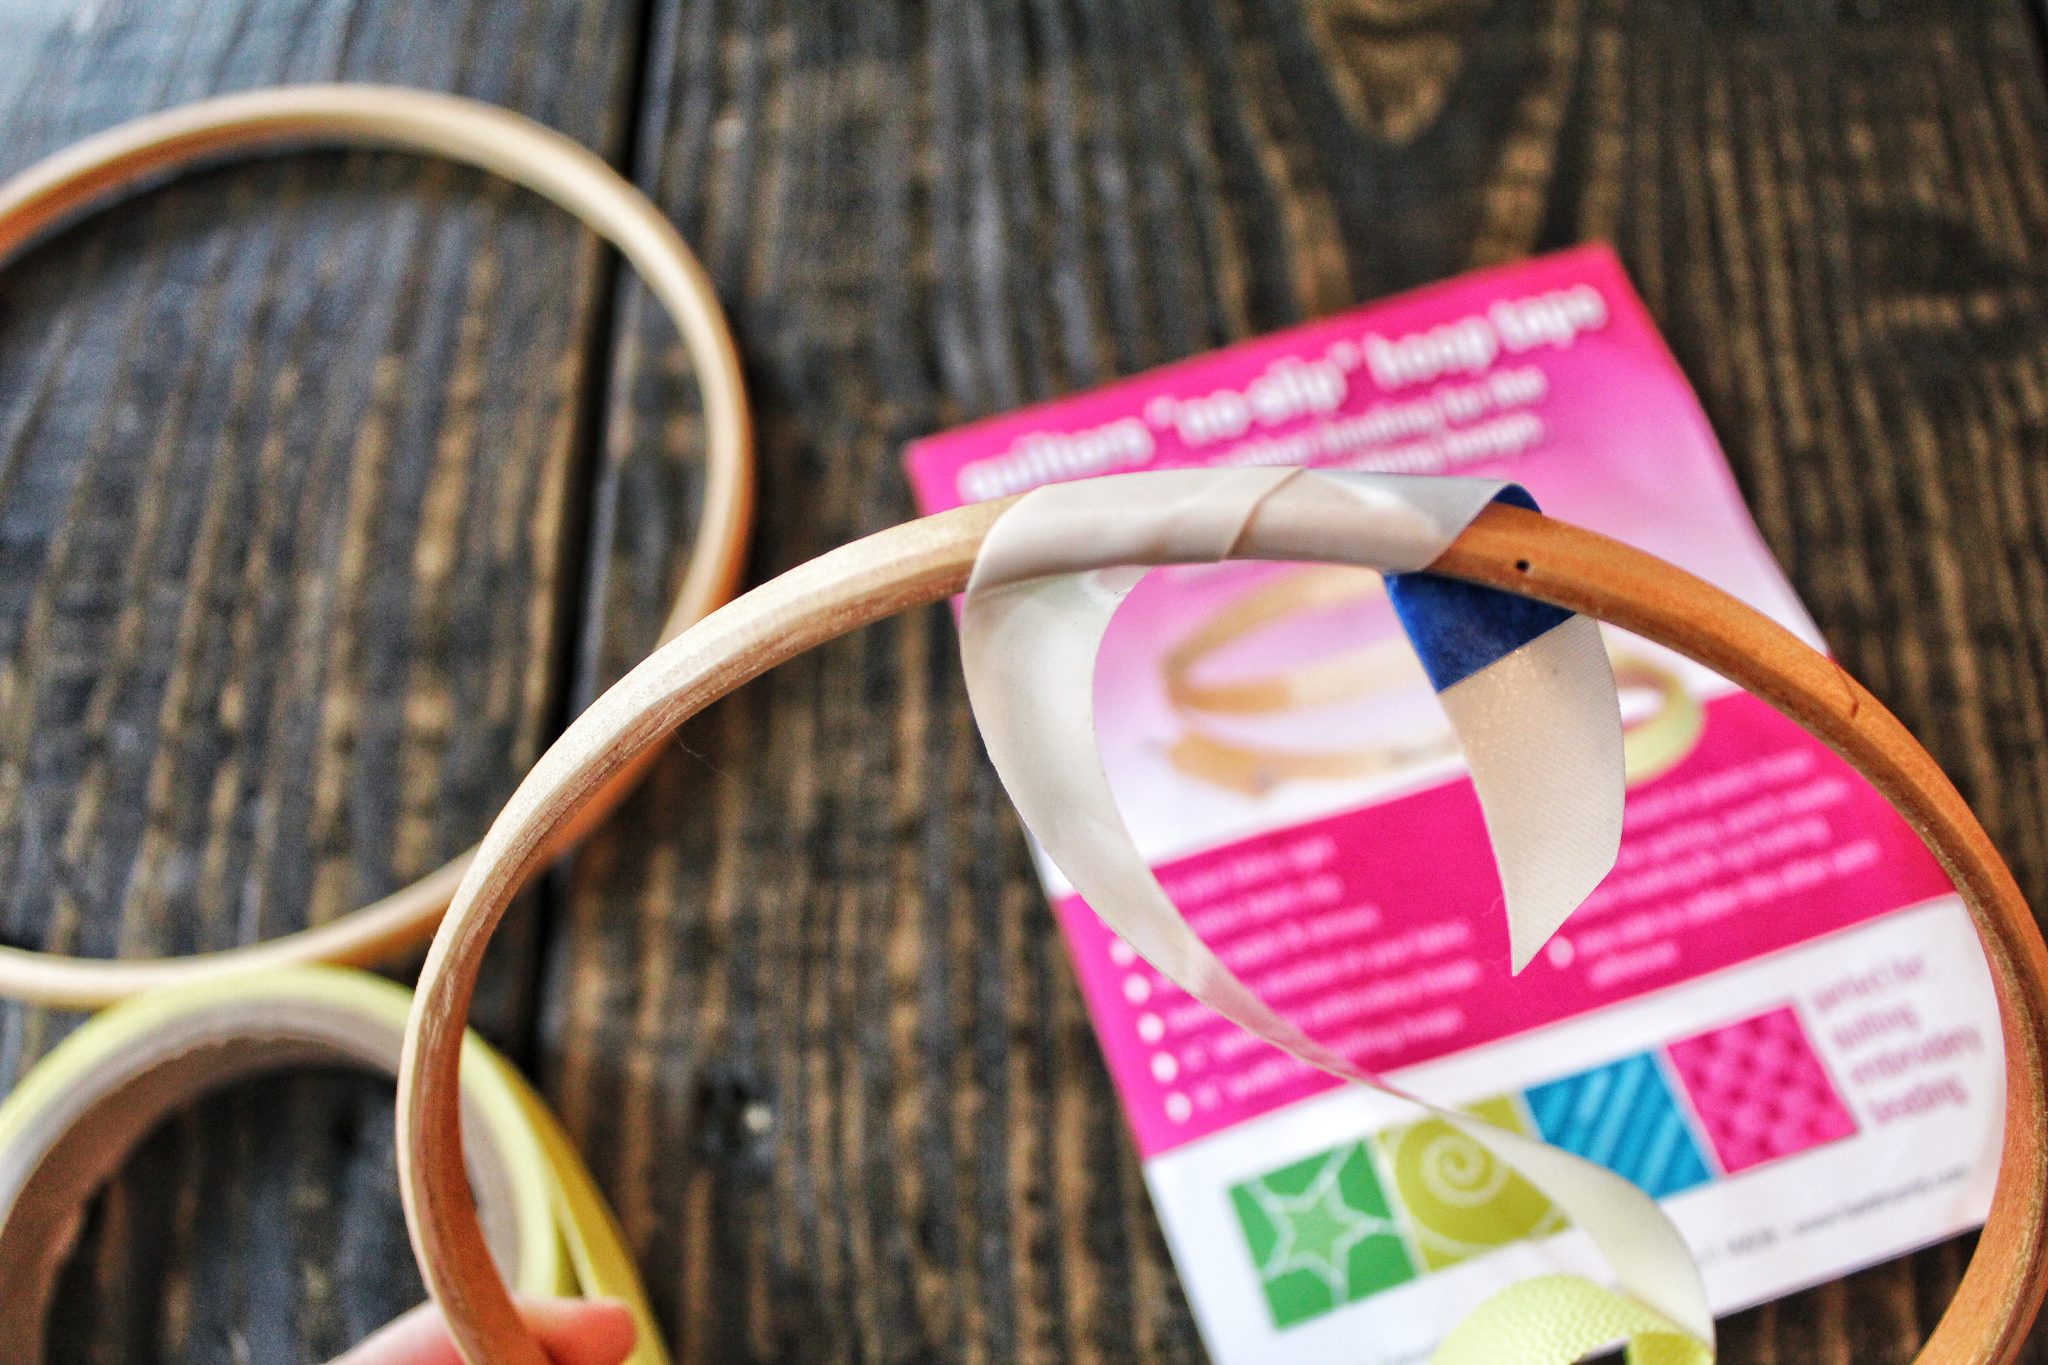
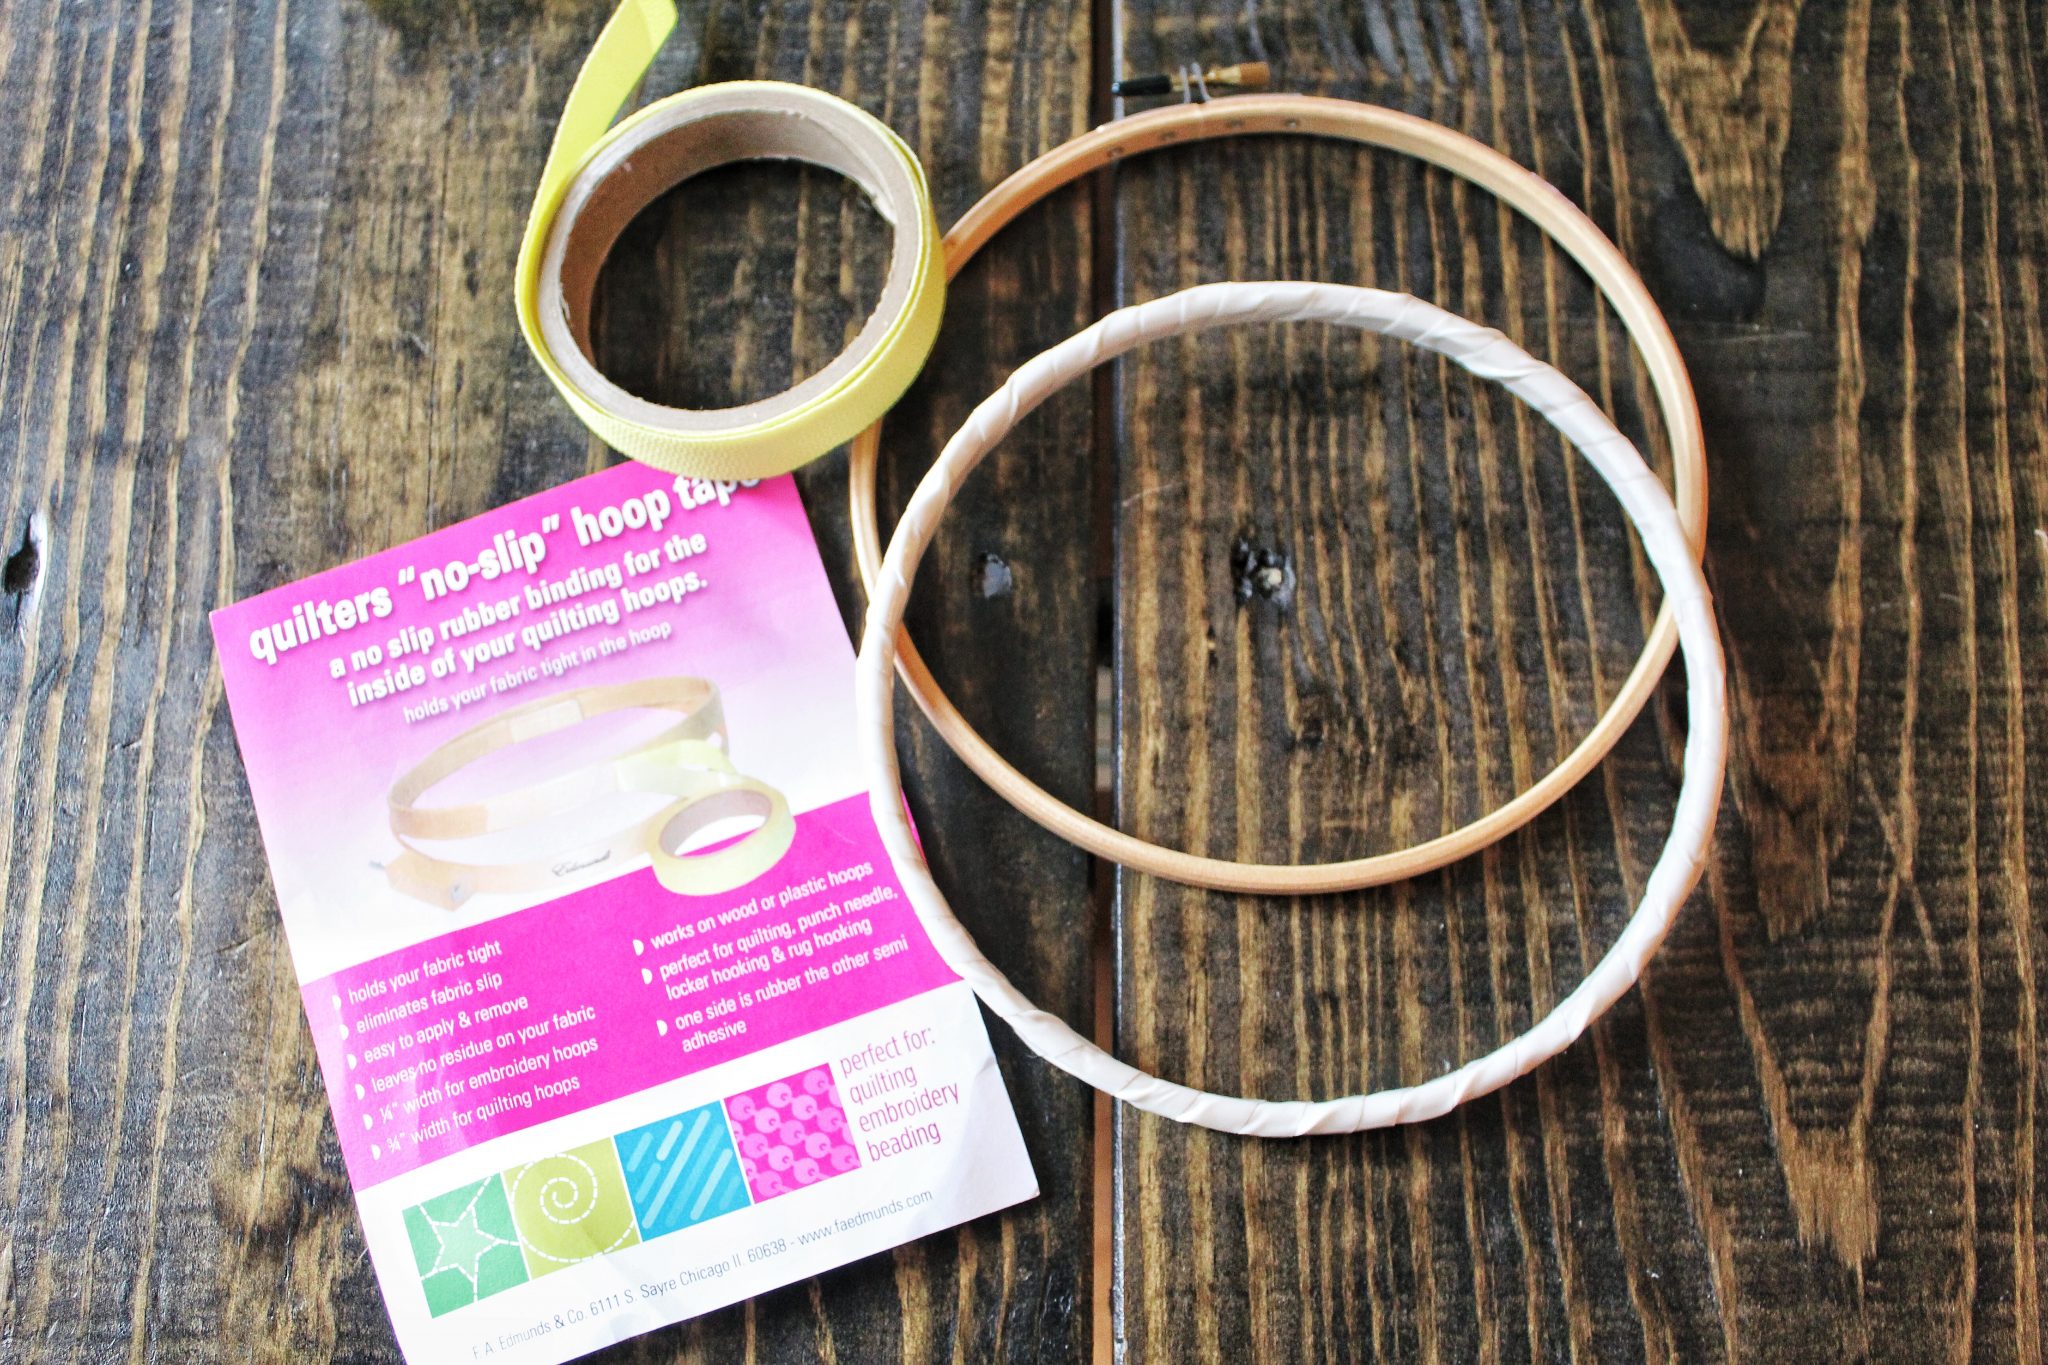
You may not think you need this hoop tape, but you do. Just buy it. It’s not expensive. But it will save you the time of having to constantly stretch you hoop and keep it taut during the stitching process. Make sure that as you apply the hoop tape you work hard to keep it neat.
Step 2: Prepare Your Floss
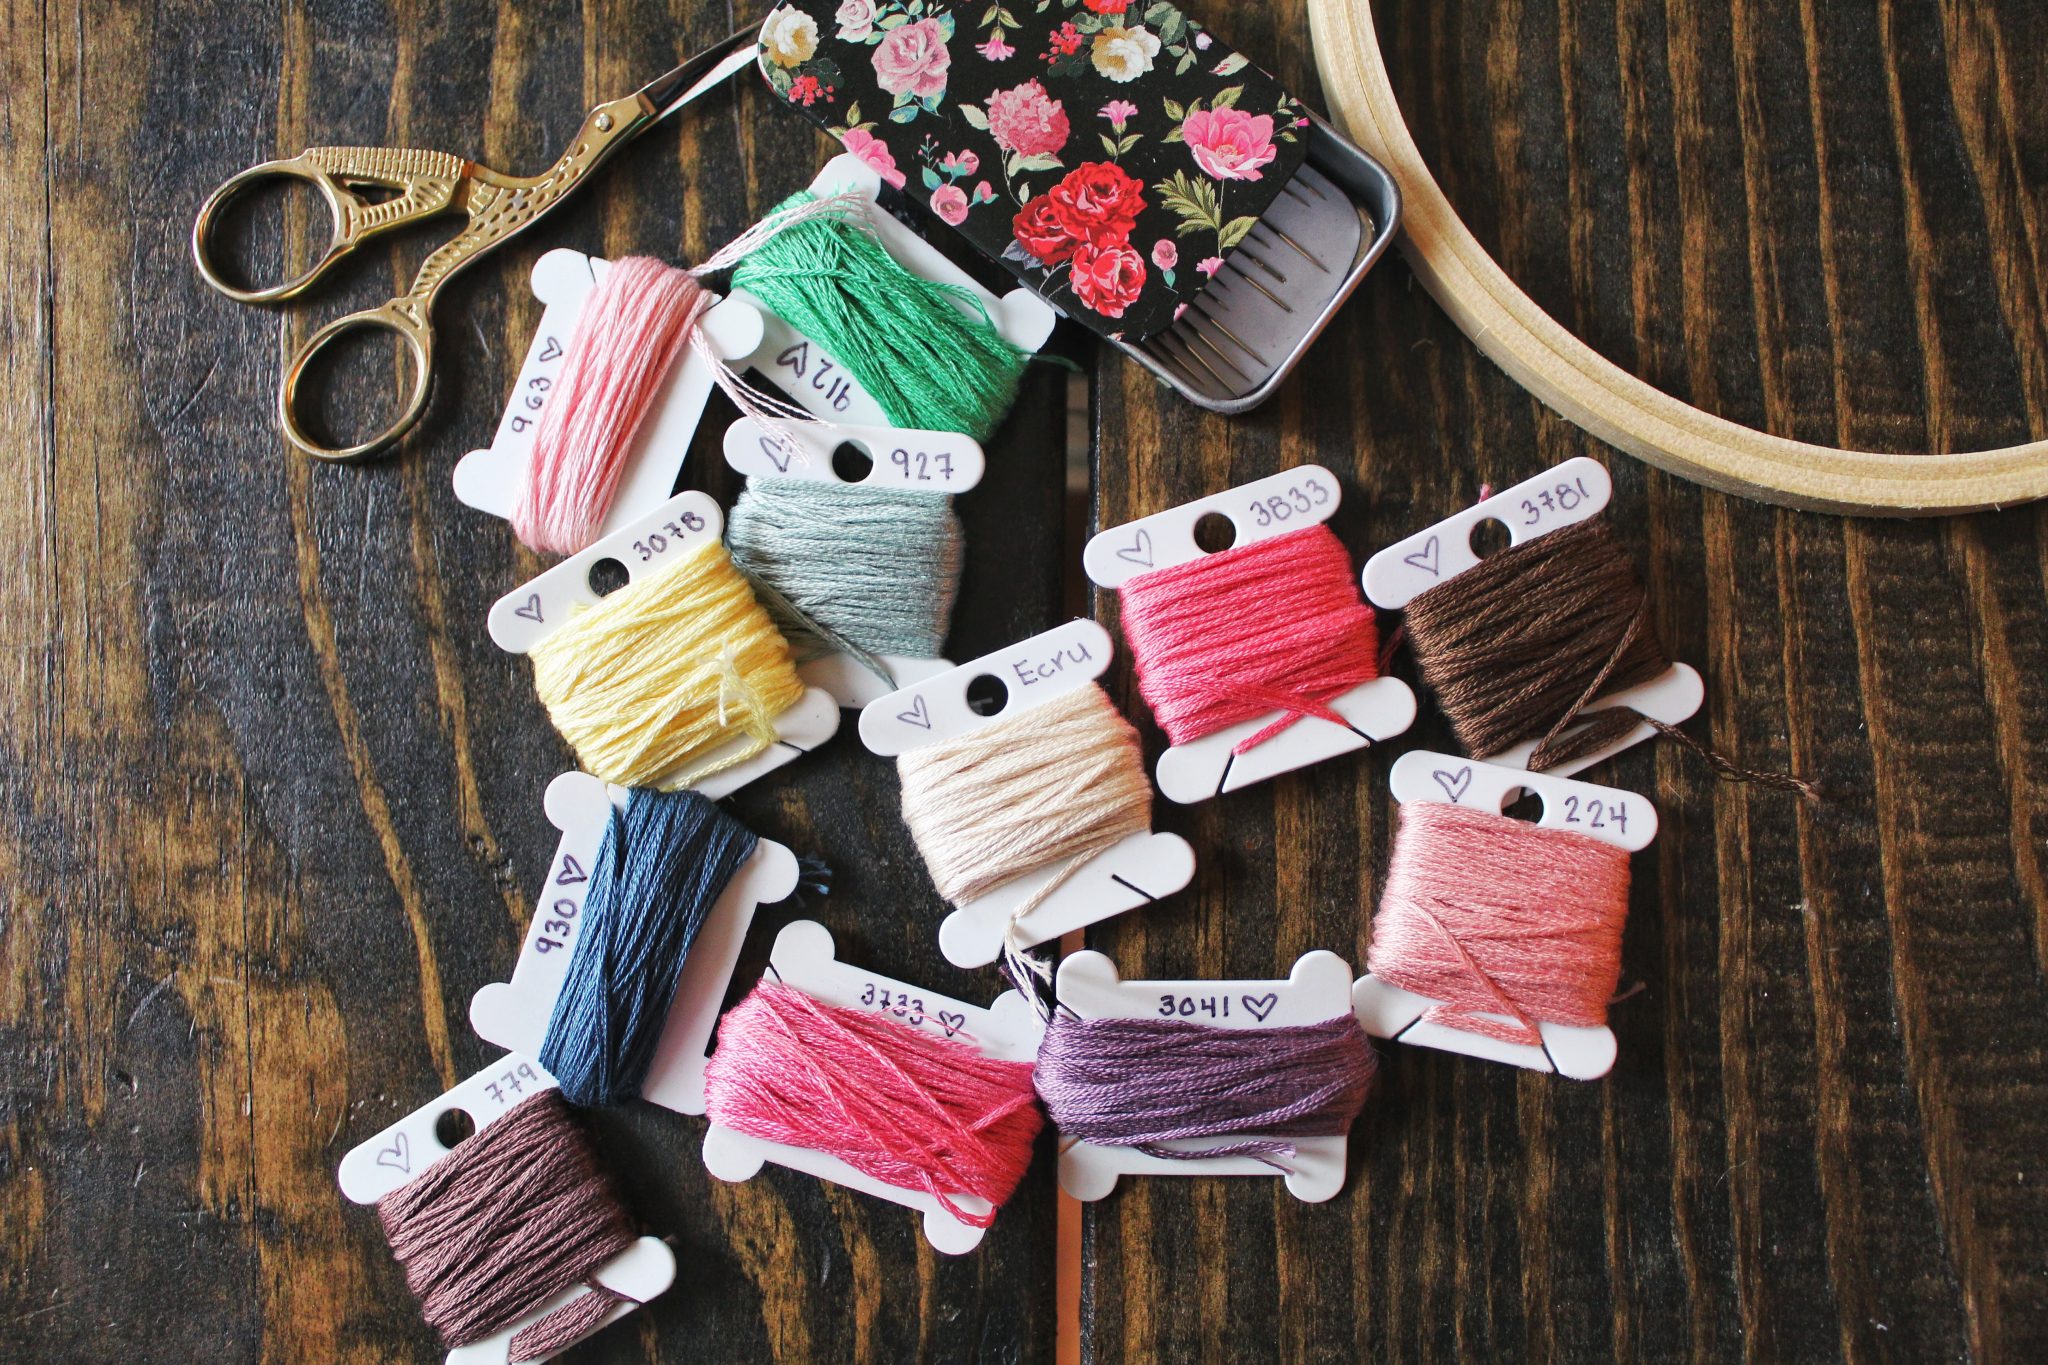
When you separate your floss and keep it well organized it makes for an easier time, but honestly its not necessary. Do it if you want, but skip this step if you are on the extreme end of the lazy spectrum.
Step 3: Transfer Your Pattern
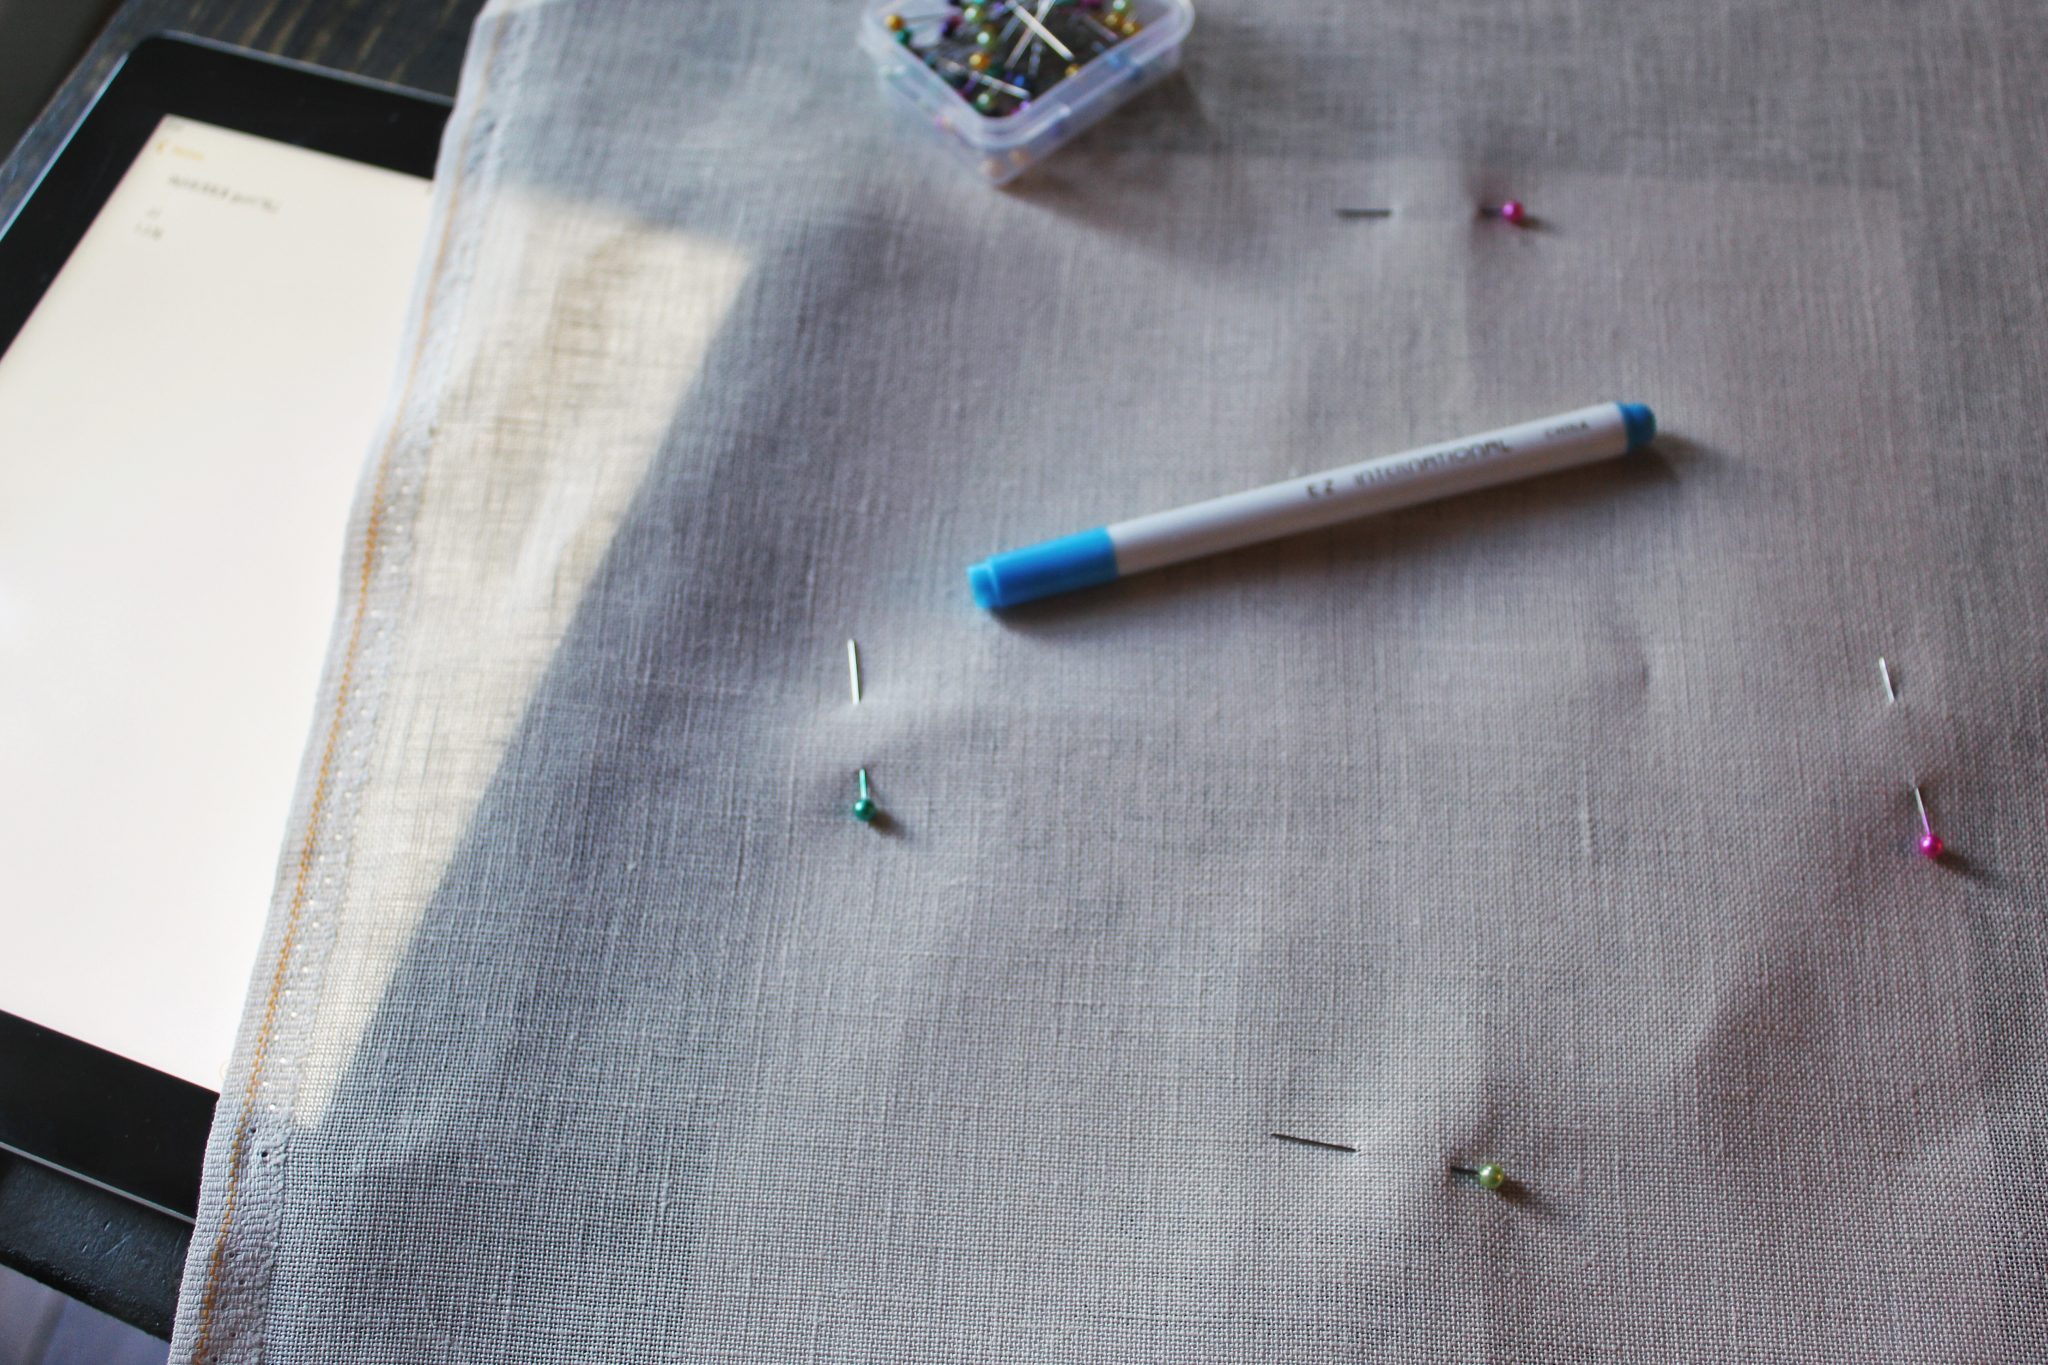
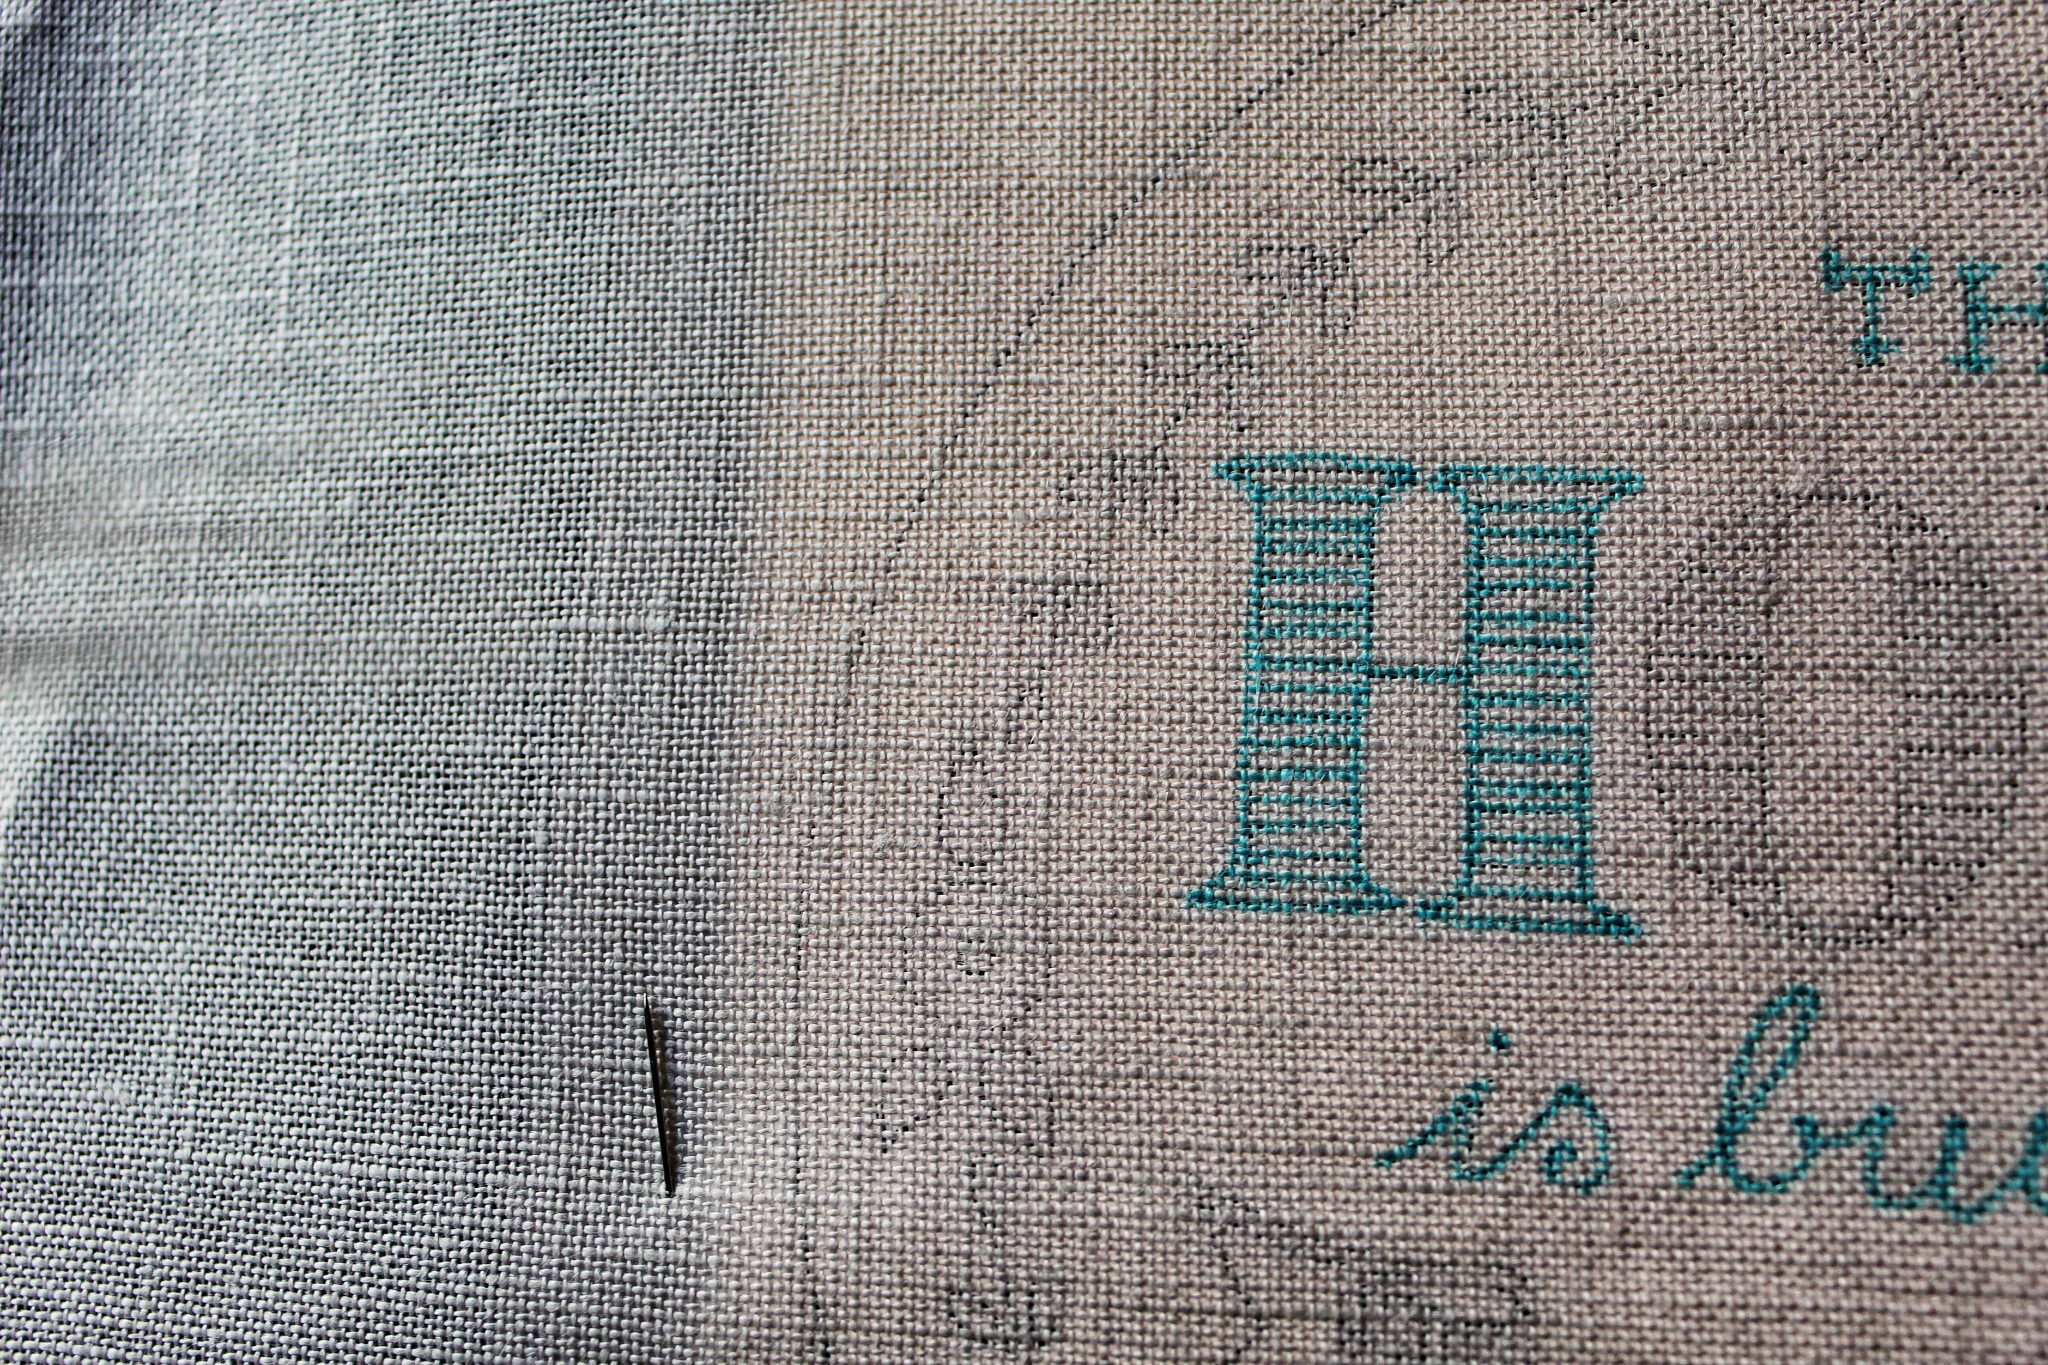
Before you begin transferring your pattern make sure your fabric is unwrinkled. Mine needed a good hot ironing, but that’s because it is linen and had large lines from where it had been folded. Do this step as lazy as possible! You might even hang up your fabric in the bathroom when you take a hot steamy shower. But just make sure the wrinkles are out! Transferring the pattern is a necessary process and it’s kind of fun. I pin the paper pattern underneath my fabric so that it doesn’t move around while I am tracing.
You will also need a light source. I used my ipad opened up to notes, but you could use a light box or even tape it to a sunny window. It’s critical that you use a water soluble pen so that if/when you make a mistake you can take it out. It also makes finishing the pattern super easy.
Step 4: Cut Your Fabric
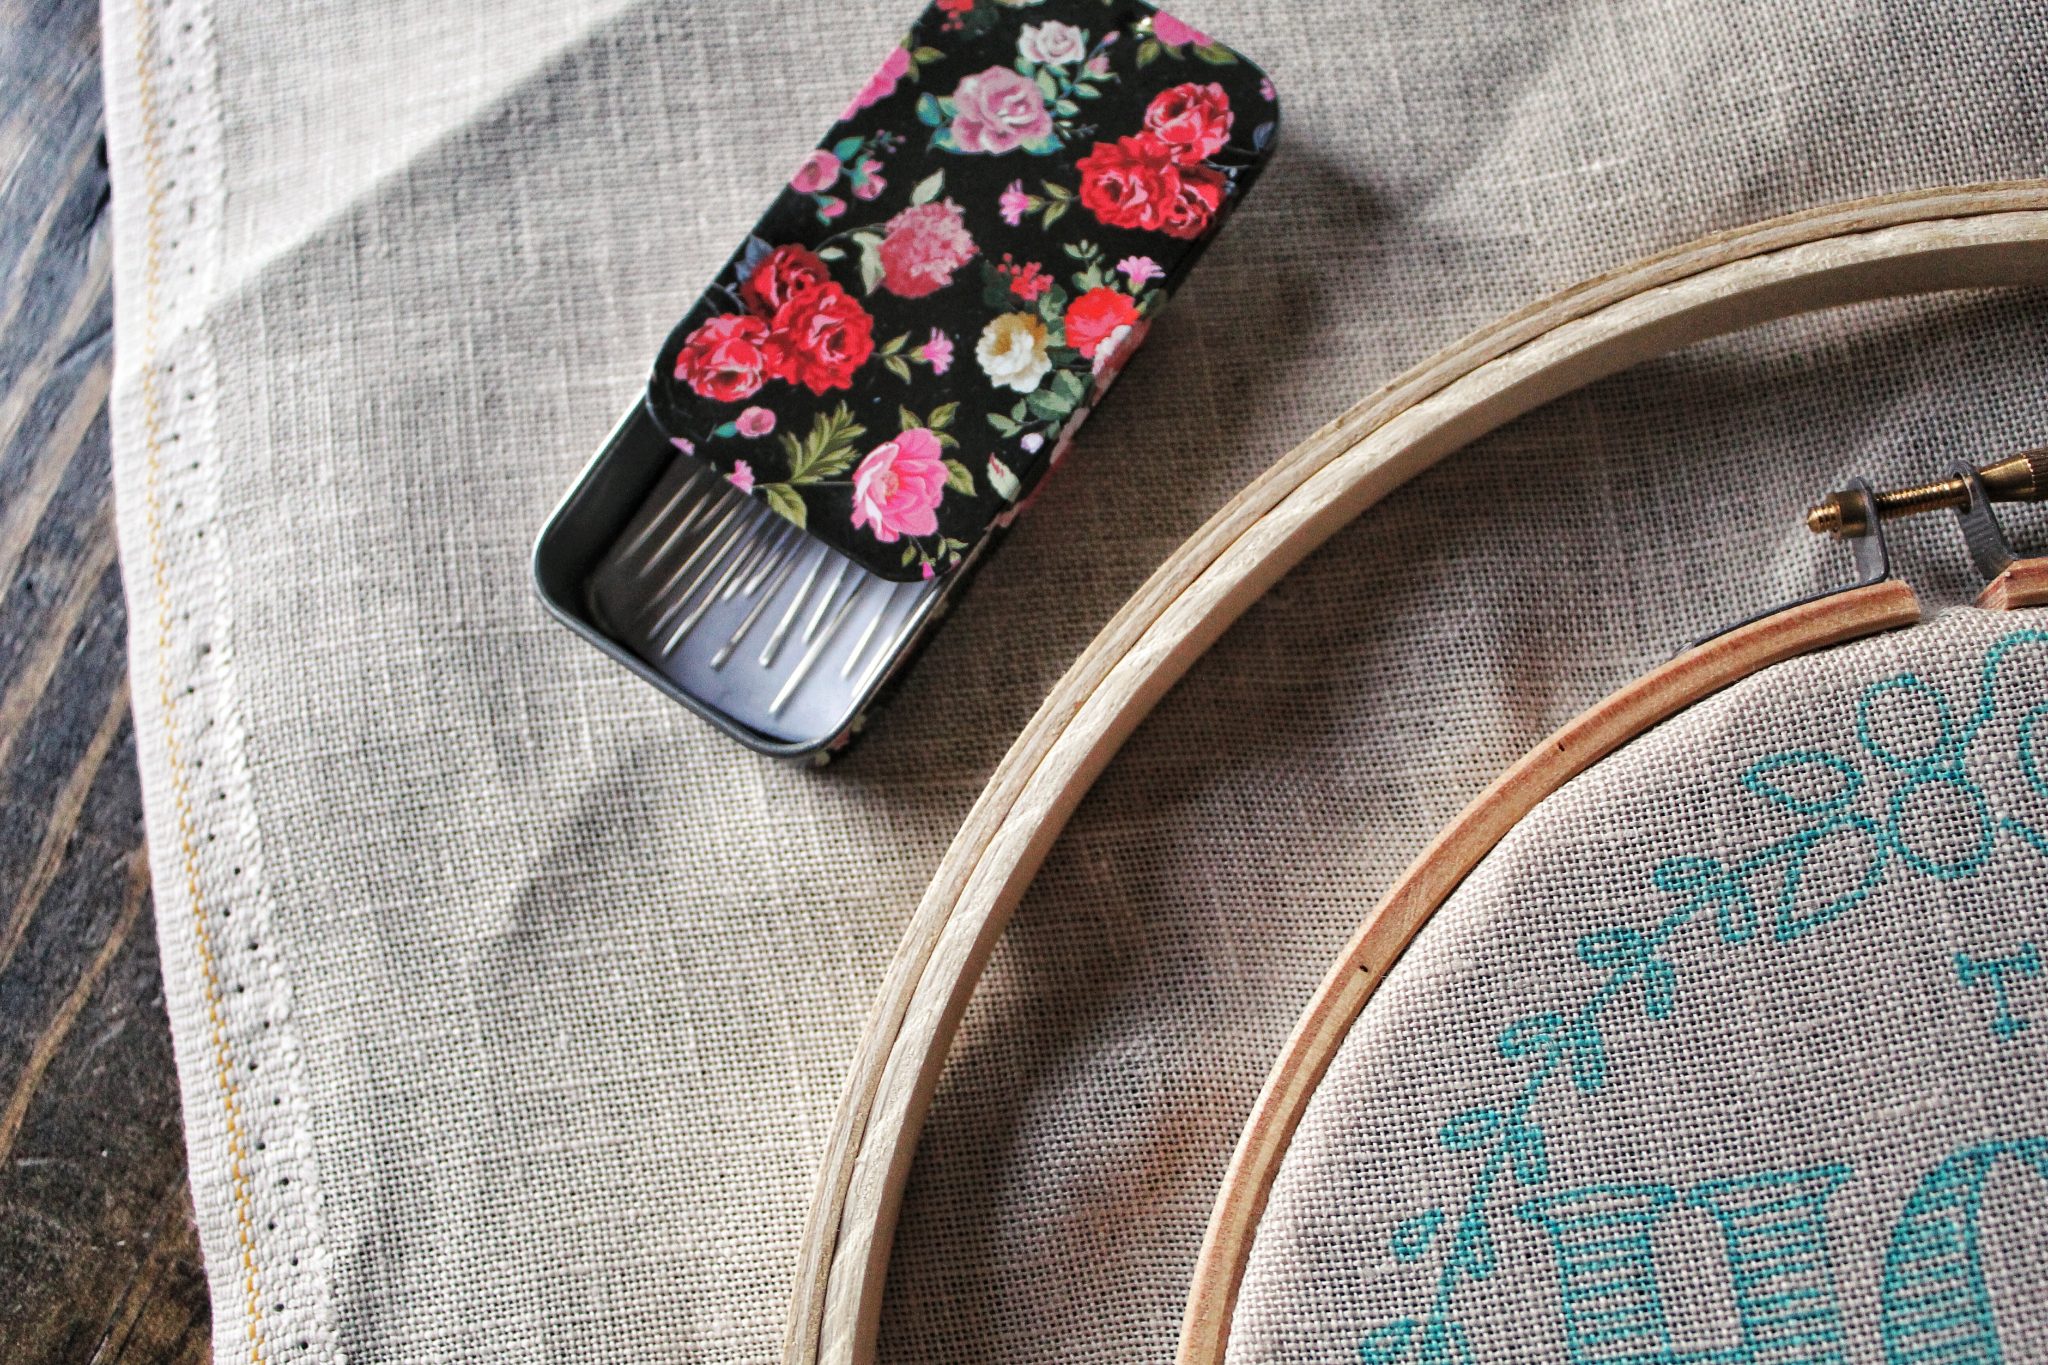
If you have a large piece of fabric you will need to cut it. I used a 12″ embroidery hoop to trace a circle to cut the extra fabric. You don’t need to purchase an additional hoop but this is the lazy way. Otherwise measure 1.5 – 2″ away from the outside of the finished hoop and draw a circle to cut the excess fabric. You will want to have your fabric in a circle shape to make finishing the hoop super simple. Since my linen fabric had the habit of fraying at the edges, I used a little bit of fabric glue on the edges to keep it from fraying. You could also use Fray Check or a similar product.
Step 5: Stitch Your Pattern
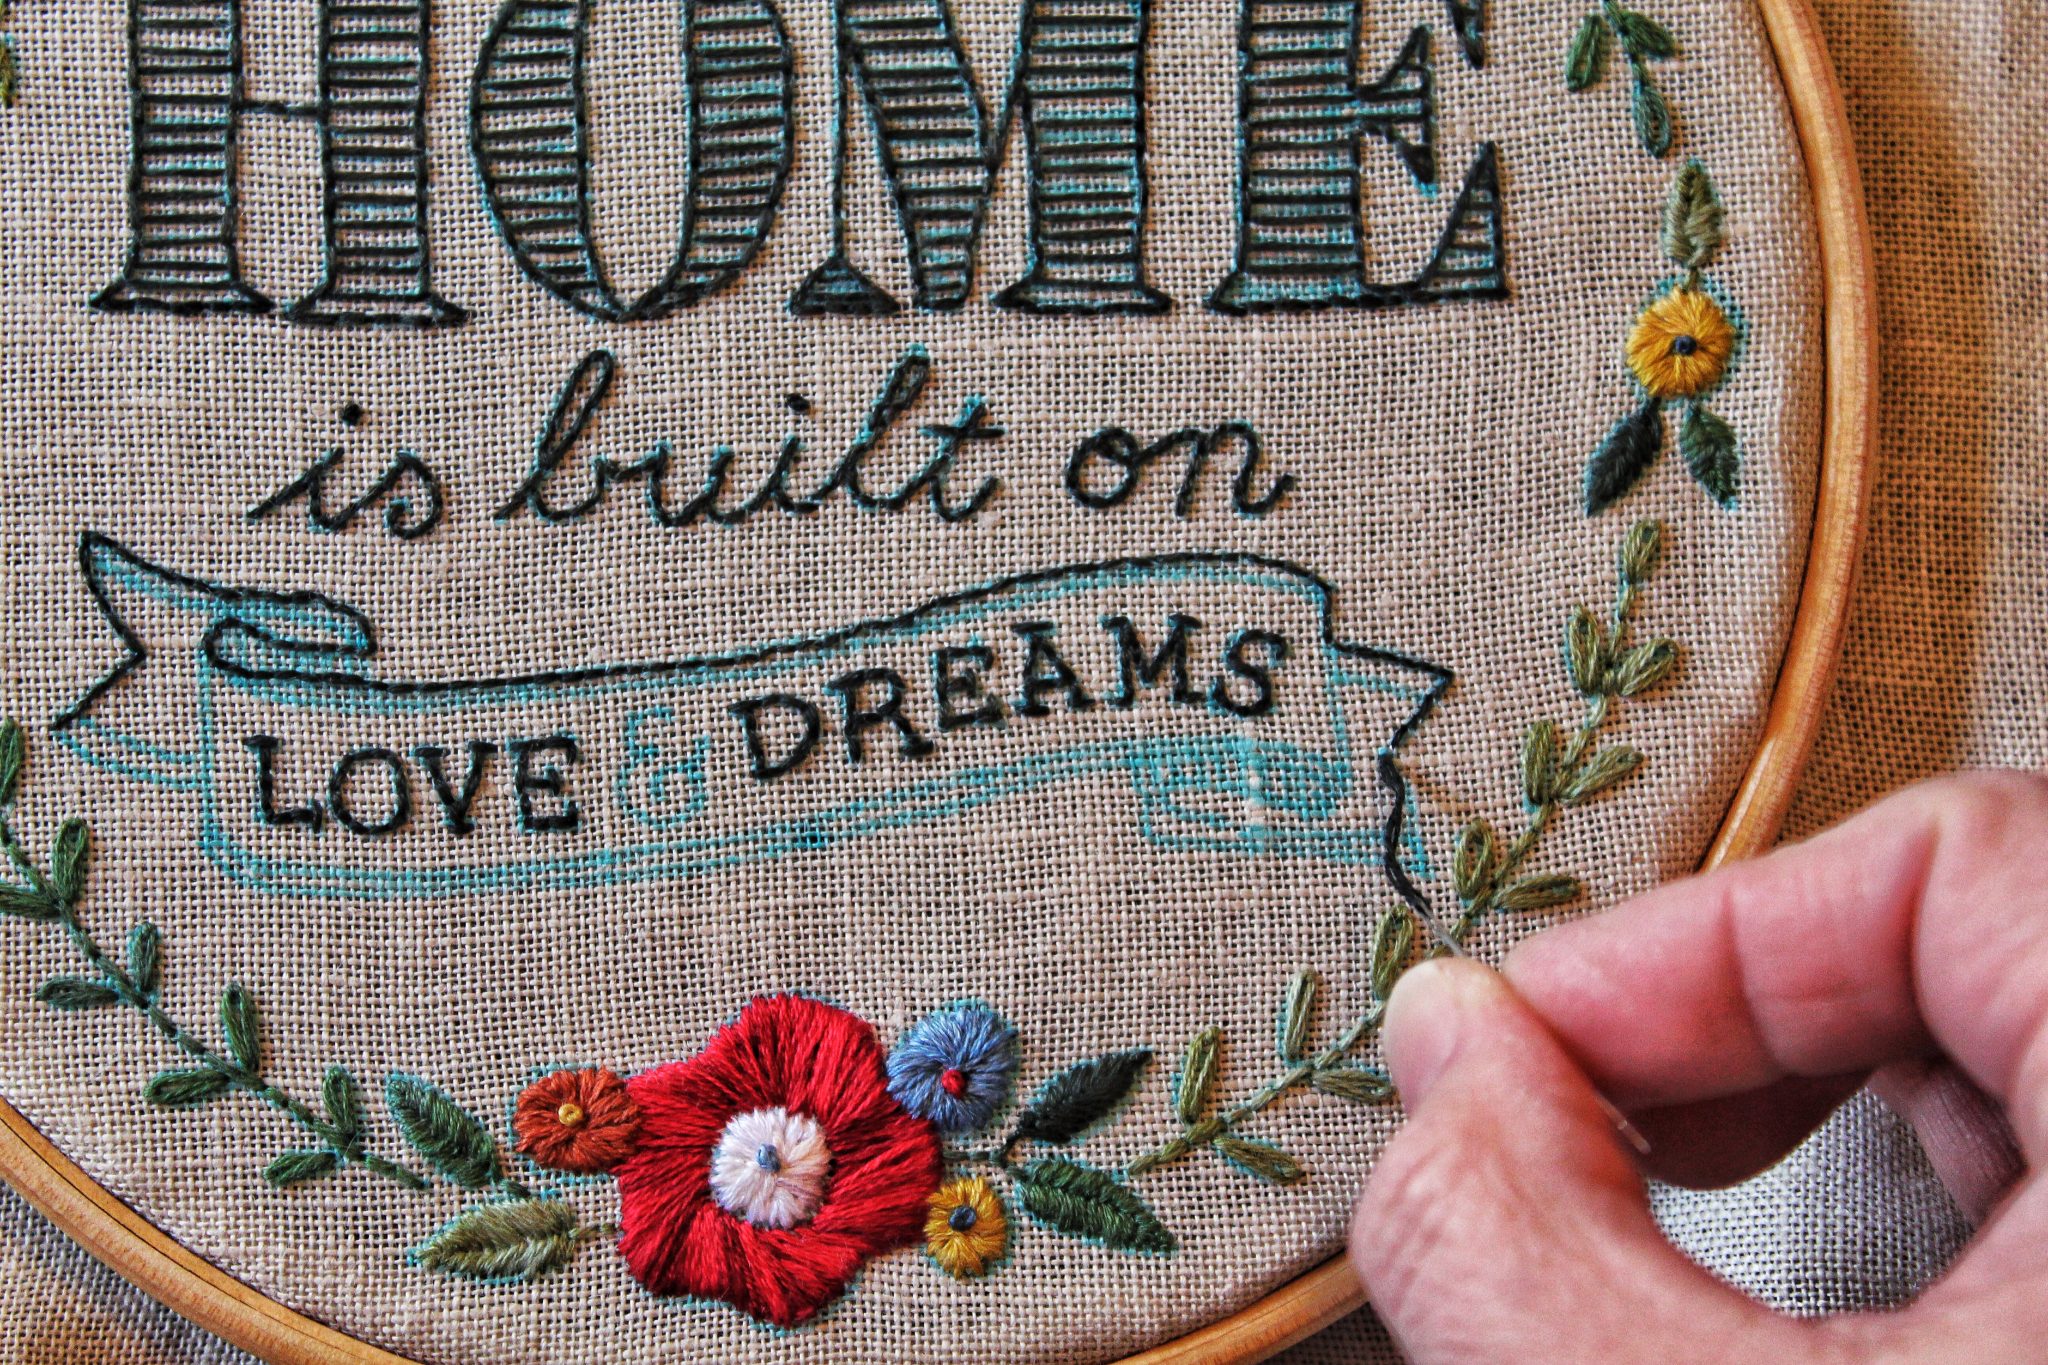
A majority of this pattern is backstitched and even when it’s not perfect it turns out really nice.
The next stitch you will do is the Lazy Daisy. This is another super easy one but once you see how it’s done you realize that the term “lazy” is the perfect adjective. You will also need to Split Stitch and Satin Stitch in this pattern. The Satin Stitch is the most difficult but with a little practice you will become more comfortable and proficient at it.
Step 6: Finish Your Hoop
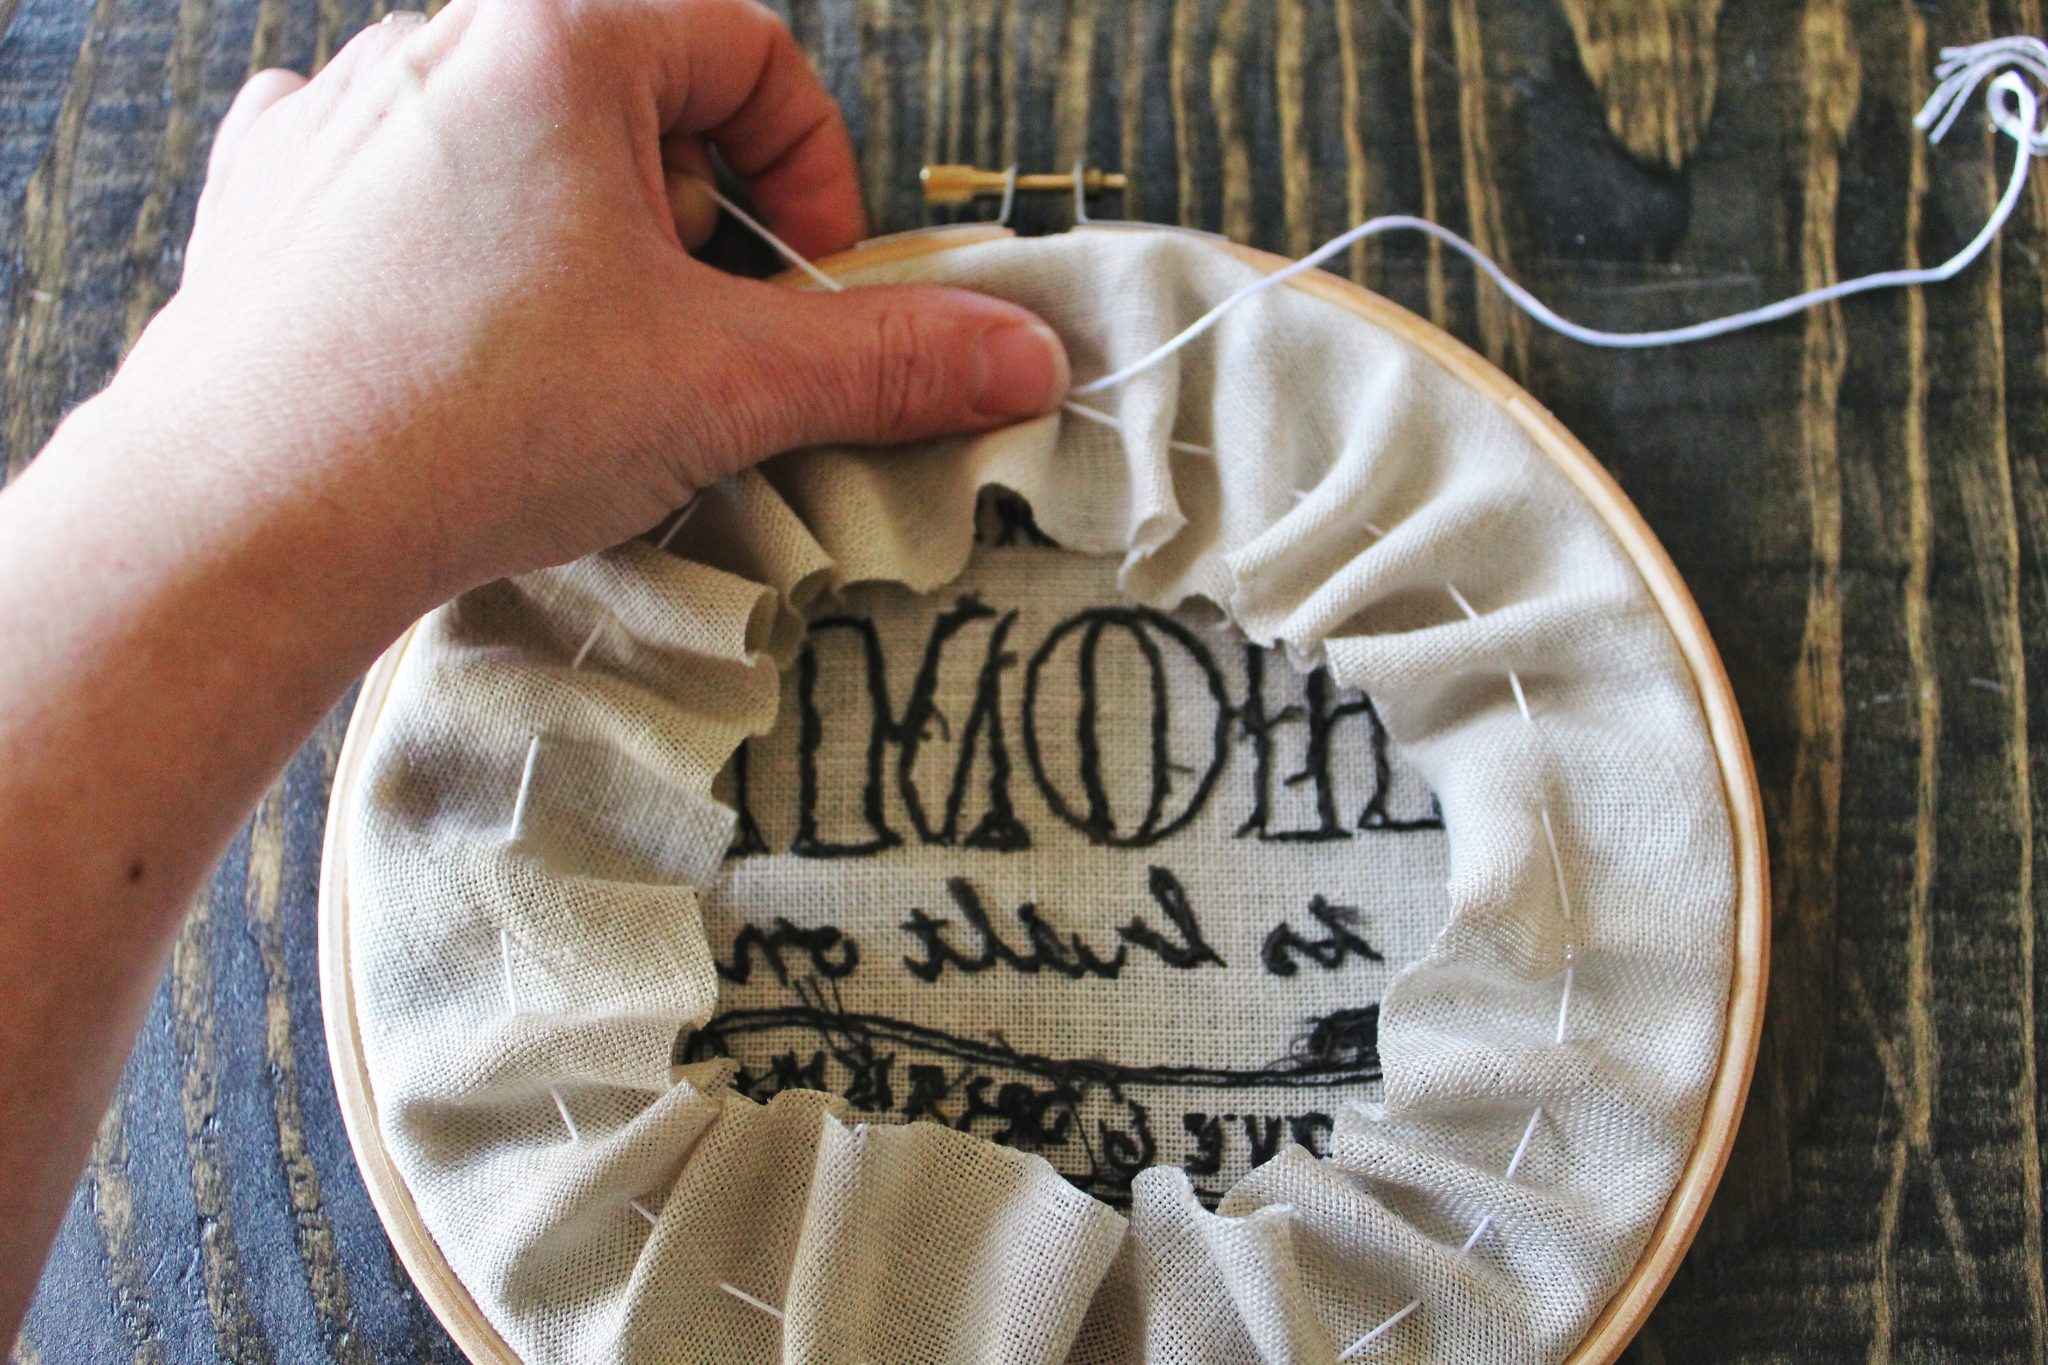
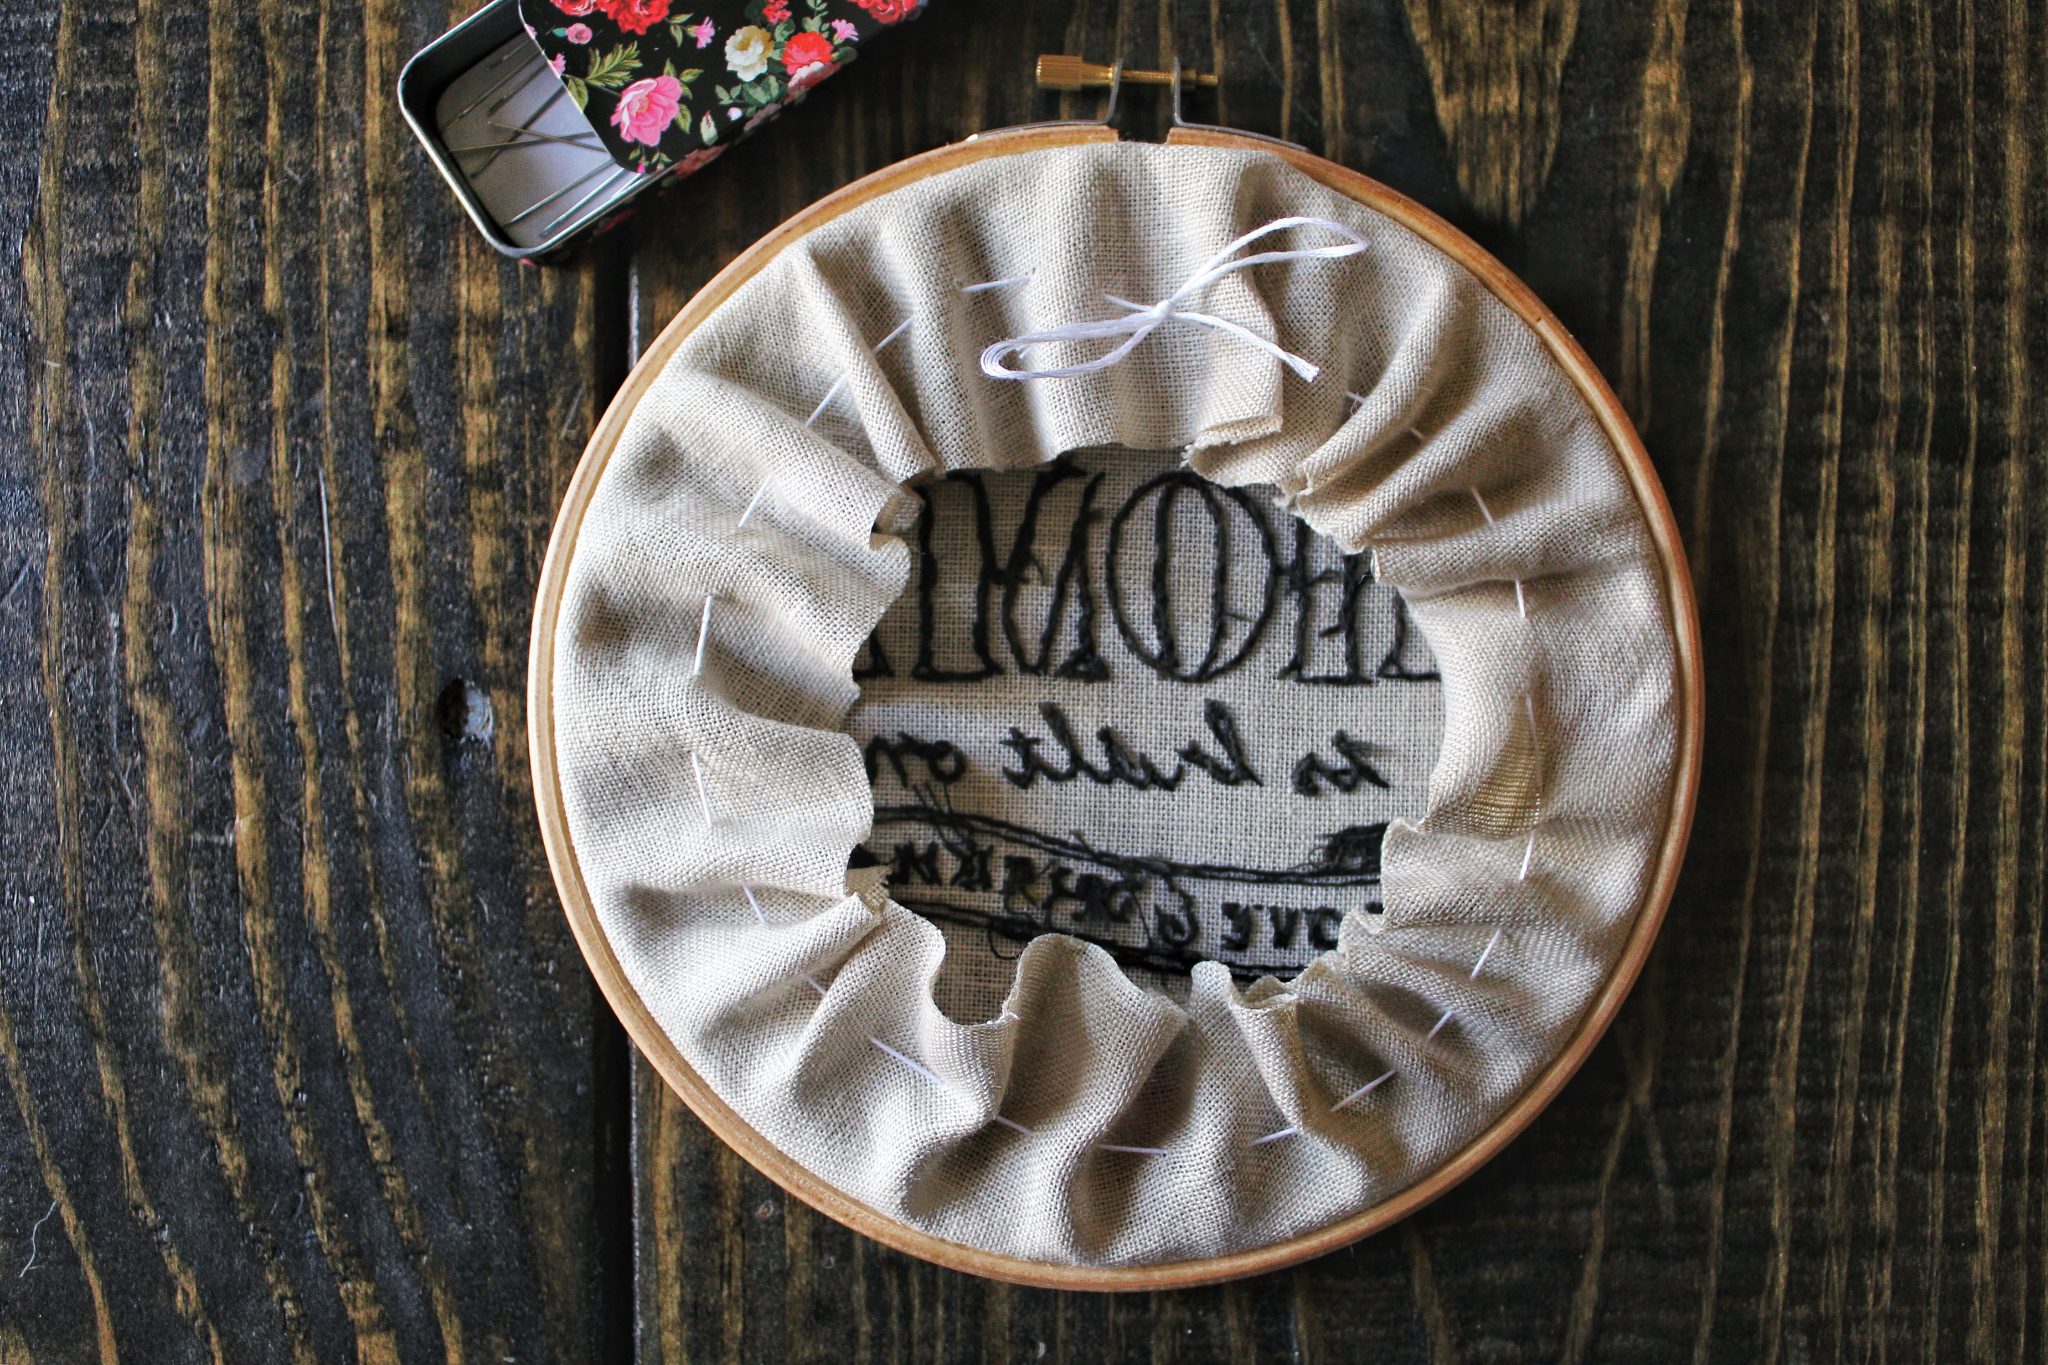
To finish your hoop you will want to make a running stitch on the outside of the the excess fabric. It will gather all your fabric and create a neat little package to hide underneath your felt.
Step 7: Erase Your Blue Tracing Marks
This step truly is the most fun part! You’ve done the hard work and now you get to see the results! I used a wet paper towel and gently patted the fabric. Magically the marking disappears and leaves your gorgeous stitching! Voila!
Step 8: Prepare Your Backing
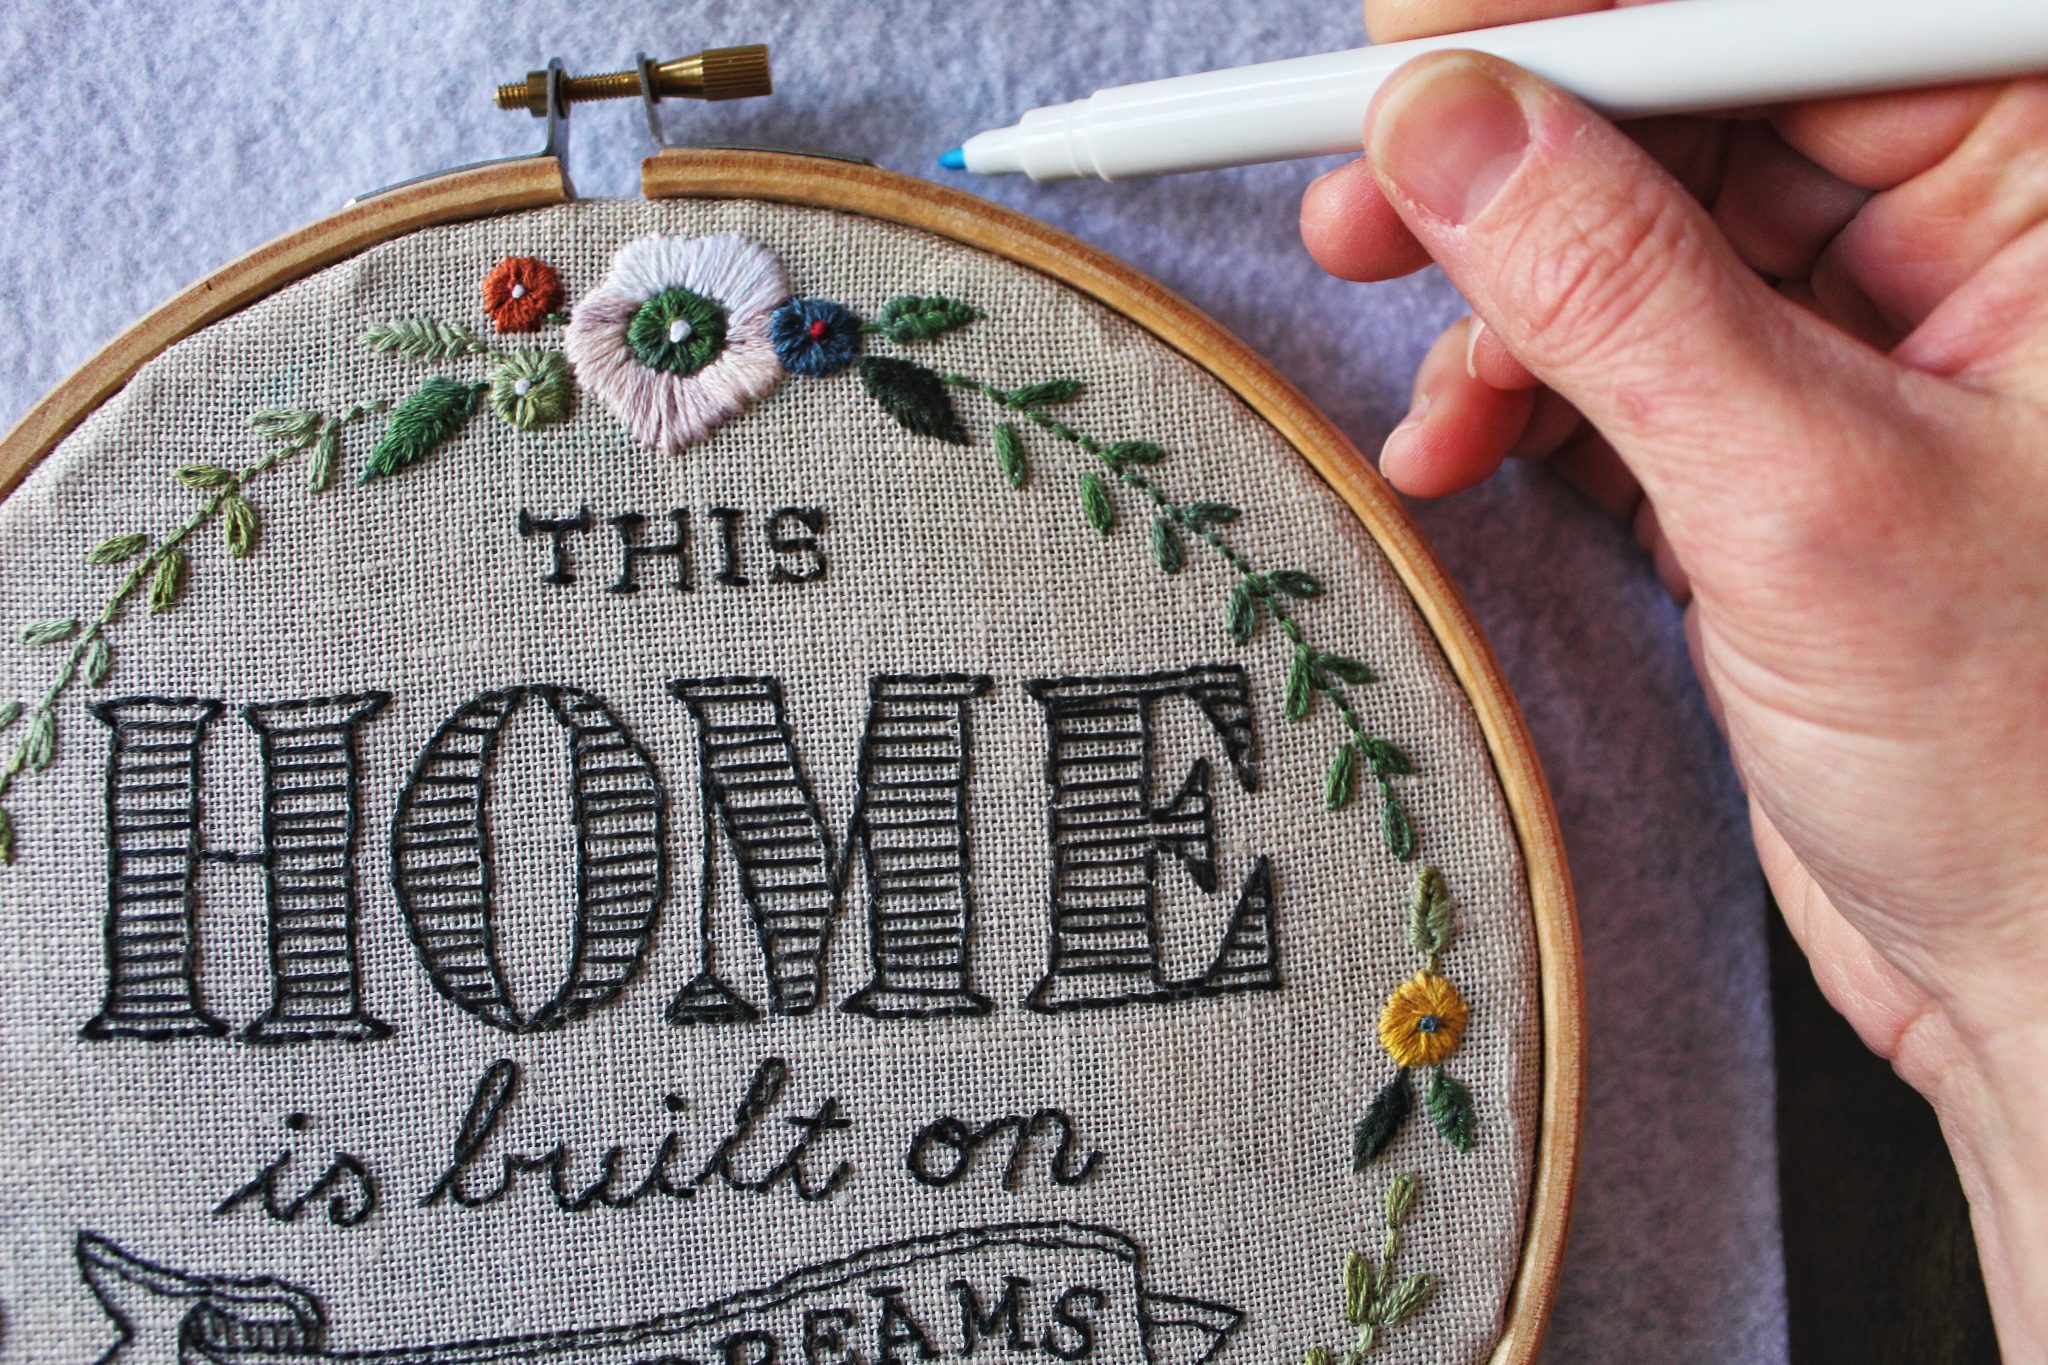
To make your embroidery hoop look neat and professional you will want to add a felt backing. Using your water soluble pen trace an outline of your embroidery hoop onto a piece of light colored felt.
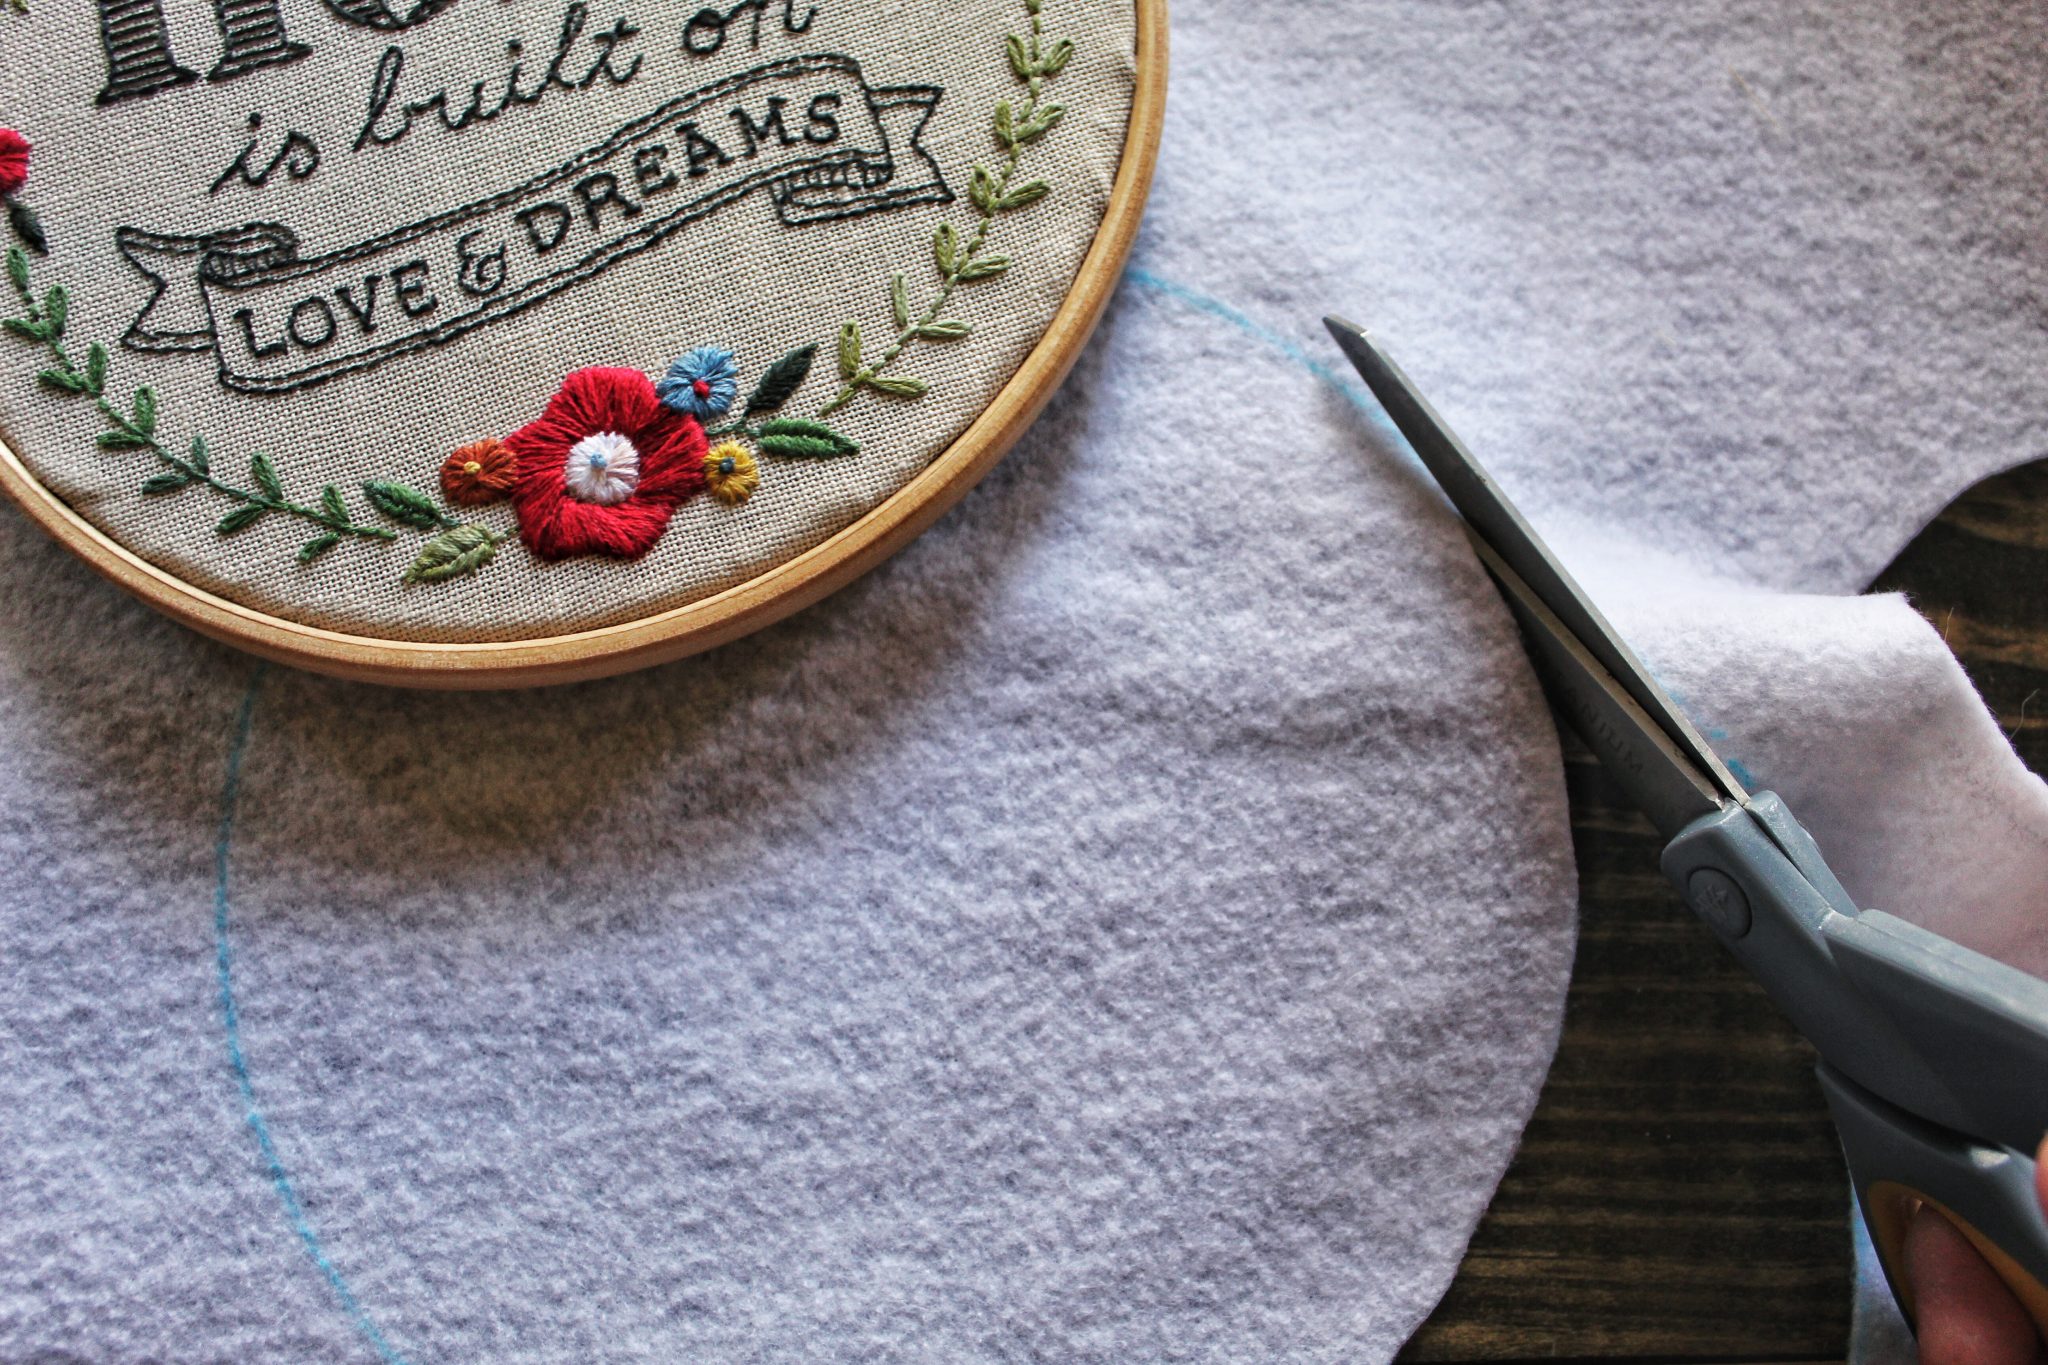
Carefully cut just inside the line so that when you place it on the back of your hoop it doesn’t show from the front.
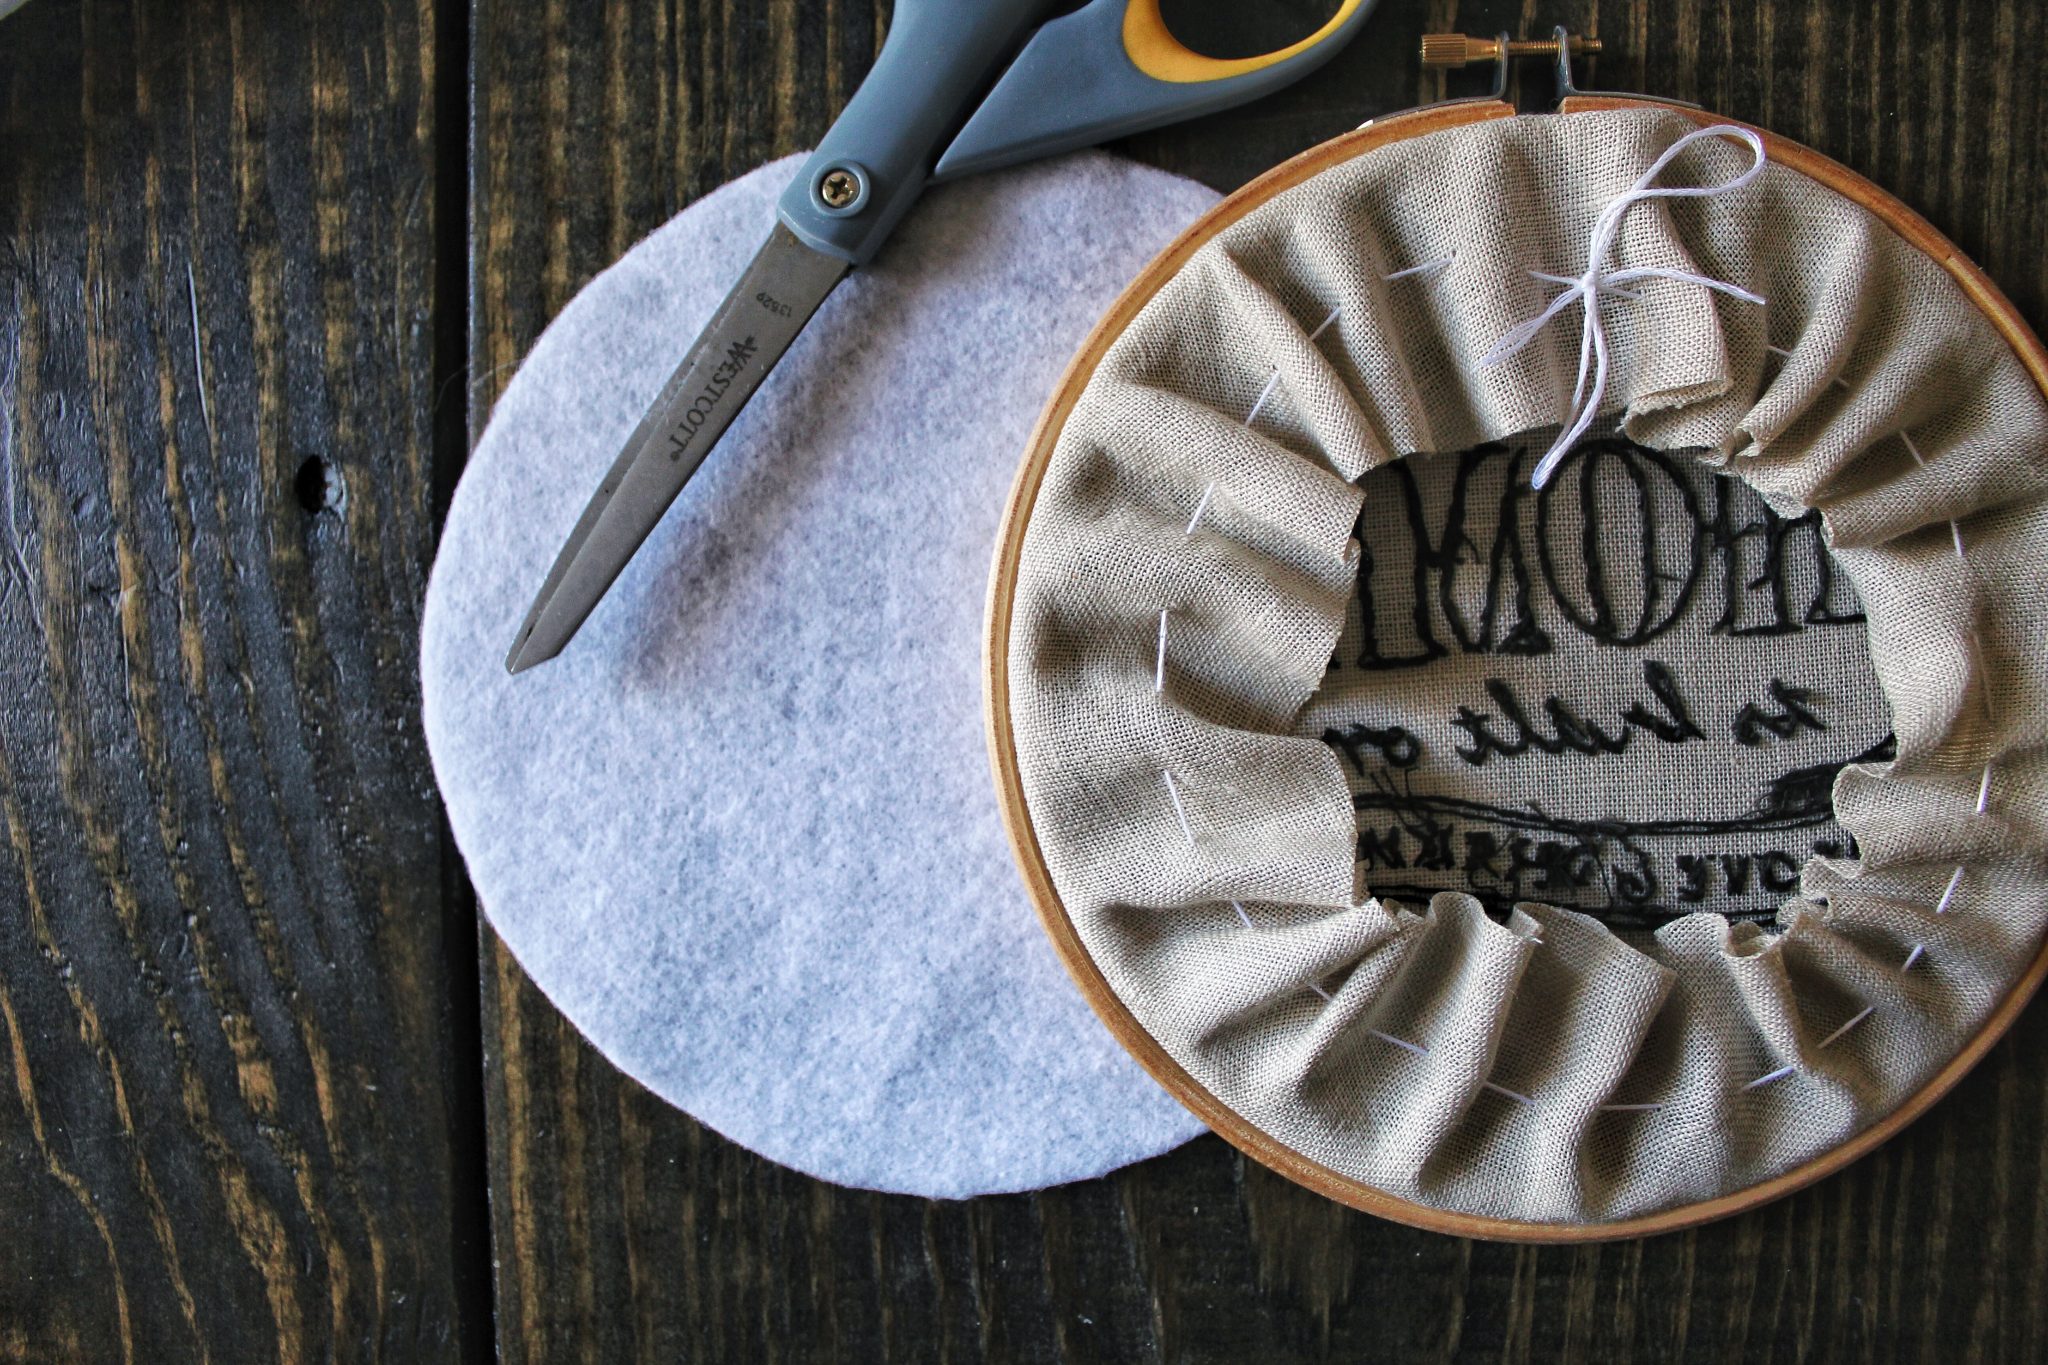
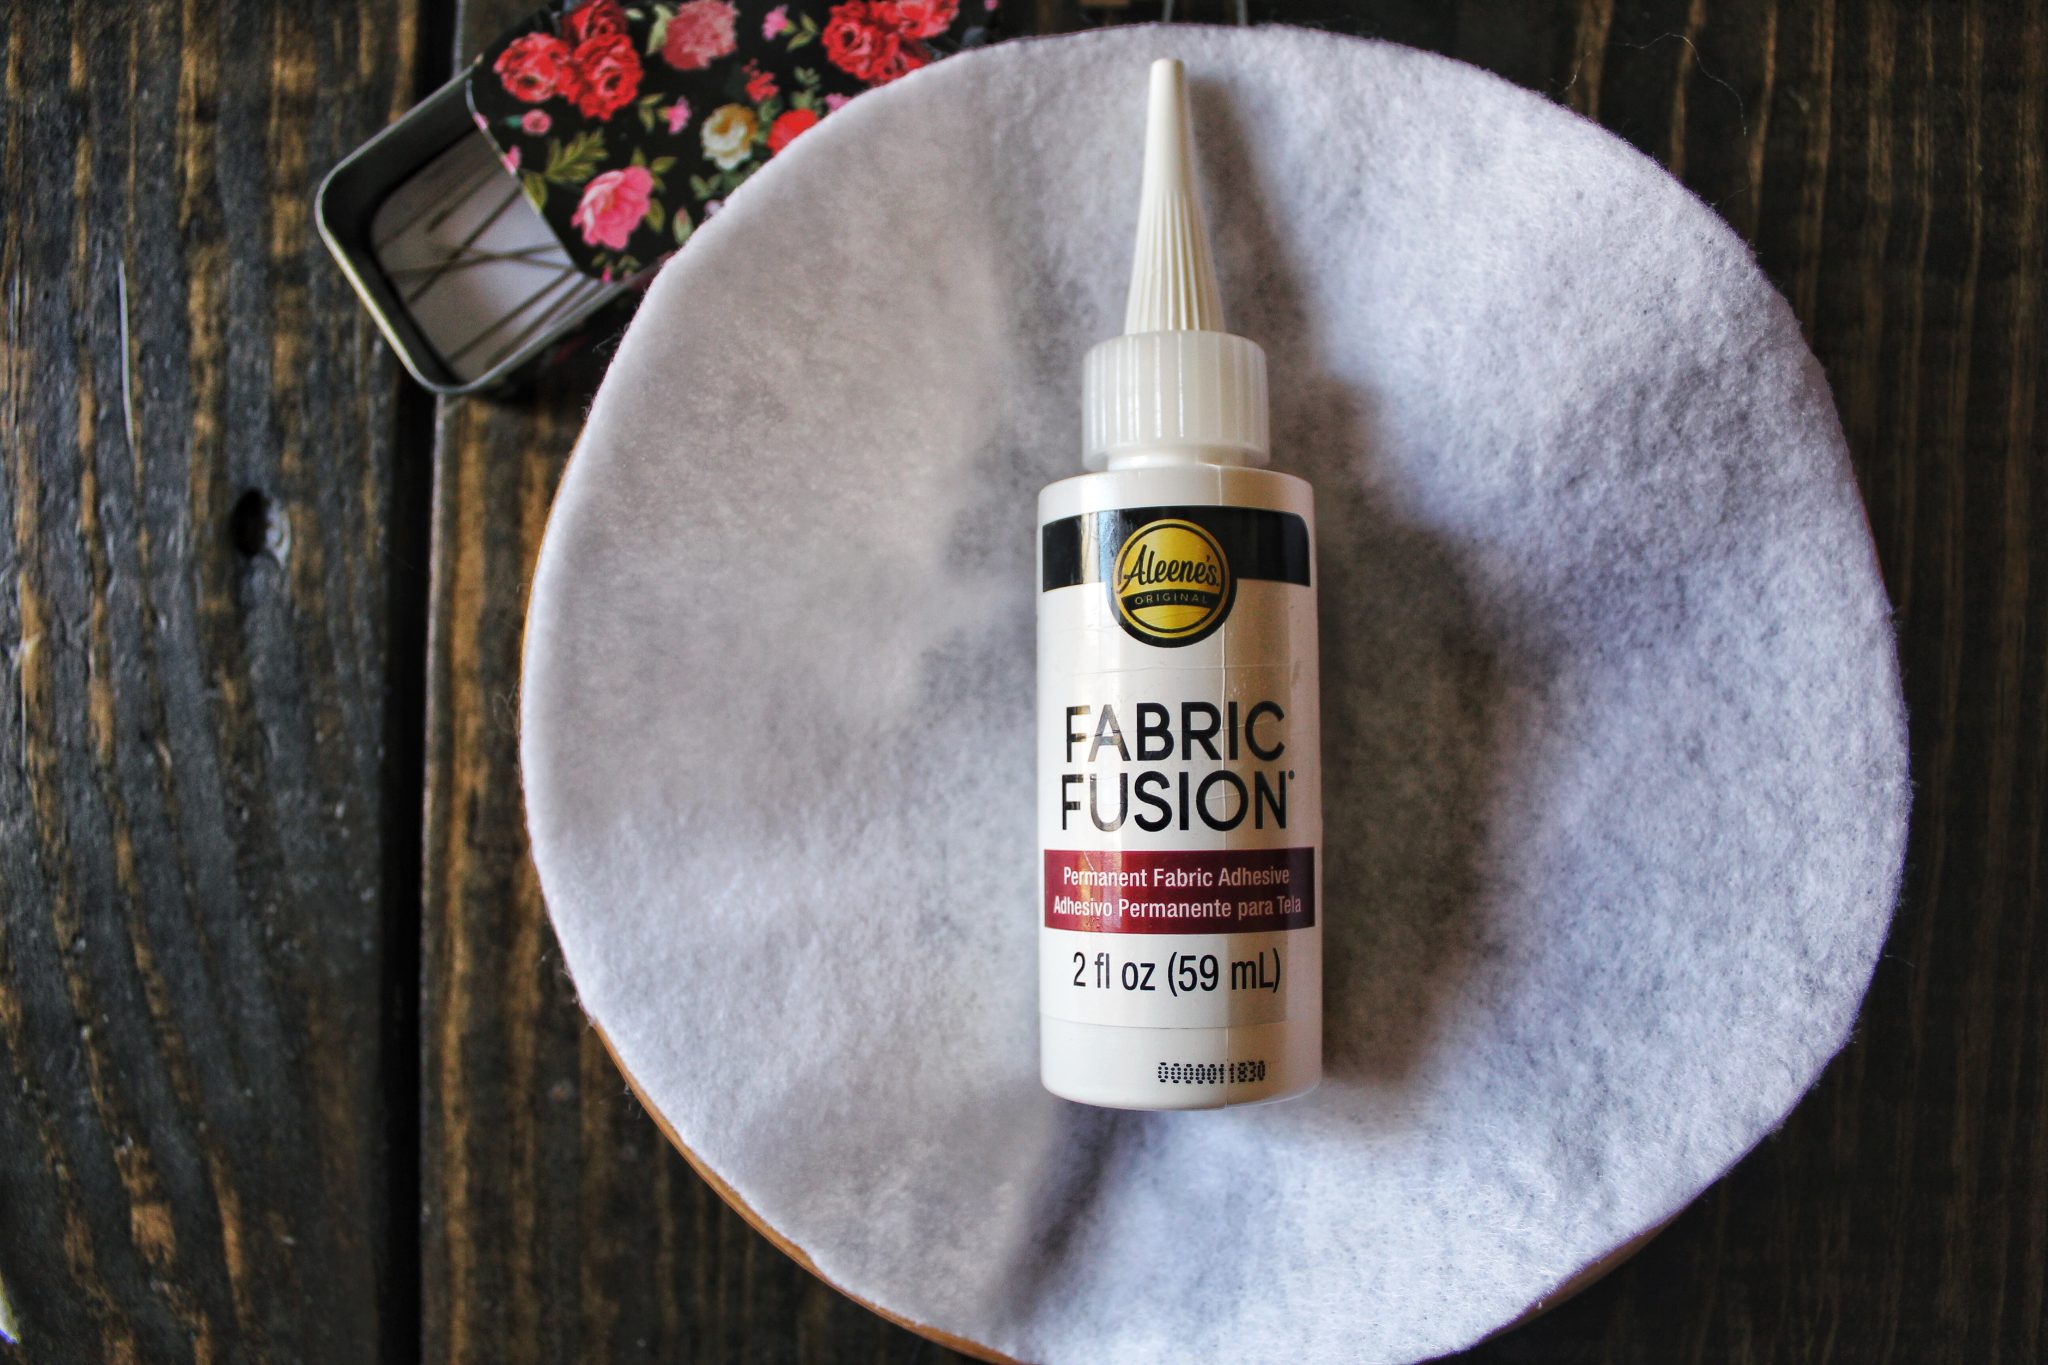
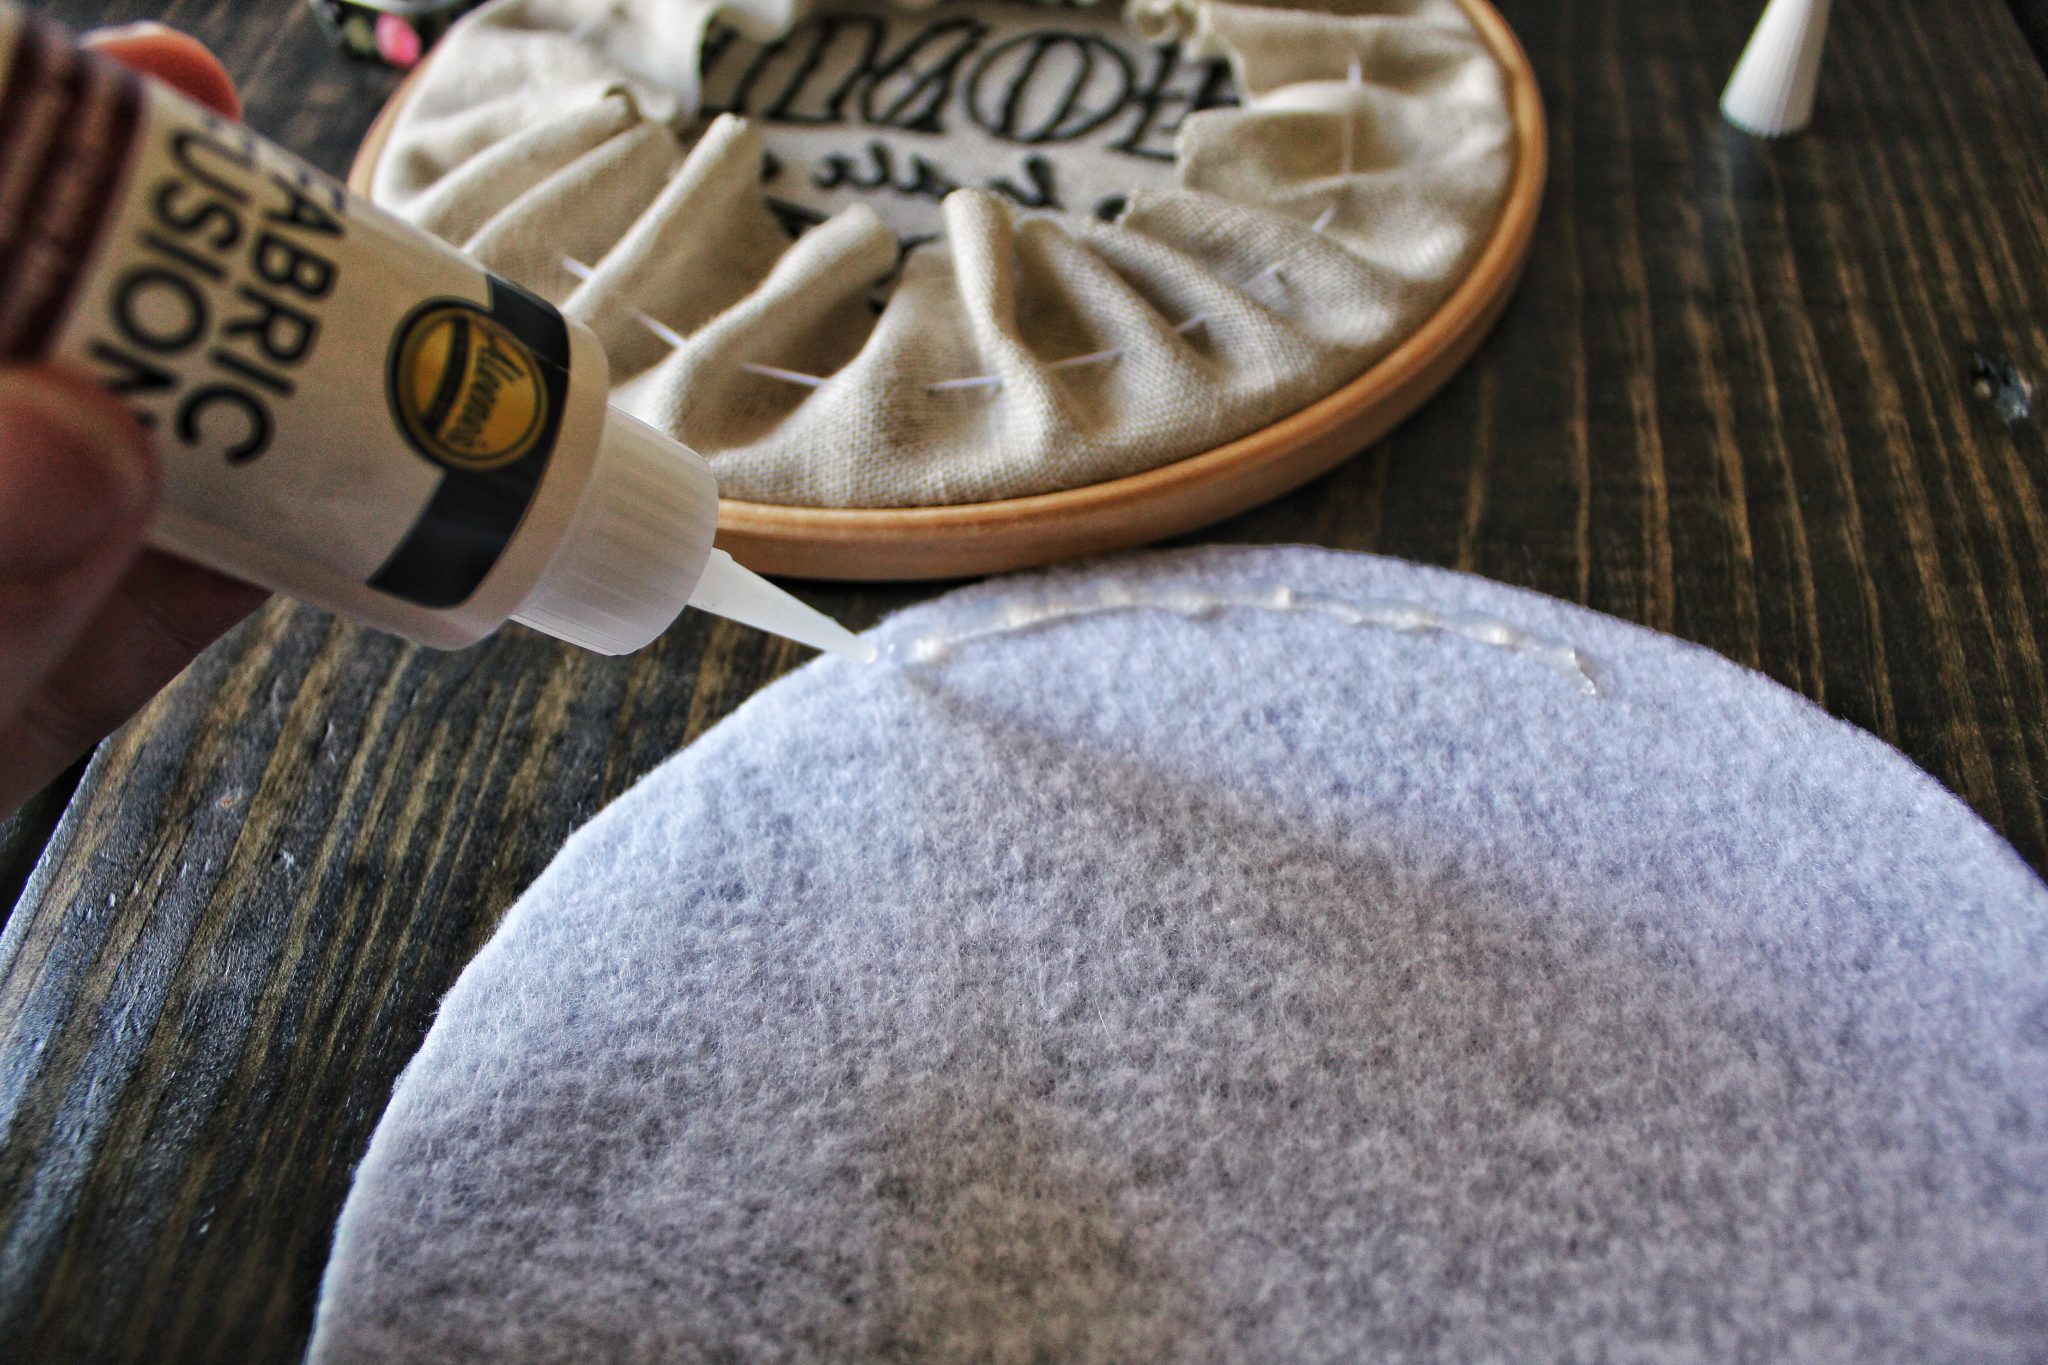
This is where this project really gets lazy. Using your fabric glue add a generous amount to the outside edge of your felt backing.
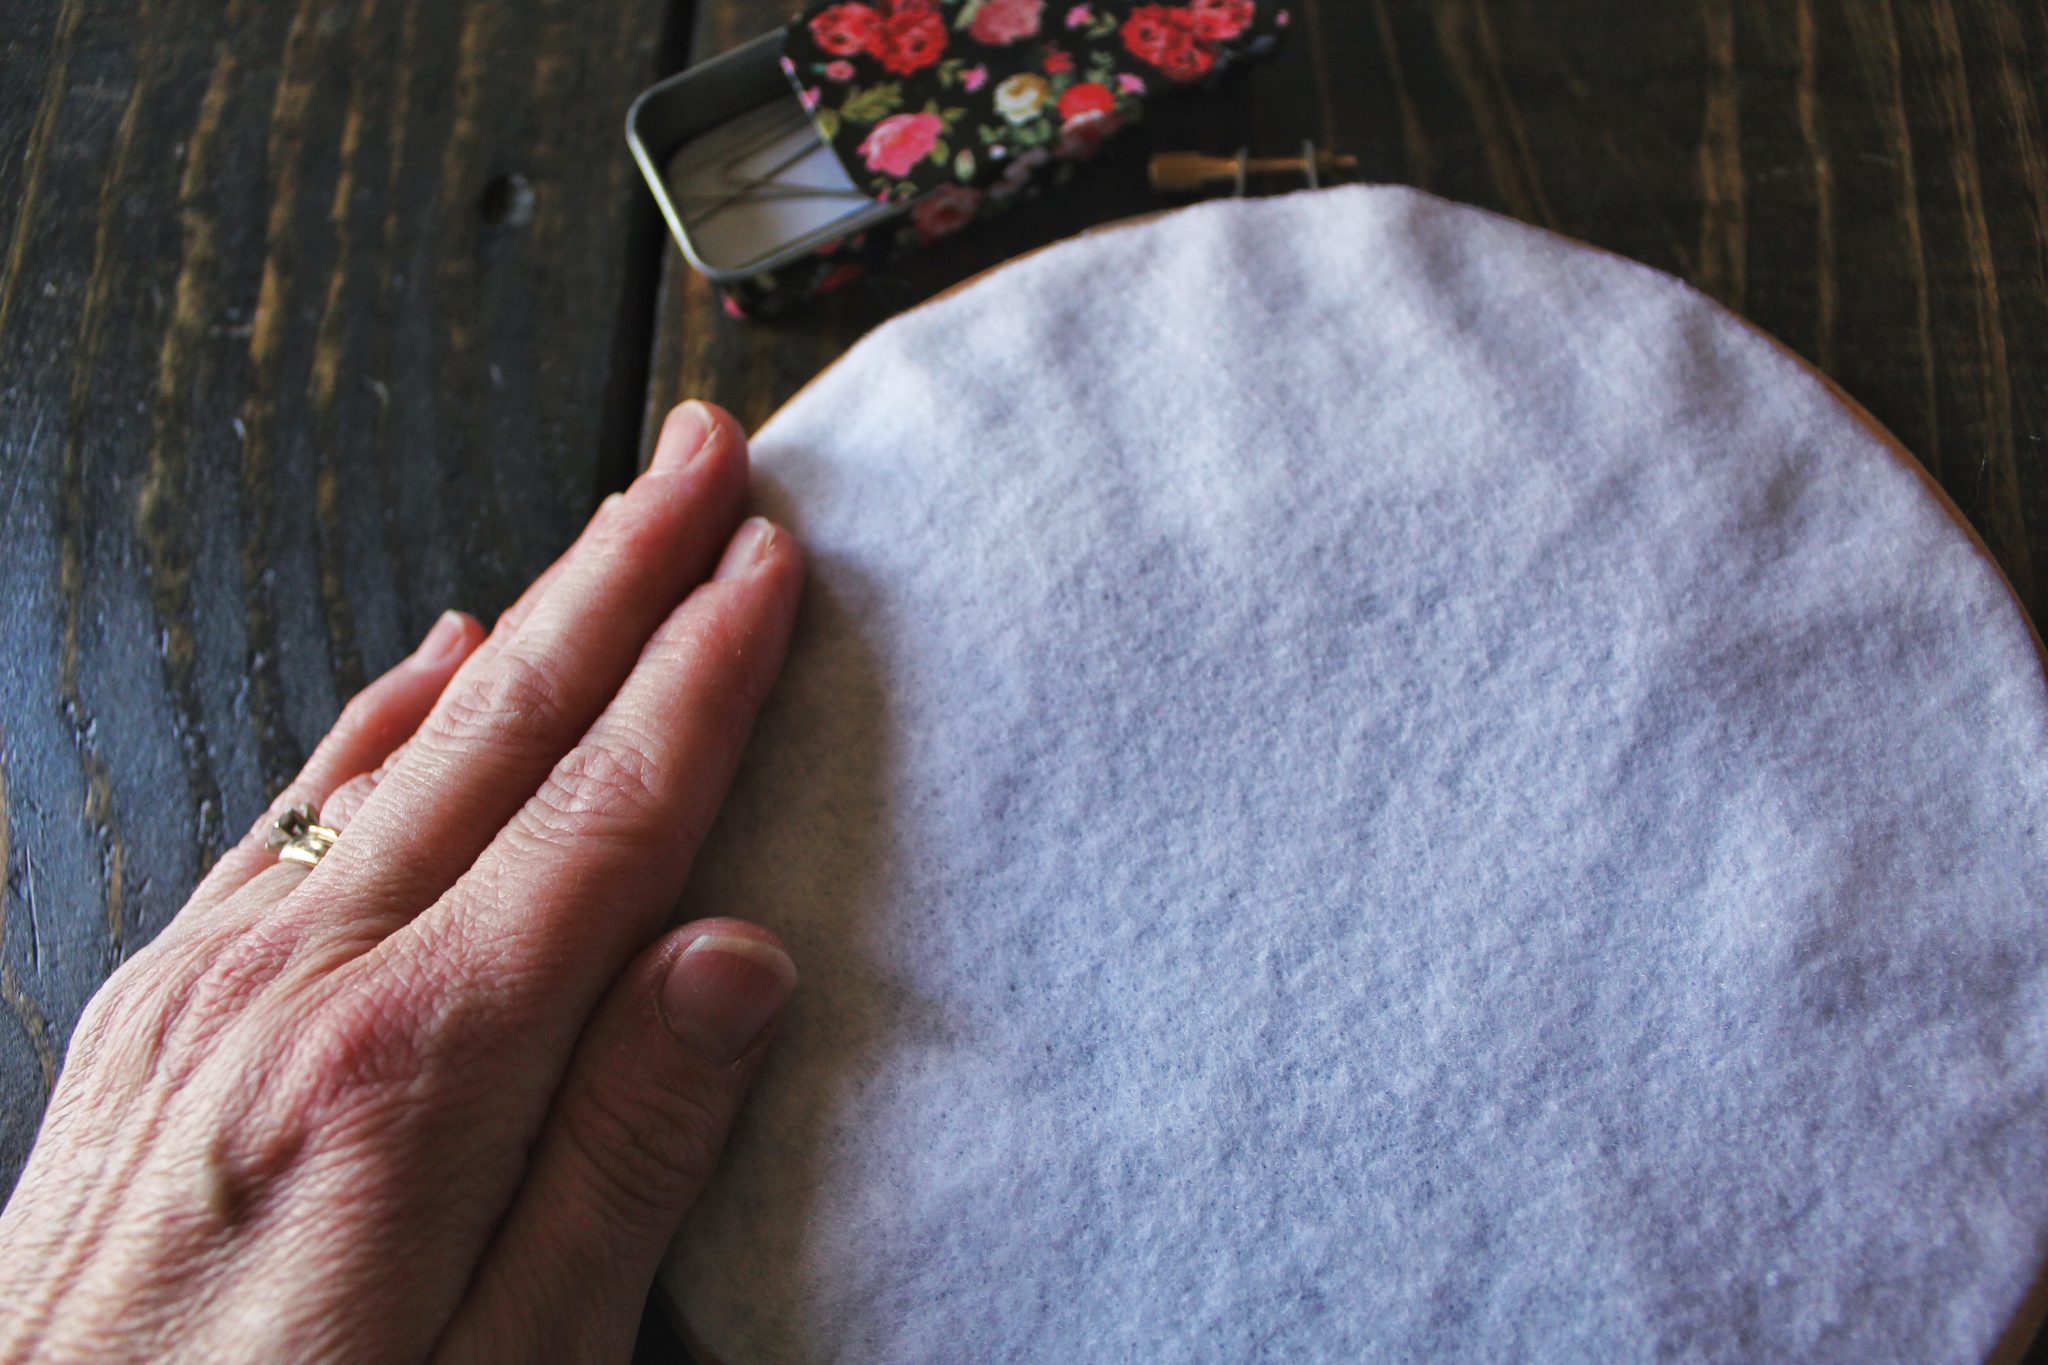
Press the felt backing to your hoop, making sure that the fabric touches the inside gathered, excess fabric. Finishing a hoop in this way hides all of the unsightly things on the back side of your project
Step 9: Impress Your Friends and Family
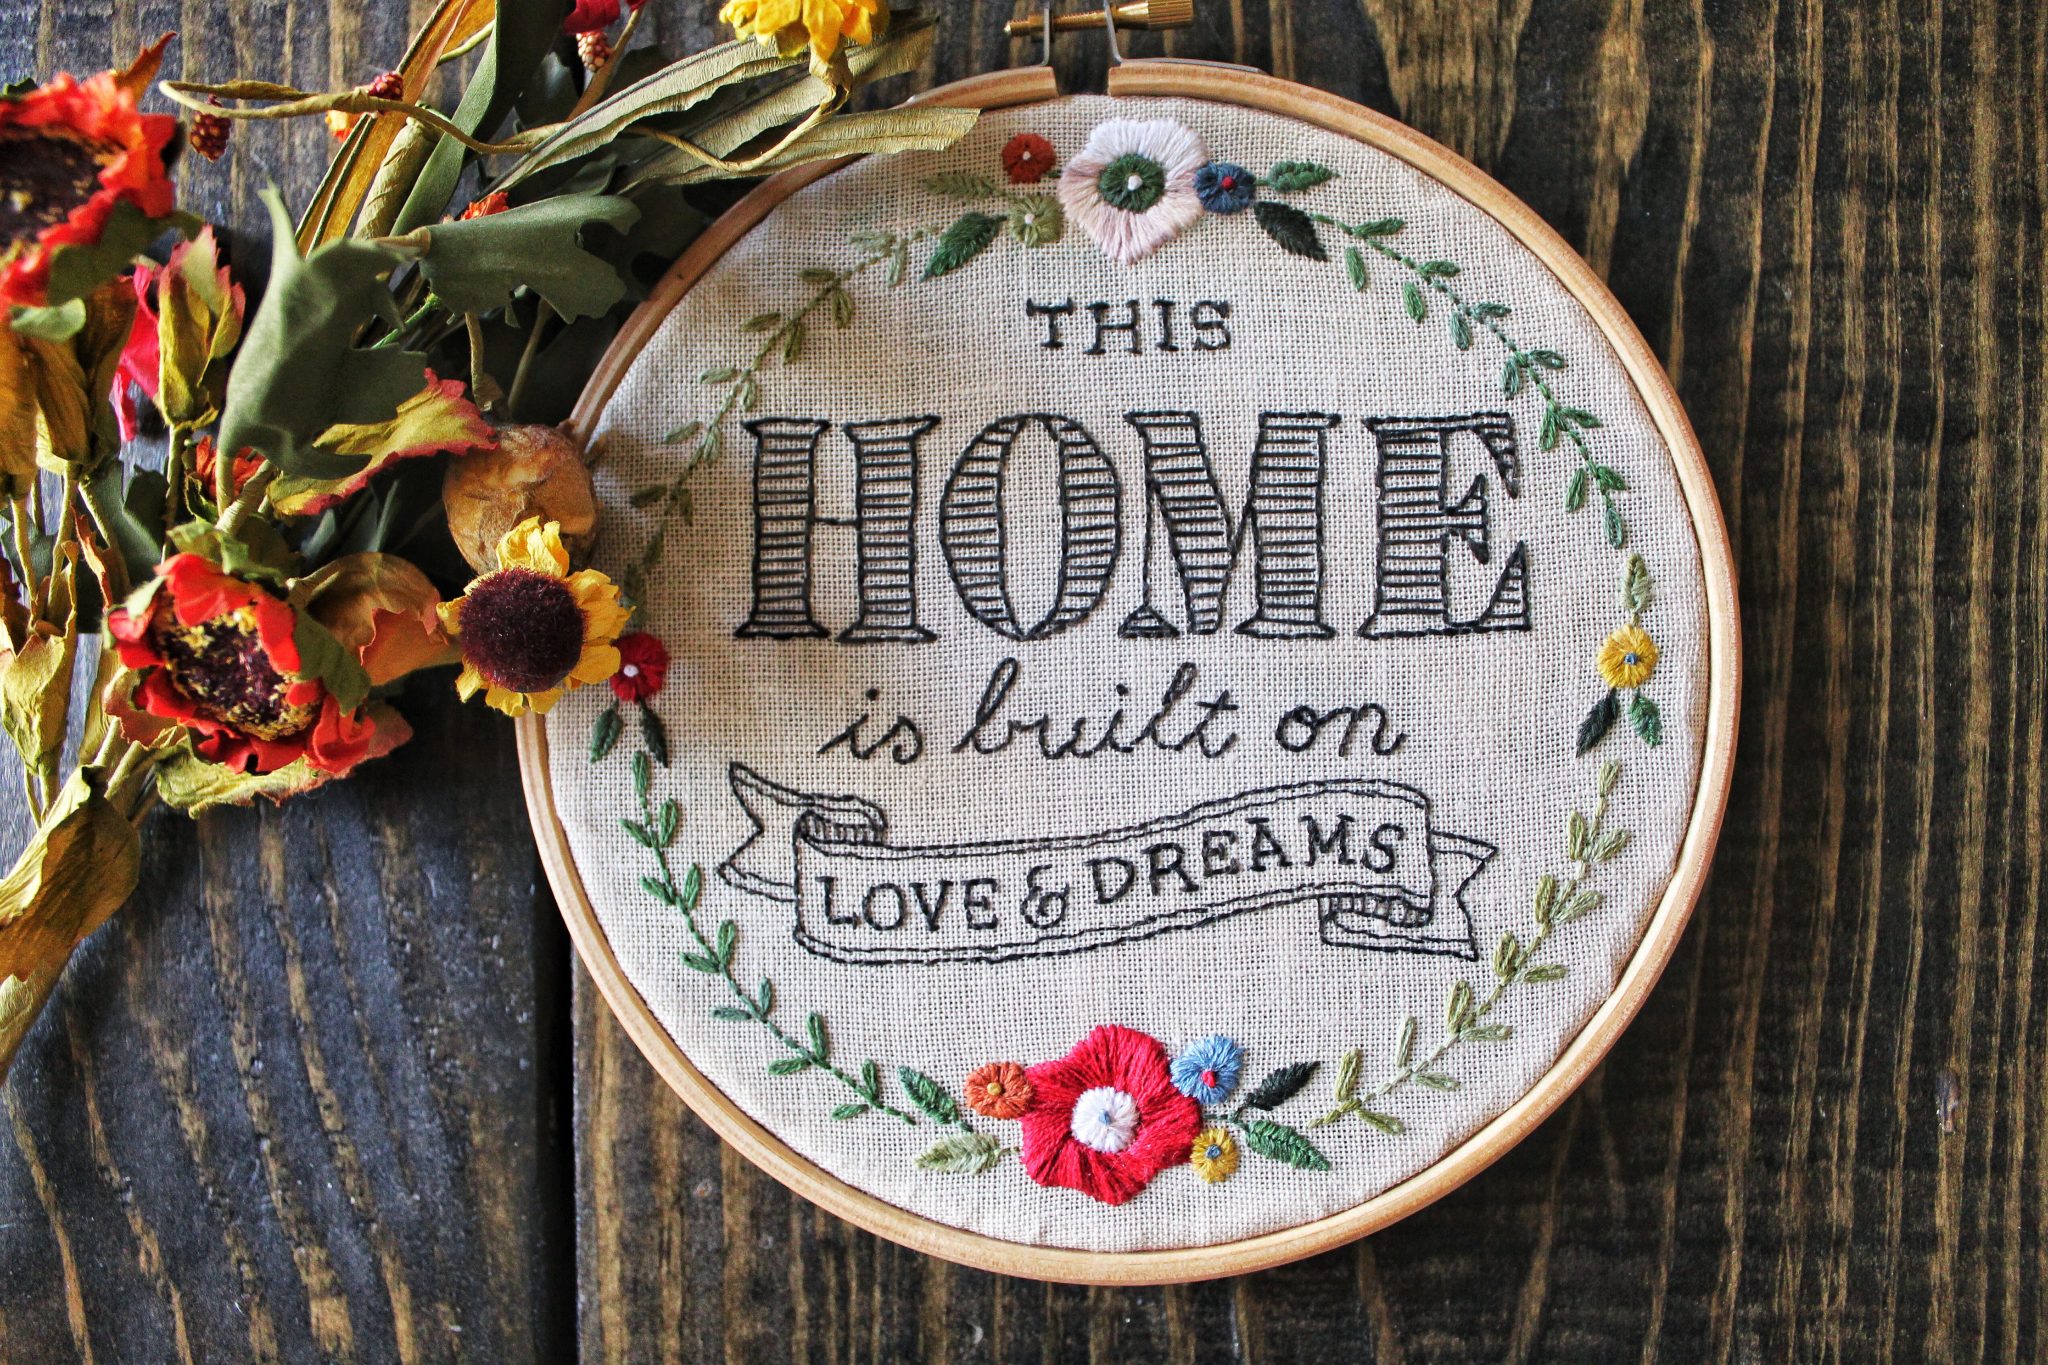
This is when you get to impress your family and friends! Only you and I will know that this wasn’t as hard as they all thought it was.
In all seriousness embroidery is such a fun hobby and with a few tips you can make a beautiful hoop without a ton of effort!


![BEST YARNS for Granny Squares [2023] – PUT TO THE TEST!](https://eliserosecrochet.com/wp-content/uploads/2023/03/granny-squares-1.jpg)
So beautiful. I think hand embroidery gives such a charming vintage look to a space…all I have managed is cross stitch, but the look of this is so much prettier.
Thanks so much, Katie! I used to cross stitch as well but I actually like embroidery better. In some ways it’s easier and the possibilities are endless!
This reminded me I need to start an embroidery project that I need to finish by Saturday!! I better get started! This is LOVELY â¤ï¸
Haha! Thank you so much! I hope you get your project done on time!
Absolutely beautiful! You are So talented :). Fabulous post!
Thanks so very much!
Great tips. I’ve never heard of the hoop tape before. I’ll have to get some the next time I use a hoop. I get very annoyed by the constant need to retighten the fabric!
It works really well! Because the linen is so thin I had to use something to keep the fabric tight!
You are so talented! Next to quilting, I want to learn how to do embroidery. This is so beautiful!!!!
Thank you so much, Wendy! Quilting is something I would love to do as well!
Oh my goodness, so excited you did this post! I love simple embroidery hoops but have never made one before. I felt intimidated, but you make it look easy! thanks for the tutorial!
I felt just like that before I started embroidering. It just takes practice and there are a lot of beautiful beginner patterns out there!
Umm… I really want to head to the store right now and buy everything I need for this. SO CUTE. Pinned this for later! You’re so talented!!
Awww, thank you so much! I absolutely adore embroidery! And it’s just not as hard as it looks!
Why has no one ever mentioned hoop tape??? I love the look of embroidery and my great grandma would allow us to use any scrap material we wanted and make a pillow. It’s one of my fondest memories and I think of it every time I begin to embroider!
Hoop tape is seriously a game changer! It keeps everything so nice and tight, no need to constantly adjust the fabric!
I love hand embroidery. I’ve been stitching for years now. Embroidery and crochet are always neck and neck for first place in my heart. ha! This was a great guide and love the videos.
Janelle
ShadyCreekLane
Embroidery is moving up the list for me! It may not be long before it’s up there with crochet! Thanks so very much!