
21 DIY CROCHET TOOLS You Can MAKE at HOME
While there are many crochet tools and accessories available for purchase, there’s a certain satisfaction in making your own tools at home. Not only can it be a fun and creative process, but it can also save you money.
In this blog post, we’ll explore 21 DIY crochet tools you can make at home to enhance your crochet experience.
This post contains affiliates links and at no cost to you I may earn a teeny tiny commission if you choose to purchase them. Please know that I only recommend products I use and love! Thank you for supporting Elise Rose Crochet! You can read my full (and slightly boring) full disclosure here.
21 DIY Crochet Tools You Can Make at Home
Stitch Markers
Stitch markers are an essential tool for crocheters. They are used most commonly for marking the first stitch in a round, but they have so many other uses like:
- pinning pieces together for seaming like when working on amigurumi
- marking first and last stitches in a row to keep crocheters from losing stitches in the most common spot
- helping keep an accurate count when working on larger projects. Marking every 20 – 25 stitches so you can count quickly
- putting a stitch marker in the last loop of your work to keep it from unraveling when you put down your project

These are just a few reasons we use stitch marker and there are plenty of different versions on the market that we can buy.
- circular stitch markers
- locking stitch markers
- light bulb stitch markers
- lobster clasp stitch markers
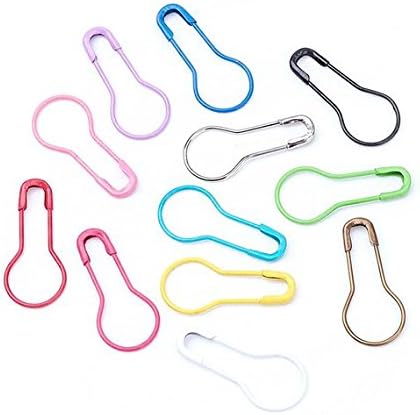
While these are all very handy to have, they aren’t necessary and you probably have something at home that would work just as good.
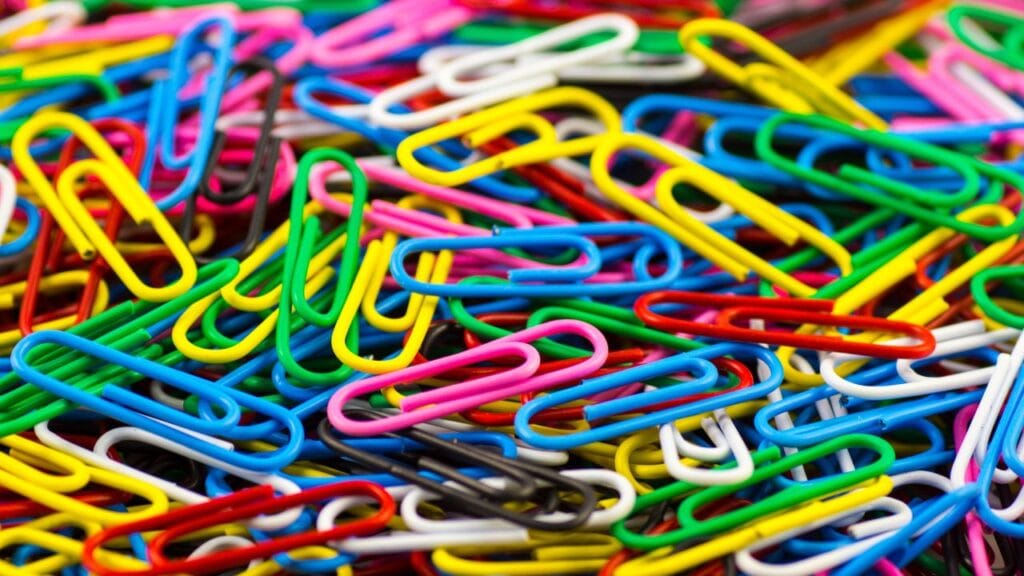
Paperclip
Paperclips work great as stitch markers. One of the best features is that you can slide them around so that is hard for them to come undone.
Safety Pin
Another great household stitch marker is the safety pin. What’s great about this option is that you can lock it into place.

Bobby Pin
Bobby pins are a great option as well, if you happen to have them lying around your house like I do. They slide into your project easily.

Scrap Yarn
One of the best ways to mark your stitches is with a piece of scrap yarn. You likely already have quite a few from previous projects.
Place the scrap yarn after your last stitch in the round and crochet over it. When you finish the round, take the yarn and bring it forward after crocheting the last stitch and crochet over it. You can keep doing this and when you’re finished with your project, just pull it out. Easy peasy.

Ball Winder
If you don’t have a yarn swift and ball winder you may think you can’t wind up your yarn into neat little cakes.
But you can!
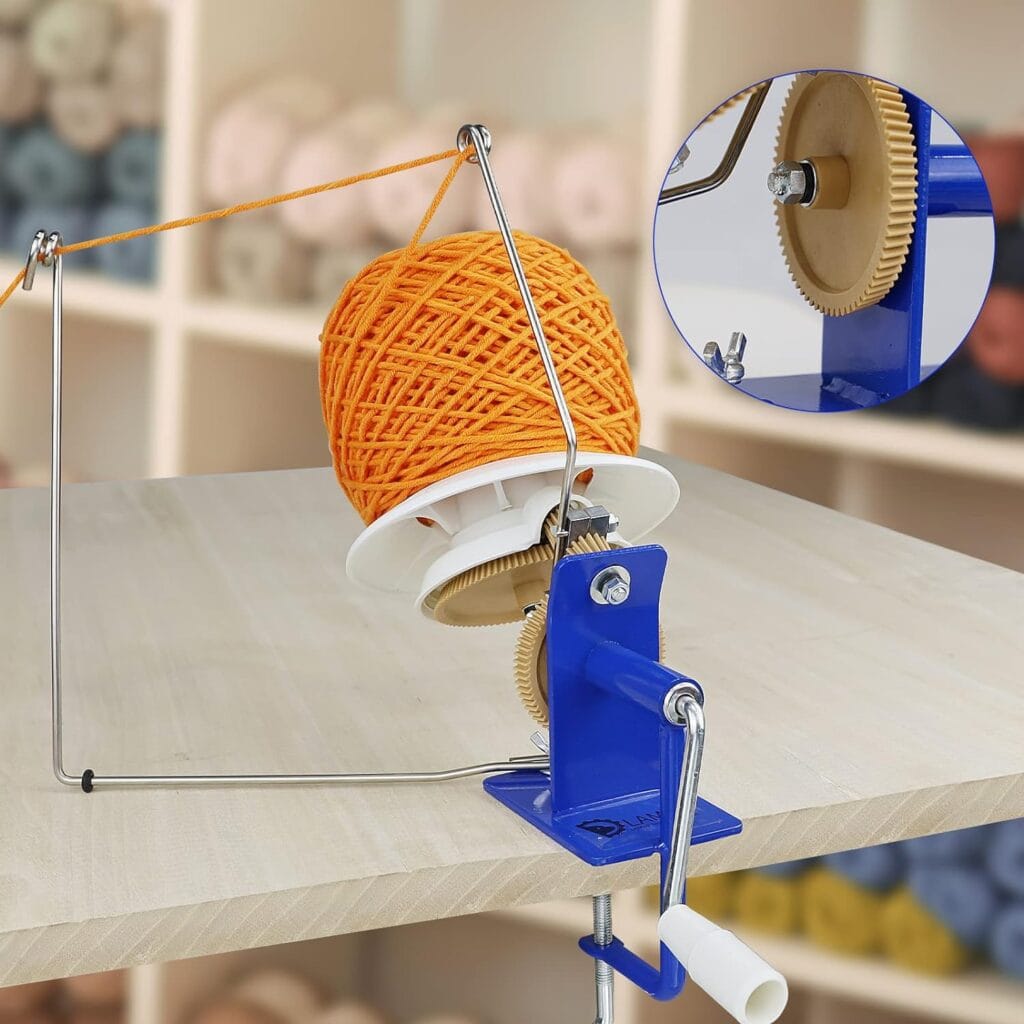
Check Out My Favorite Ball Winder Here
Toilet Paper Roll
You just need a roll of toilet paper (one that has all the actual toilet paper gone – you just want the brown cardboard part).
Cut a small slit in the cardboard and place one end of the yarn inside the tube. Place the yarn end through the slip and wrap the rest of the yarn around the outside at an angle. Turn the tube every so often while wrapping to create the yarn cake.
Once you’ve wrapped all the yarn around the toilet paper roll, slip it off. You now have a perfect center pull yarn cake!

Yarn Bowl
Wooden or ceramic yarn bowls are a luxurious crochet item. They are a great way to keep your yarn from rolling around when working on a project. They also keep the yarn contained so that pets or children don’t take off with them and run (ask me how I know).
The two wooden yarn bowls I have are gorgeous and were a gift from a sweet friend. They keep the yarn clean and the little notch allows the yarn to be fed smoothly, keeping it from getting tangled.
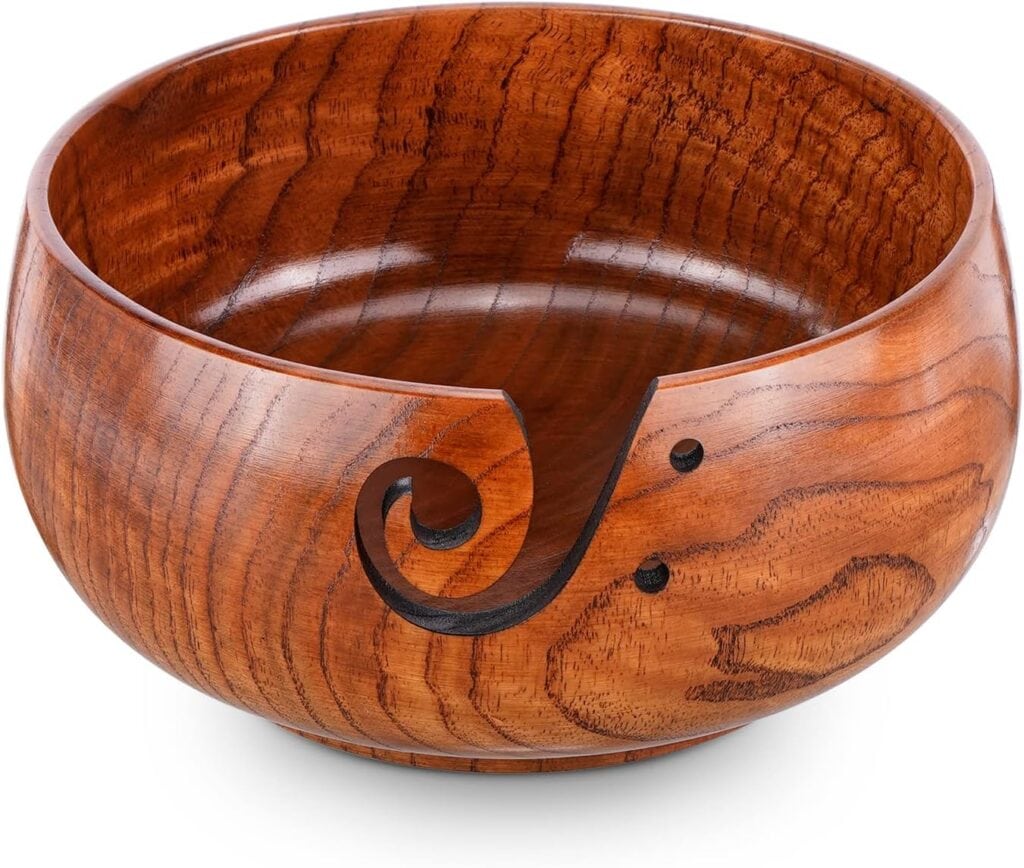
But many of them come at a hefty price.
There are so many different ways that you can create something similar with the items you already have at home. Here are a few ideas to get you started.
Colander
The first is a colander, that’s right, the kind you use to strain your pasta.
This works very similarly to a yarn bowl that it keep the yarn contained while also keeping it clean.
You can feed the yarn right through one of the holes. The only downside to this option is that once you put through the hole, the only way to undo it is to cut the yarn.

Plastic/Paper Bag
Another super simple crochet tool you can make at home is to use plastic or paper bags as a yarn bowl. You can simply place the yarn in the bag and feed the yarn through the opening.
But I’ve also created a hole in a paper bag to feed the yarn through. And if you’re concerned about not being able to easily get the yarn out, you can cut a slit in the bag from the top all the way down to the hole.

Clorox Wipe Box/Oatmeal Box/Coffee Container
Any container large enough to hold your yarn could be a DIY yarn holder.
I’ve made a yarn container from a Clorox wipe box, which you can see here:
Testing 10 VIRAL Crochet TIKTOK Hacks | Do They ACTUALLY WORK?

But others have shared in the comment section how they use oatmeal or large coffee containers with lids. You can drill a small hole in the top and feed the yarn through.
Yarn Cozy/Yarn Sock/Yarn Sleeve
Yarn Cozies (also called a yarn sock or yarn sleeve) is a way to keep your yarn clean and compact while pulling the yarn from the center.
These are nice to have because they compress the yarn as you’re working with it and keep the yarn neat while you work.
Instead of purchasing a yarn cozy like these from Amazon: Yarn Cozy 3 Pack you can easily make your own from some old panty hose or tights you have hanging around your sock drawer.

Cut off the toe end and the leg end to create a tube. Place your yarn inside and pull the yarn from the center. Voila.

Ergonomic Crochet Handle
Ergonomic crochet hook handles are an important tool for me. They have helped reduce pain in my hands, wrists and elbows and allowed me to crochet for longer periods of time. The only downside is that they tend to cost more. And finding one that works best for you can be a costly game of trial and error.

There are several cheap alternatives to pricey ergonomic crochet hooks that you can make at home. Now I’m all in favor of ergonomic crochet hooks (and I believe they are worth the cost), but there are valid reasons why someone wouldn’t want to make the investment.
- Not in the budget
- You already have a favorite crochet hook that isn’t ergonomic
Polymer Clay
If you do a Google serach for “DIY Ergonomic Crochet Hooks” you will find so many amazing ideas for crochet tools you can make at home. Many folks have created perfect ergonomic crochet hook handles with polymer clay.
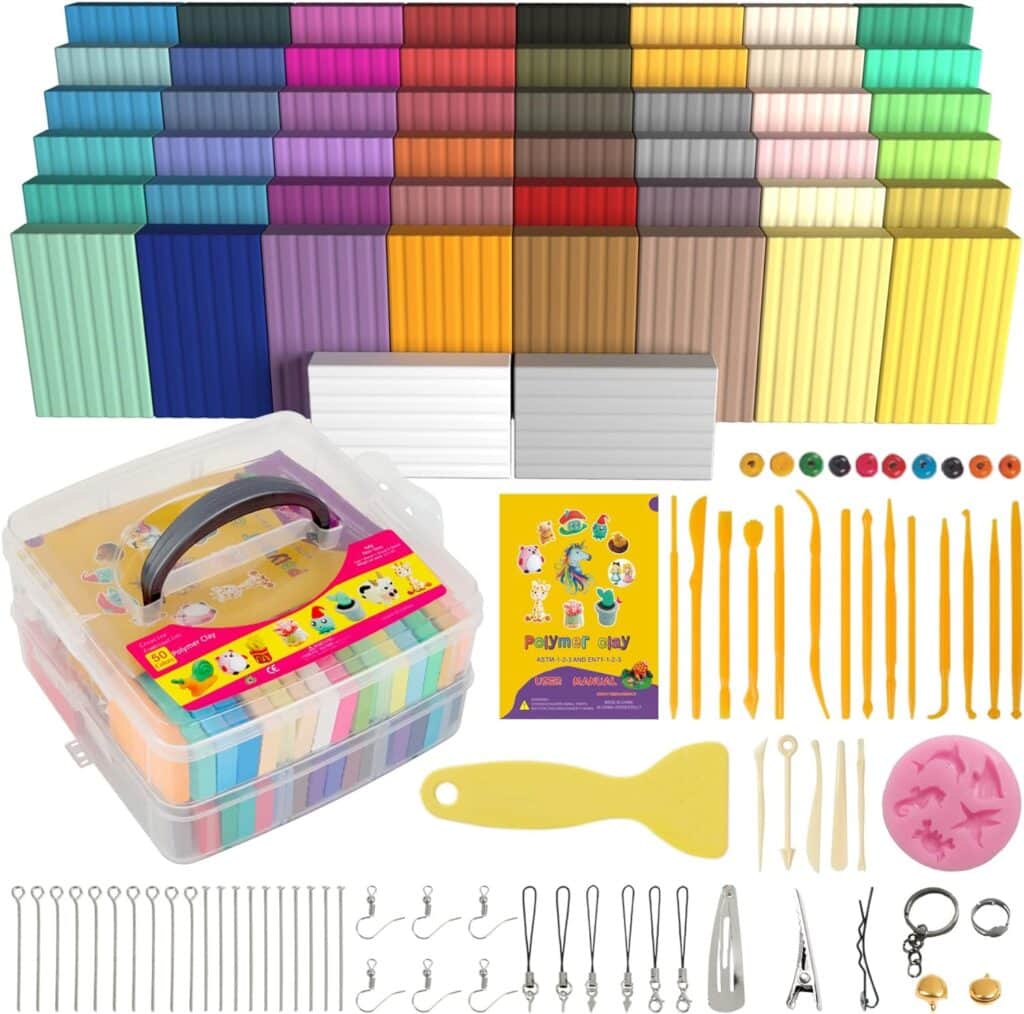
If you’re a crafty person in general, you may already have some polymer clay laying around.
The biggest benefit is that you can mold the polymer clay to fit your hand perfectly. And if you’re super artsy you can not only create practical ergonomic crochet hook handles, but exquisite handles that look like pieces of art.
Shelf Liner
Shelf liner is a fantastic way to make your crochet hook ergonomic.
(You’ll see exactly how I used the shelf liner in the video above)
I cut it into the shape of a long triangle without the point (like a trapezoid). Then I rolled it up from the widest point to the end. I added a tiny bit of hot glue to secure it.
Worked like a charm.

We’ve been using shelf liner for years in our home because our older son is disabled and it has made his life easier because it sticks to surfaces without leaving a residue. We’ve used it under clipboards so that when writing his paper doesn’t slip around the table. We have it on a cutting board to keep it in place.
This makes a great DIY crochet tool because it won’t ruin your crochet hook, if you ever want to remove it.
Yarn Holder
Yarn holders are very popular crochet gadgets that you can easily make at home.
Some of the most popular kinds of yarn holders are:
- Wooden Yarn Holders – these hold your yarn upright while allowing you to spin the yarn around smoothly.
- Wool Genie – this new crochet gadget “allows the yarn to unwind at the same rate as you knit or crochet – meaning a tangle-free, easy knitting or crochet experience!” While this is a fun tool, I think of all the yarn I could buy for almost $50.
- Big Sully – I actually purchased this crochet gadget back in November of 2022. I had high hopes for it, but found that it was bulky and unnecessary.
- Olikraft Double Revolving Yarn Holder – as someone who does a lot of colorwork, I was convinced this would be a great tool. But it is gathering dust in my craft room. It doesn’t roll as smoothly as I had hoped and felt unnecessarily complicated.


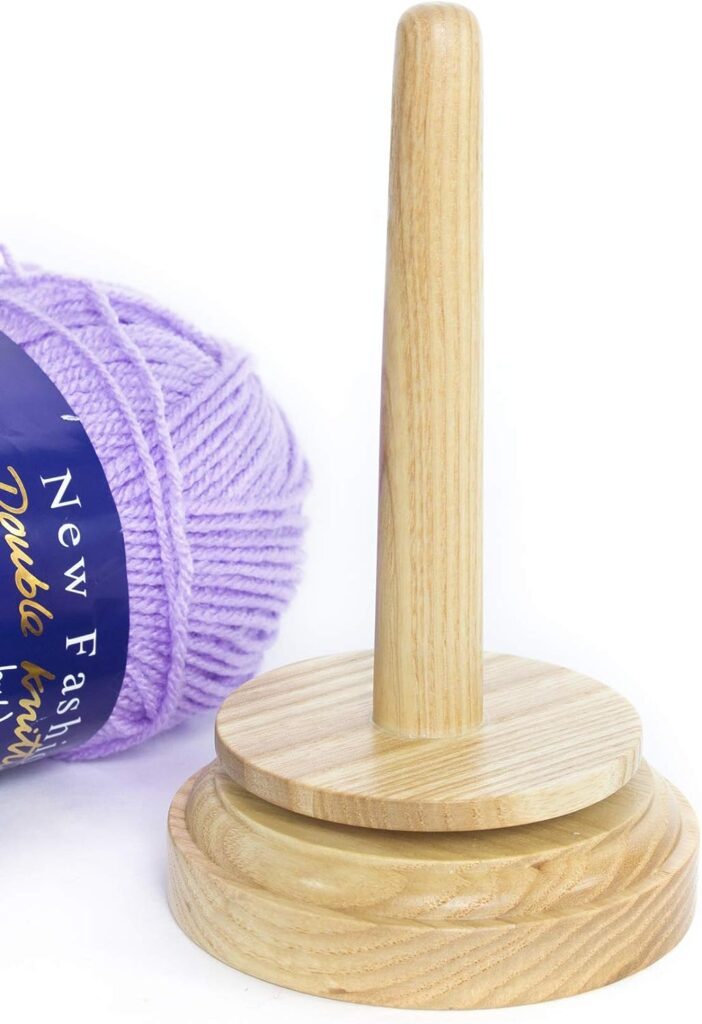

Paper Towel Holder
One of my favorite ideas for DIY crochet tools you can make at home is a yarn holder made from a paper towel holder.
A vertical paper towel holder is perfect for holding your yarn upright and being able to feed it smoothly. You may already have one of these at home, but you might be able to find one in a thrift shop for next to nothing.

Measuring Tape / Ruler
If you’ve ever lost your measuring tape or ruler, that can be a big problem when you’re crocheting.
But the good news is that you have something that can do in a pinch.
Use Your Body for Measuring
Use your own body for fast, approximate measuring. The first joint of an index finger is about 1 inch long. When a hand is spread wide, the span from the tip of the thumb to the tip of the pinkie is about 9 inches; from the tip of the thumb to the tip of the index finger, around 6 inches.
LA Times
I tested this out on myself and the first two measurement were accurate for me, but the span of my thumb to the top of my pinkie is 8 inches instead of 9. Knowing these measurements on your own body is a handy little tool (see what I did there? lol).

Containers for Organizing Crochet Tools
Keeping your crochet tools organized can be costly, but if you look around your own home, you are likely to find so many options.

- Pill Bottles – these work great for things like yarn needles, buttons, safety eyes for amigurumi and stitch markers just to name a few.
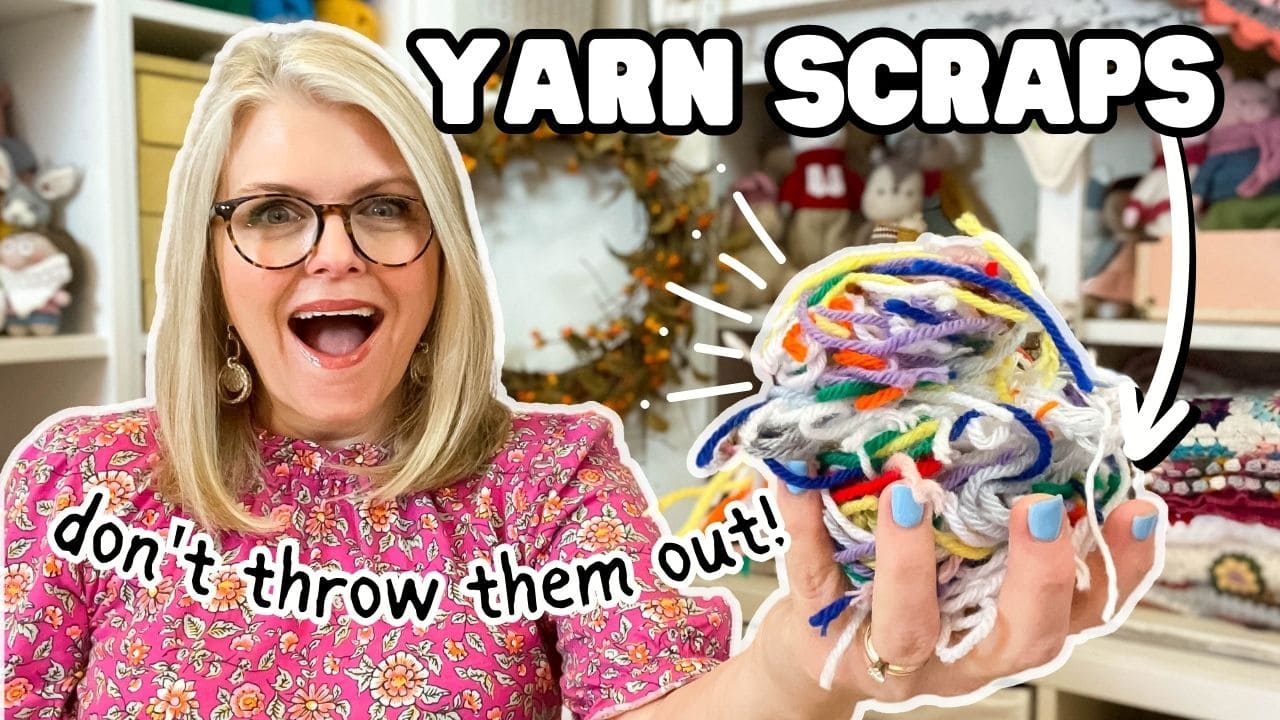
- Glass jars – once clean these glass jars can be used for things like yarn scraps (which you want to save) and crochet hooks. You can also make these look pretty by adding a cut crocheted jar cover:
Check Out the Cute Crocheted Jar Covers FREE Pattern & Tutorial Here

From the Kitchen
There are so many crochet tools you can make at home that come right from your kitchen!
- Bread ties – bread ties can be used to help you keep track of the information about a project like the crochet hook size. Write the information on the tie with a permanent marker like a Sharpie and clip it to your project! (this was an idea from a viewer on YouTube. Genius!)
- Chopsticks – the next time you get Chinese takeout, save those chopsticks to use to stuff amigurumi toys. Personally I like to break them in half, so that theres’s a bit of a jagged edge. It helps to grab the stuffing.
- Chip Clips – we have lots of clips in our kitchen for closing up chip bags. But they can also be used for crochet projects. Use them to hold two pieces of crochet work together for seaming. This would work especially well if you’re seaming two granny squares and want those edges to be held securely.


Stuffing
If you enjoy crocheting amigurumi toys as much as I do, you probably go through quite a bit of stuffing.
Check Out my Favorite Amigurumi Stuffing Here
But if you have any old pillows or toys that you’re going to be getting rid of, consider ripping their guts out…. literally. You can use that old filling to stuff your new toys.
I’ve also heard of people buying pillows and stuffed animals at thrift stores for dirt cheap just for their filling material.

Crochet Tools You Can Make at Home
Crafting your own crochet tools can be a rewarding and budget-friendly way to enhance your crochet experience. These DIY tools not only serve their purpose but also add a personal touch to your craft. So, gather your materials and get creative – you’ll be amazed at what you can make right at home!
Pin for Later!


![Crochet With Me [Relaxing Garden Tour Video]](https://eliserosecrochet.com/wp-content/uploads/2021/06/Crochet-with-me-1.png)