
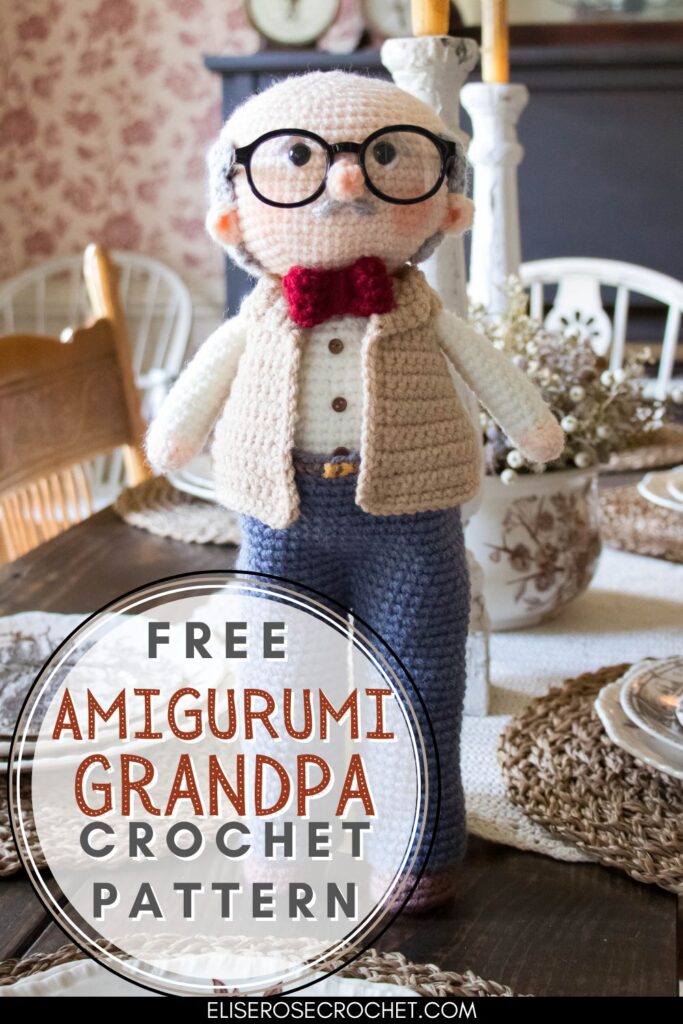
FREE Amigurumi GRANDPA Pattern | + Step-by-Step Tutorial
Do you want to learn how to crochet an adorable amigurumi grandpa? In this free pattern & full video tutorial you’ll learn how to make your very own adorable amigurumi old man from start to finish.
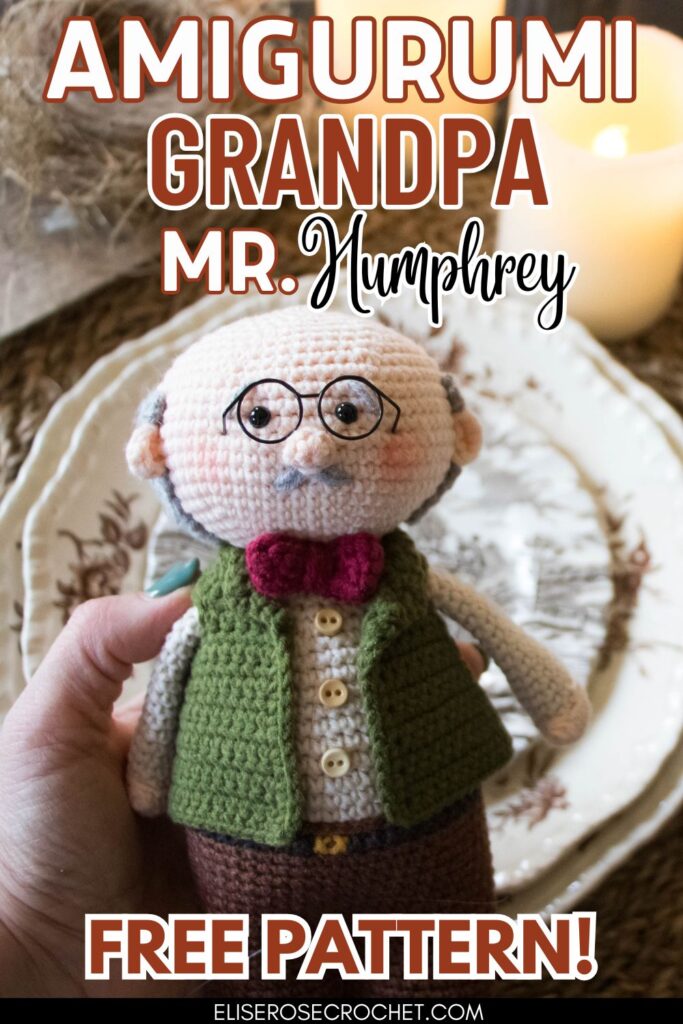
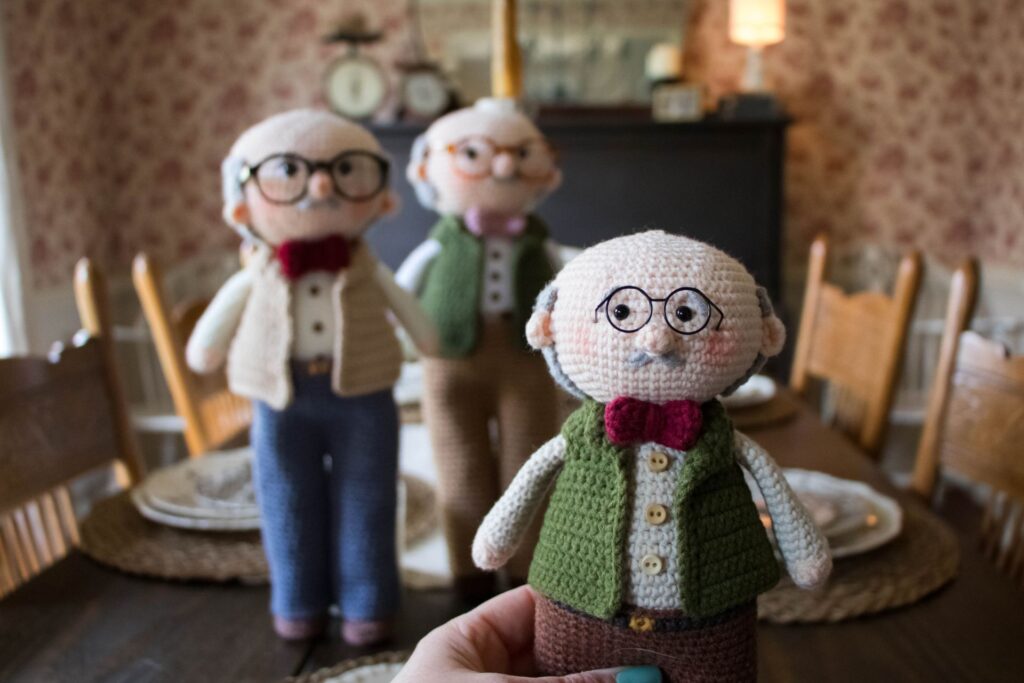
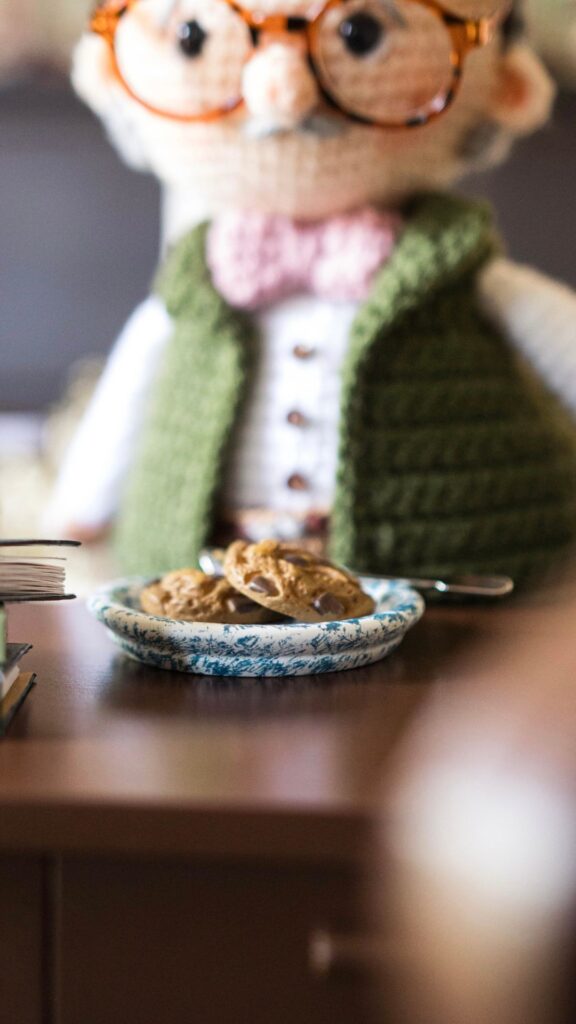
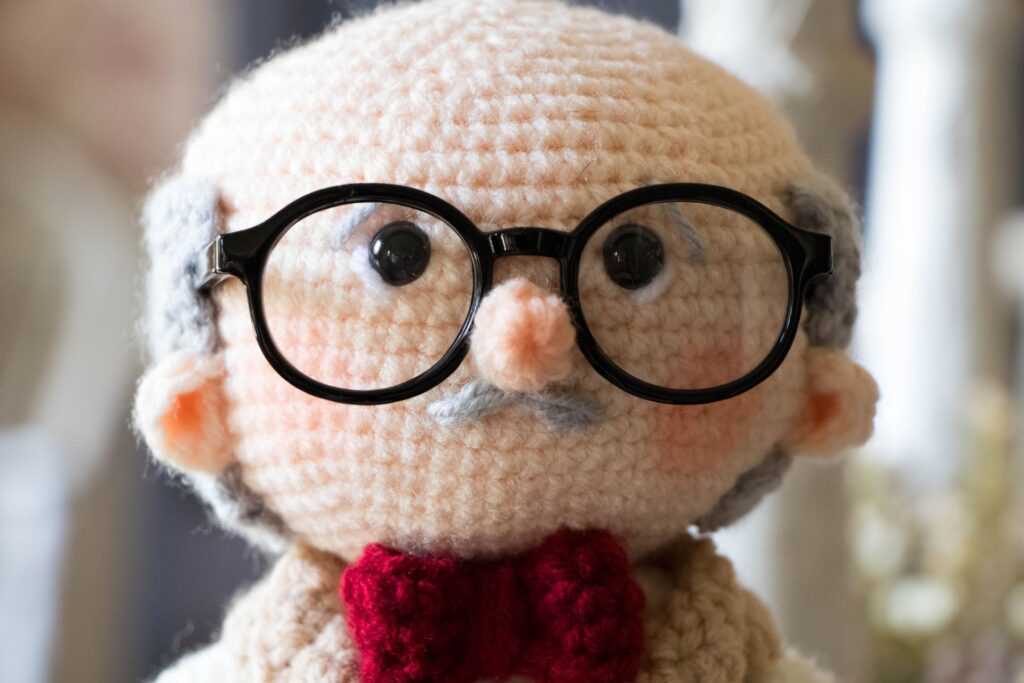
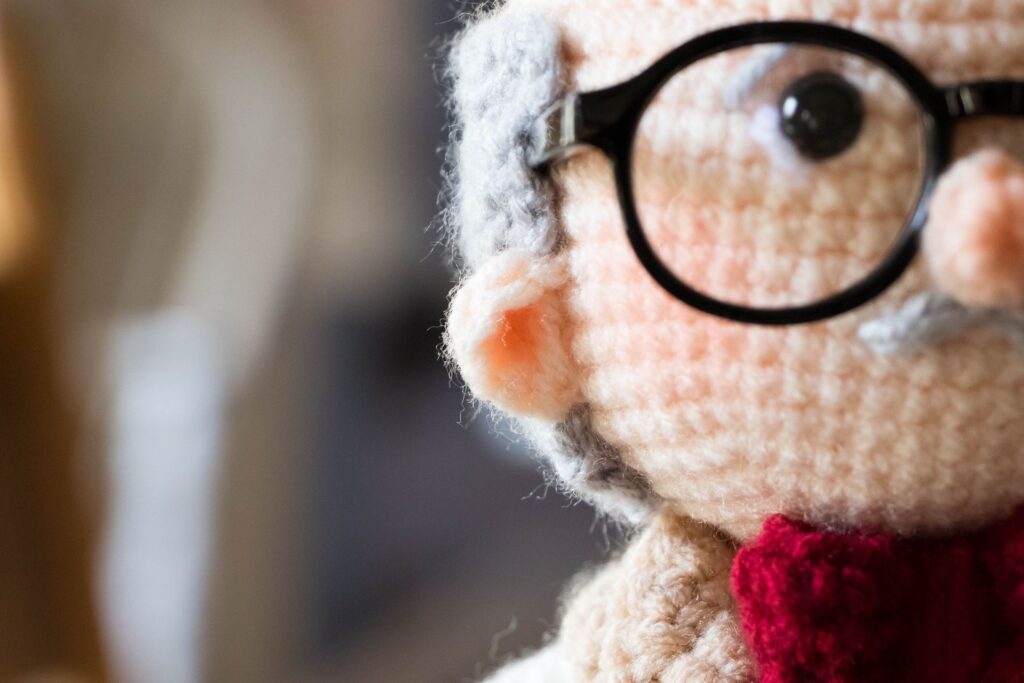
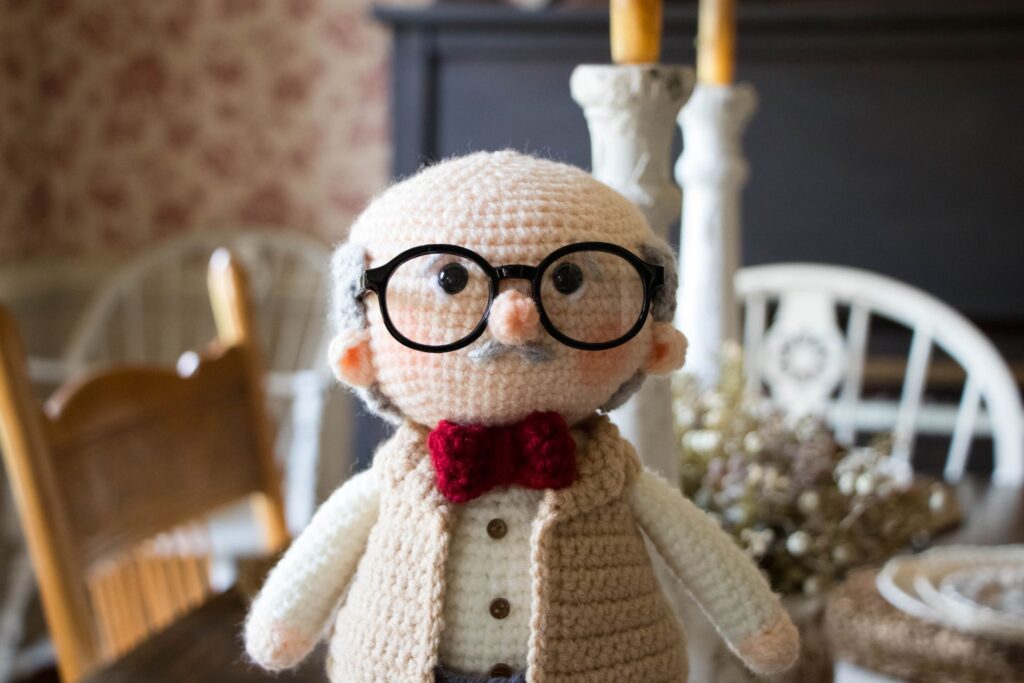
If you love nostalgic crochet projects, you are going to adore Mr. Humphrey! He is a sweet, storybook style amigurumi grandpa with a kind heart and a love for chocolate chip cookies.
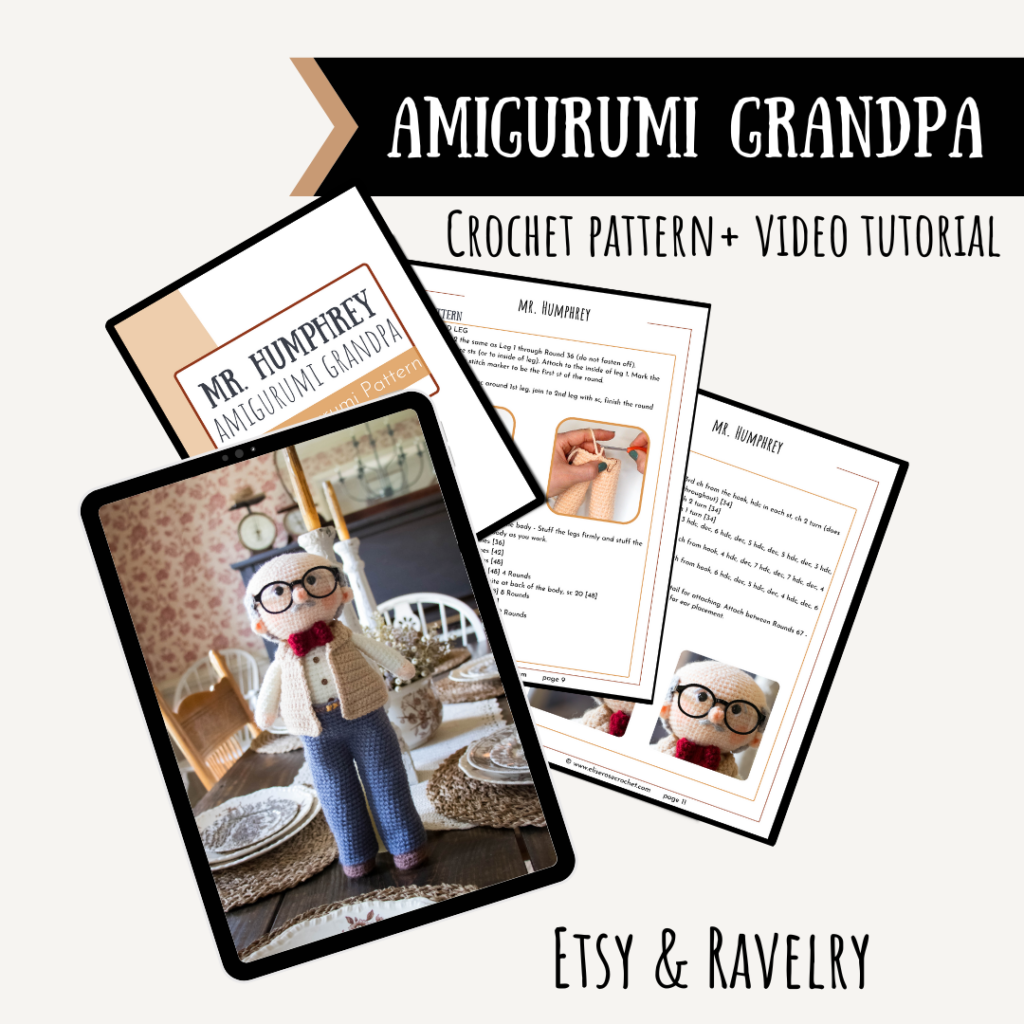
This free crochet pattern will walk you through every step of creating Mr. Humphrey. And to make it even easier, I’ve included a full video tutorial. Whether you’re an experienced amigurumi maker or just learning how to crochet toys, you’ll find helpful tips and clear instructions to bring this timeless character to life.
So grab your hook, pick out your favorite yarn, and let’s crochet Mr. Humphrey together!
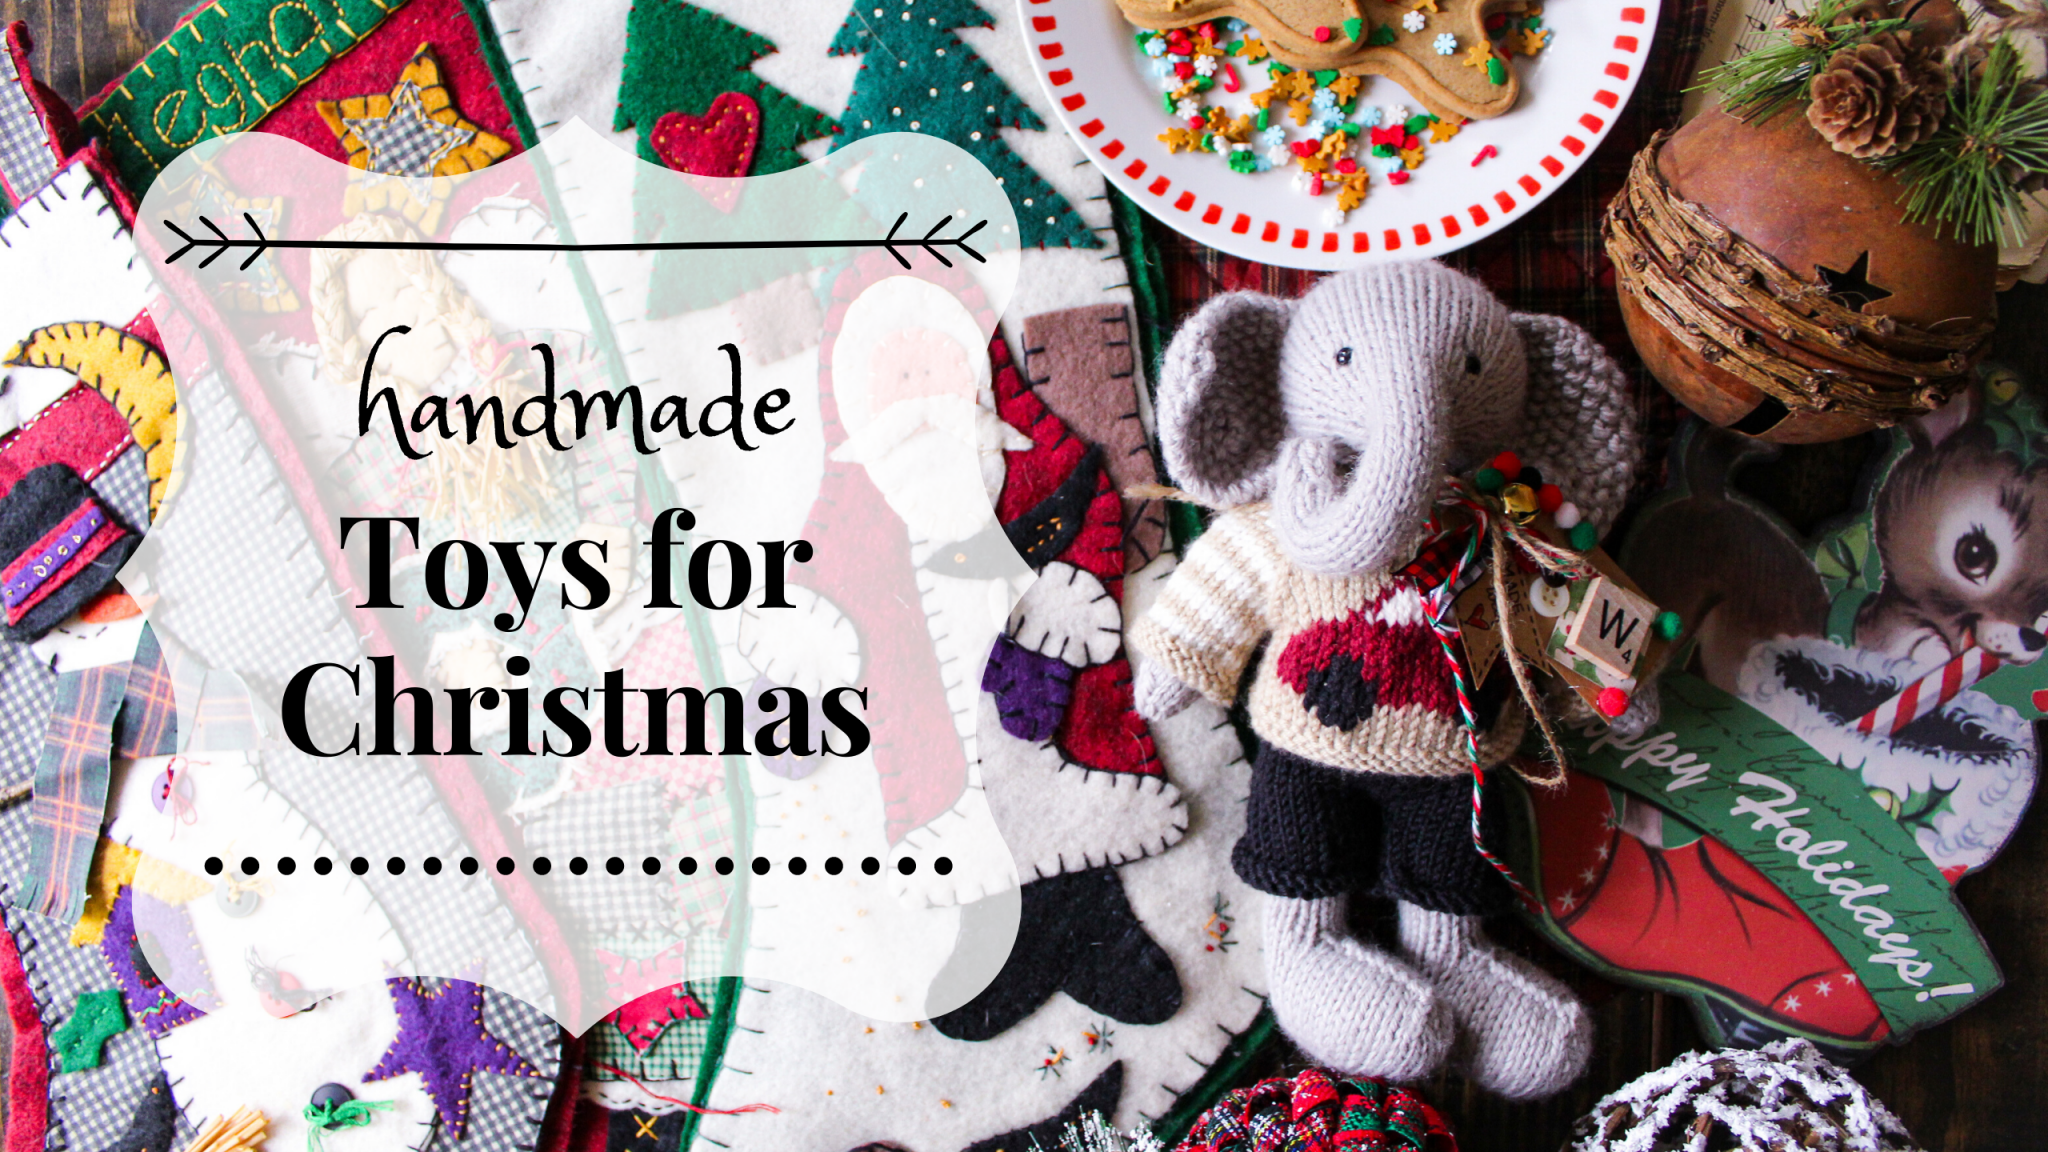
Pin for Later!
Different Size Amigurumi Options
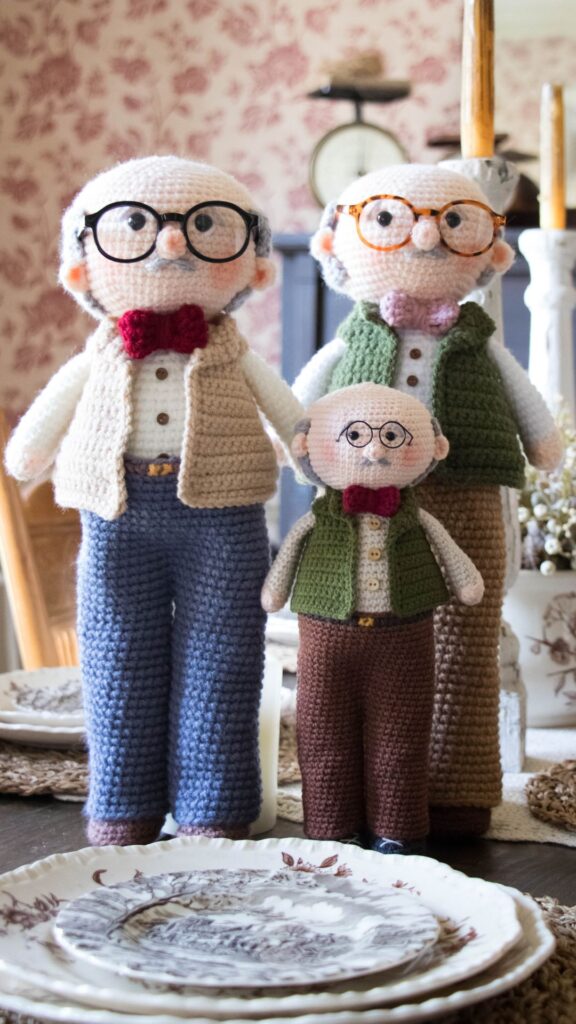
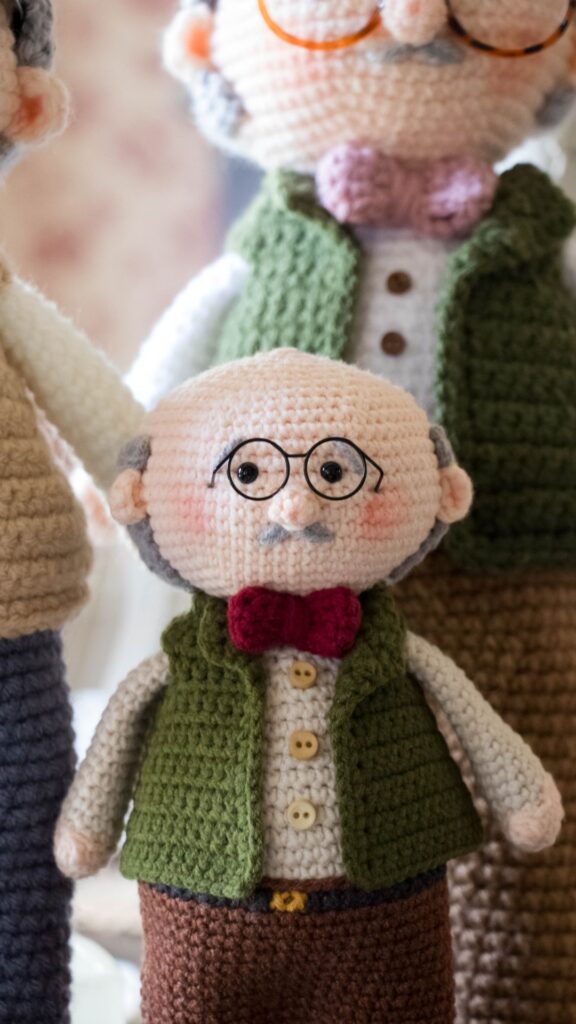
You have the option to crochet Mr. Humphrey in two different sizes.
The larger Mr. Humphrey is 14 inches (35.5 cm) when using a 3.25 mm crochet hook and Premier Basix Worsted yarn.
The smaller Mr. Humphrey is 9.5 inches (24 cm) when using a 2.5 mm crochet hook and YarnArt Jeans yarn.
Materials Needed
This post contains affiliates links and at no cost to you I may earn a teeny tiny commission if you choose to purchase them. Please know that I only recommend products I use and love! Thank you for supporting Elise Rose Crochet! You can read my full (and slightly boring) full disclosure here.
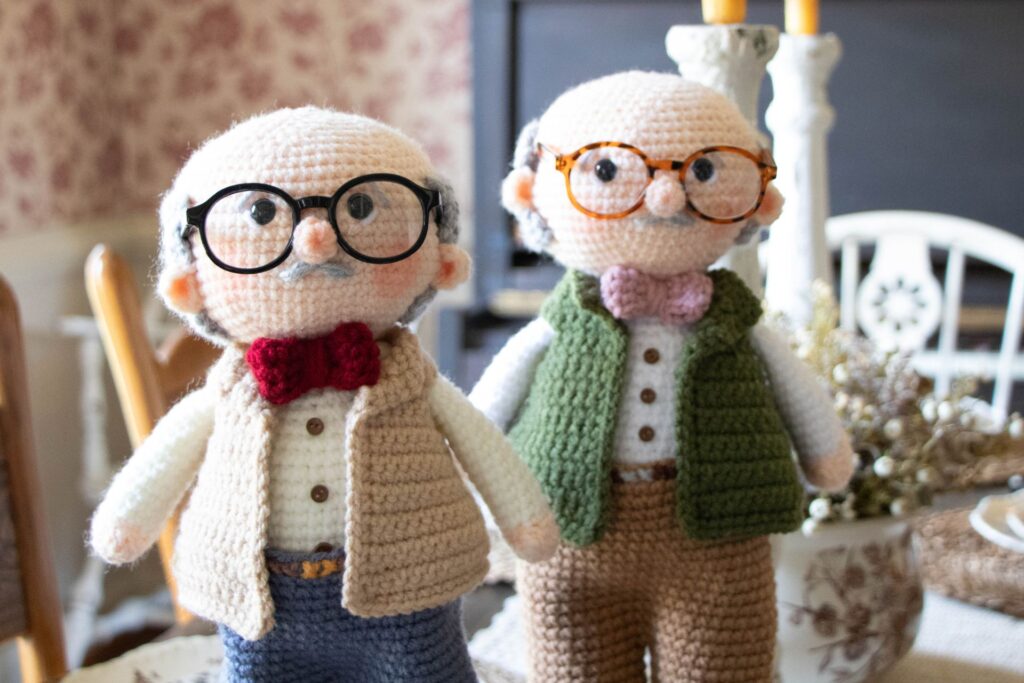
For Larger Mr. Humphrey
3.25 mm crochet hook (In addition recommended 2.75 mm & 3.5 mm)
Premier Basix Worsted in the colors:
- Body = Apricot (1115-69)
- Hair = Light Gray (1115-02)
- Shirt & Socks = Cream (1115-32)
- Pants = Cadet (1115-89)
- Shoes = Toffee (1115-67)
- Vest = Taupe (1115-34)
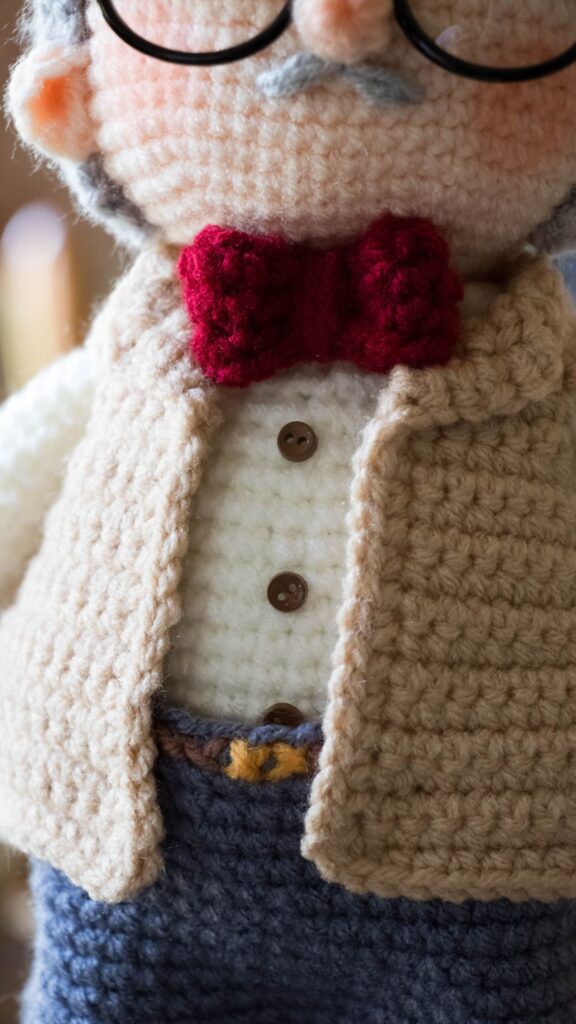
- Bowtie = Garnet (1115-13)
10 mm Safety Eyes:
For Smaller Mr. Humphrey
YarnArt Jeans (Fine/Sport weight yarn) in the colors:
- Body = Pinkish/Orange (73)
- Pants = Brown (40)
- Shoes = Smoked (28)
- Shirt & Socks = Cream (05)
- Bow Tie = Claret Red (66)
- Vest = Green (82)
5 mm Safety Eyes
For Both Sizes
- Yarn Needle for weaving in ends
- Scissors
- Polyfil stuffing
- Stitch markers
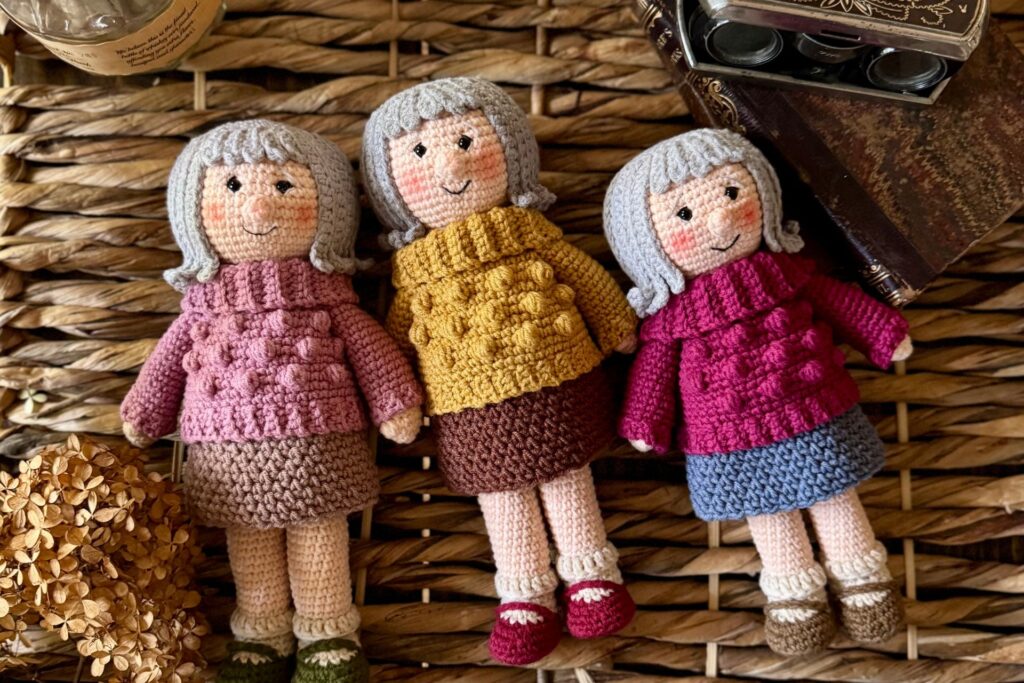
Want to make the cuddly couple? Find Mrs. Humphrey’s FREE amigurumi pattern here:
Mrs. Humphrey Step-by-Step Amigurumi Pattern & Tutorial
Watch the Full Video Tutorial Here
Important Information About Crocheting Clothing for Amigurumi
When you are crocheting clothing for amigurumi, you may discover that even when using the same size crochet hook and the same yarn, the clothing may not fit perfectly.
Within yarn brands two different colors may be slightly thicker or thinner and can change the size of the clothing. (If you’re interested in learning more about this check out the video tutorial.)
Because we are making the clothing to fit the amigurumi toy, not making the toy to fit the clothing, you may need to adjust your crochet hook size.
If the clothing is too large:
- go down in hook size
If the clothing is too small:
- go up in hook size
This is why I recommend having three crochet hooks for each project one for the main toy, one larger and one smaller for the clothing.
Abbreviations
- ch = chain
- st(s) = stitch(es)
- slst = slip stitch
- sc = single crochet
- hdc = half double crochet
- inc = increase = 2 sc in one space
- dec = decrease = sc2tog
- BLO = back loop only
- FLO = front loop only
- sk = skip stitches
- sc3tog = single crochet 3 together
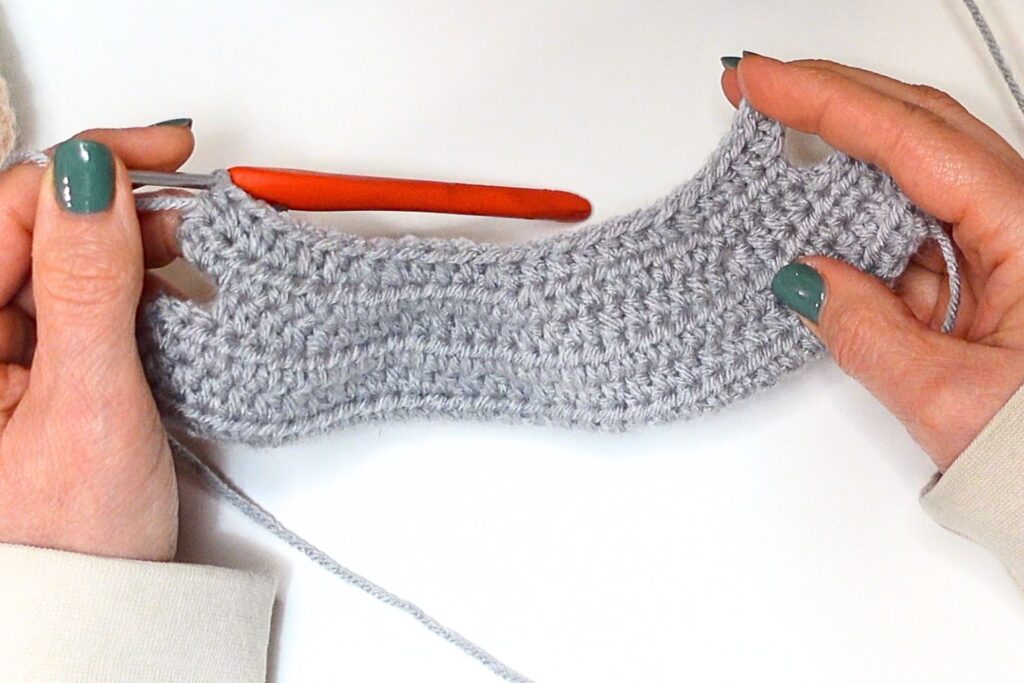
- 3 dc bobble = [yarn over, insert hook in stitch, yarn over and draw up a loop, yarn over, draw through 2 loops on hook] three times in same stitch, with four loops on hook yarn over and draw through all 4 loops
Notes
This pattern is standard to most amigurumi toys. We will be crocheting in continuous rounds. Mr. Humphrey amigurumi grandpa pattern is meant for advanced beginners/intermediate crocheters.
Remember that toy making is a process. It doesn’t have to be perfect and every toy you make will be an opportunity to improve your skills. I’ve learned something from every toy I’ve made.
- Mr. Humphrey is crocheted using continuous rounds.
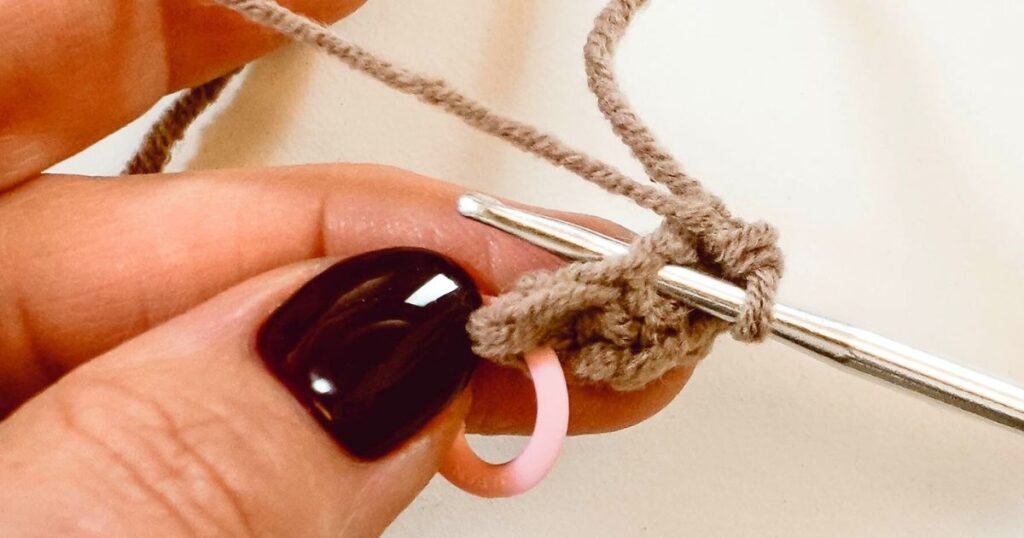
- Mark the beginning of each round with a stitch marker.
- Keep an accurate count of your rounds and number of stitches per round/row.
- The number in front of the stitch abbreviation stands for how many stitches worked. For example: “6 sc” would mean “work one sc in each of the next 6 stitches”.
- The number in brackets at the end of a round indicates how many stitches you should have after working that round.
- The best way to stuff is to do a little at a time as you are making the mouse.
- Lightly stuff the lower part of the arms near the hand only.
Pattern (US Crochet Terms)
Meet Mr. Humphrey: A Charming Amigurumi Grandpa – Free Crochet Pattern + Video Tutorial
Amigurumi Masterclass: Full Tutorial for Amigurumi Grandad | Mr. Humphrey | Learn How to Crochet Toys
Leg 1
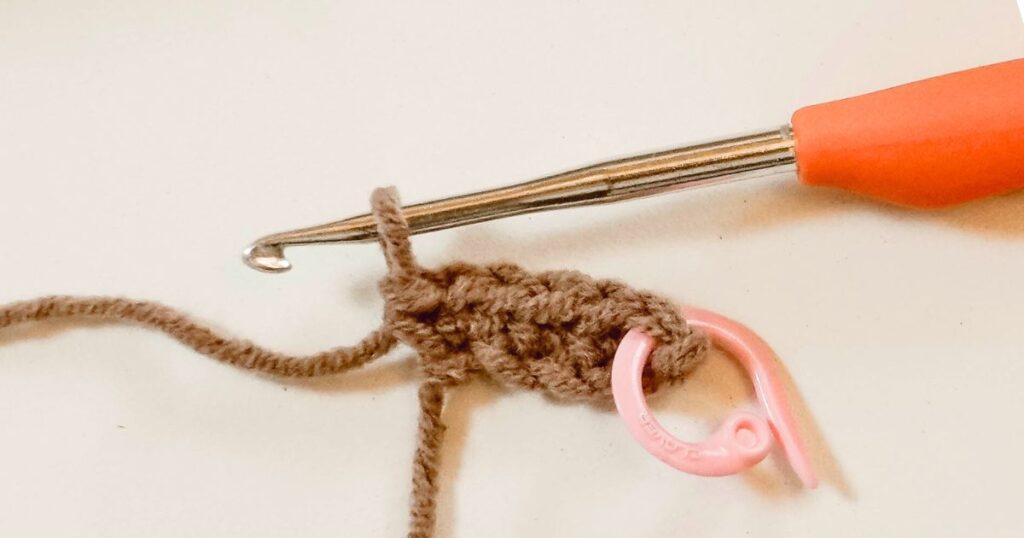
With color for shoe: Ch 5
Round 1: in 2nd ch from hook, 3 sc, make 3 sc in last st, on the other side of the ch, 2 sc, inc [10]
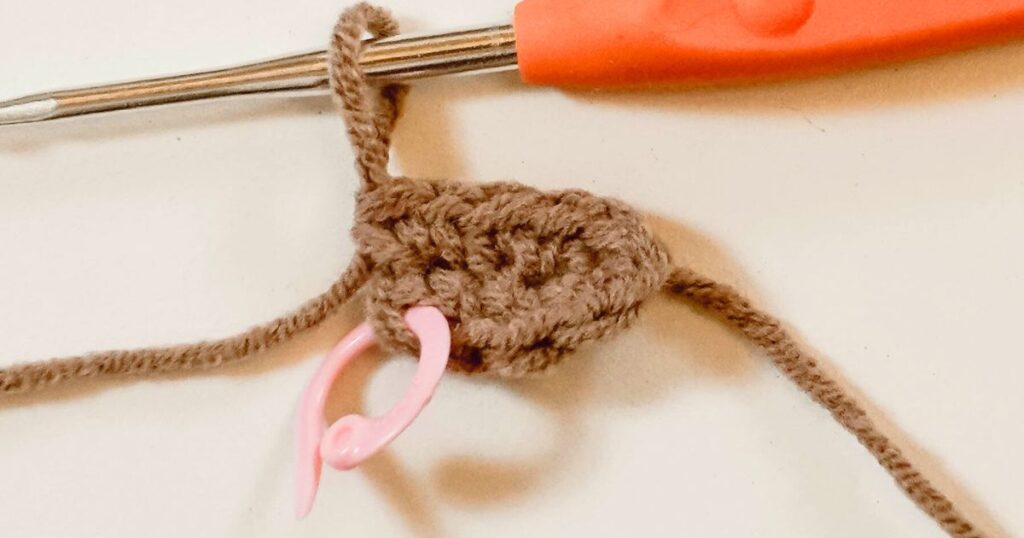
Round 2: inc, 2 sc, inc, 1 sc, inc, 2 sc, 2 inc [15]
Round 3: inc, 4 sc, inc, 2 sc, inc, 4 sc, 2 inc [20]
Round 4: 2 inc, 5 sc, inc, 2 sc, inc, 6 sc, inc, 2 sc [25]
Round 5: sc in each st BLO [25]
Round 6: 11 sc, inc, 2 sc, inc, 10 sc [27]
Round 7: 11 sc, 4 dec, 8 sc [23]
Round 8: 10 sc, 3 dec, 7 sc [20]
Round 9: 9 sc, 2 dec, 7 sc [18]
Change to sock color
Round 10: 8 sc, sc3tog, 7 sc [16]
Rounds 11-12: sc in each st [16] 2 Rounds
Change to skin color
Round 13: sc in each st BLO [16]
Rounds 14-36: sc in each st [16] 23 Rounds
Fasten off Leg 1
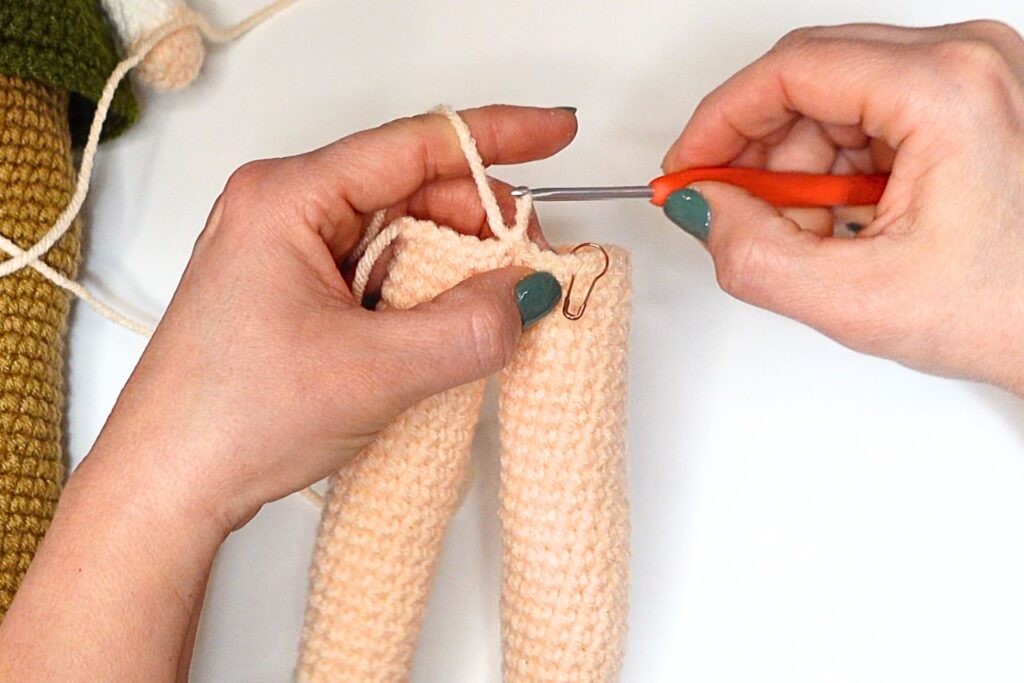
Leg 2
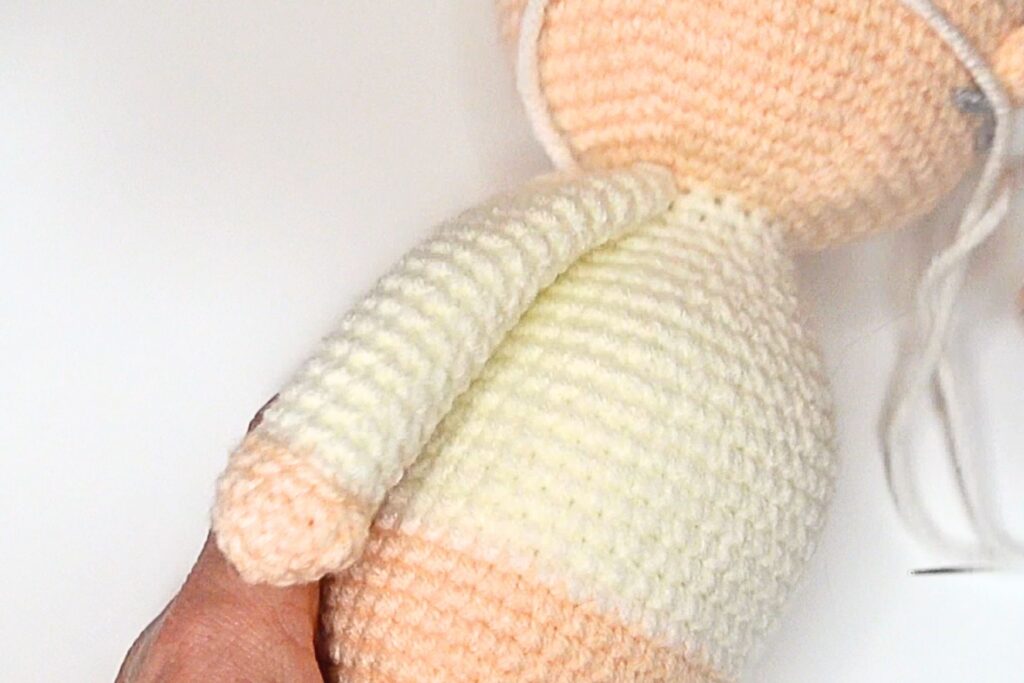
Make Leg 2 the same as Leg 1 through Round 36 (do not fasten off).
Make 2-3 more sts (or to inside of leg). Attach to the inside of leg 1. Mark the joining st with a stitch marker to be the first st of the round.
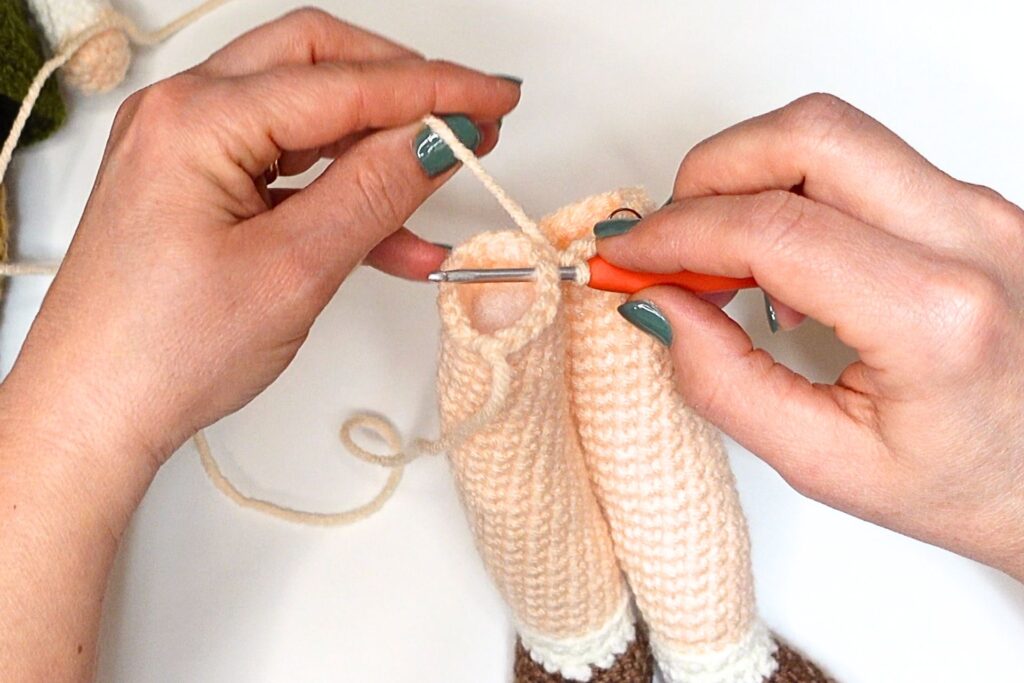
Round 37: finish sc around 1st leg, join to 2nd leg with sc, finish the round with sc [32]
Round 38: (7 sc, inc) 4 times [36]
Round 39: (5 sc, inc) 6 times [42]
Round 40: (6 sc, inc) 6 times [48]
Rounds 41- 44: sc in each st [48] 4 Rounds
Round 45: sc 28, change to white at back of the body, sc 20 [48]
Rounds 46-53: sc in each st [48] 8 Rounds
Round 54: (6 sc, dec) 6 times [42]
Rounds 55 – 56: sc in each st [42] 2 Rounds
Round 57: (5 sc, dec) 6 times [36]
Round 58: (4 sc, dec) 6 times [30]
Round 59: (3 sc, dec) 6 times [24]
Stuff the body.
Round 60: sc in each st [24]
Round 61: (2 sc, dec) 6 times [18]
Round 62: 13 sc (or to back of neck), change to skin color, 5 sc [18]
Round 63: sc in each st [18]
Round 64: inc in each st [36]
Round 65: (5 sc, inc) 6 times [42]
Round 66: (6 sc, inc) 6 times [48]
Round 67: (7 sc, inc) 6 times [54]
Round 68: (8 sc, inc) 6 times [60]
Rounds 69 – 77: sc in each st [60] 9 Rounds
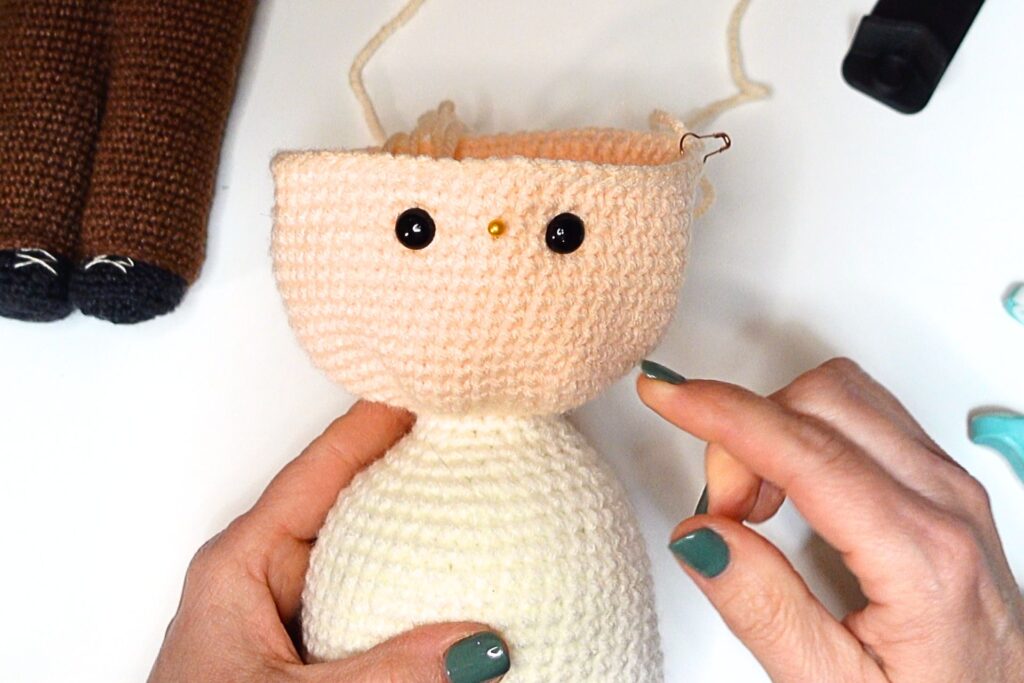
Attach eyes at Round 74 5 or 6 sts apart (5 mm for small toy, 10 mm for larger toy)
This is also a good time to embroider the eyes, eyebrows and mustache
Round 78: (8 sc, dec) 6 times [54]
Round 79: (7 sc, dec) 6 times [48]
Round 80: (6 sc, dec) 6 times [42]
Round 81: (5 sc, dec) 6 times [36]
Round 82: (4 sc, dec) 6 times [30]
Round 83: (3 sc, dec) 6 times [24]
Round 84: (2 sc, dec) 6 times [18]
Round 85: (1 sc, dec) 6 times [12]
Round 86: dec in each st [6]
Fasten off and weave in ends
Nose
With the skin color:
Make 6 sc in magic ring
Sc in each st [6]
Fasten off and leave a long tail for seaming
Hair
With the hair color: [stitch count is for total number of hdc in each row]
Ch 36
Row 1: starting in the 3rd ch from the hook, hdc in each st, ch 2, turn (does not count as a st and throughout) [34]
Row 2: hdc in each st, ch 2 turn [34]
Row 3: hdc in each st, ch 1 turn [34]
Row 4: sl st in next 2 sts, 3 hdc, dec, 6 hdc, dec, 5 hdc, dec, 5 hdc, dec, 3 hdc, ch 4 turn [28]
Row 5: starting in the 3rd ch from hook, 4 hdc, dec, 7 hdc, dec, 7 hdc, dec, 4 hdc, ch 4 turn [25]
Row 6: starting in the 3rd ch from hook, 6 hdc, dec, 5 hdc, dec, 4 hdc, dec, 6 hdc, ch 1 turn [24]
Row 7 sc in each st [24]
Fasten off and leave a long tail for attaching. Attach between Rounds 67 – 76 using the gaps as a guide for ear placement
Ears – Make 2
With the skin color:
Make 4 sc in magic ring (do NOT close), ch 1 turn
4 sc, sl st into magic ring
Pull closed
Fasten off and leave a long tail for seaming
Position the ears on either side of the head, aligning them with the ear section you created with the hair. Pin the ears in place to ensure symmetry before sewing.
Arms – Make 2
Starting with skin color:
Make 6 sc in magic ring
Round 1: inc in each st [12]
Round 2: sc in each st [12]
Round 3: 2 sc, 3 dc bobble, 9 sc [12]
Change to shirt color
Round 4: sc in each st BLO [12]
Rounds 5 – 21: sc in each st [12] 17 Rounds
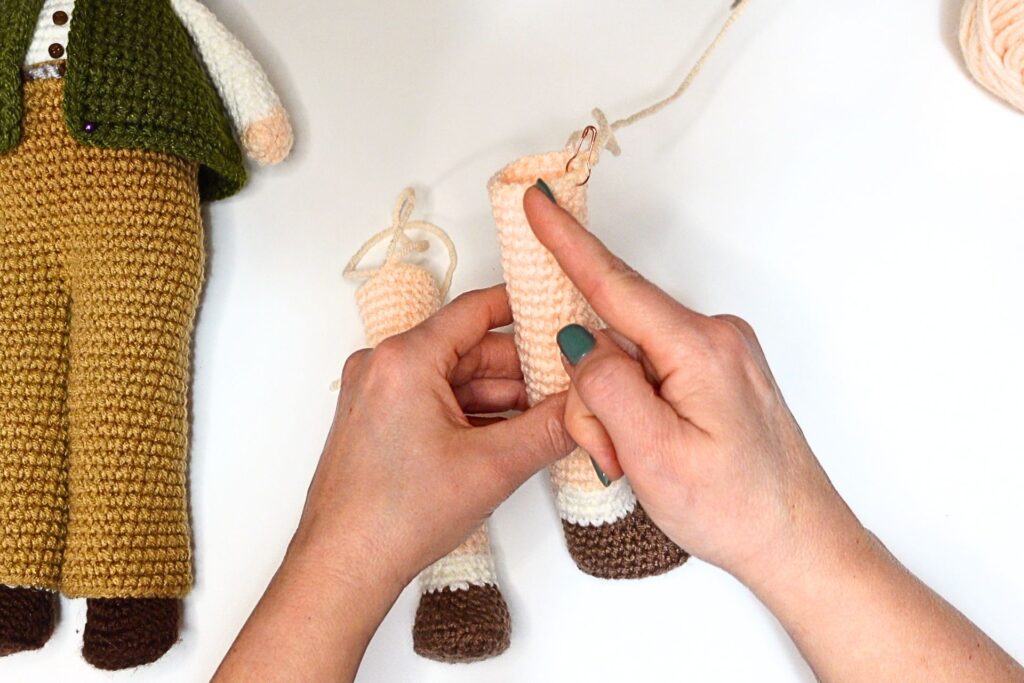
Fasten off and leave a long tail for seaming. Attach at Round 60.
Important Note About Crocheting Clothing for Amigurumi
When making the clothing for amigurumi it can take some trial and error to get the clothing to fit the toy. Remember that we are making the clothes to fit the toy, not the other way around.
Even when using the same exact yarn weight and brand there can be variations in the thickness between colors and that can change the outcome of the clothing size. Start off crocheting the clothing with the same size crochet hook you used for the body. As you are making the clothing, try it on to see if the sizing is too loose, too tight or just right.
If the clothing is too loose, go down in crochet hook size. But if the clothing is too tight, go up in crochet hook size.
Pants
With color for pants:
Ch 50 and join together to form a circle
Rounds 1 – 15: sc in each st [50] 16 Rounds
We are going to be separating the legs
Round 16: 25 sc, skip 25 and join with a sc to the 1st st in the round [25]
Rounds 17 – 38: sc in each st [25] 22 Rounds
Fasten off and weave in ends
2nd Pants Leg
2nd Pants Leg
Attach yarn with a sc in the last st of the round of pants leg opening
Rounds 1 – 22: sc in each st [25]
Fasten off and weave in ends
Cross Stitch Belt & Buckle
With color for belt, cross stitch around the top waistband of the pants, skipping the two stitches in the center front for the belt buckle. Once finished with the cross stitch belt, use the buckle color to cross stitch the buckle. Weave in ends.
Vest
With color for vest
Ch 25 (turning ch 1 does not count as a stitch)
Row 1: In 2nd ch from hook, 24 sc, ch 1, turn [24] (turning ch 1 does not count as a stitch and throughout)
Row 2: (3 sc, inc) 6 times, ch 1, turn [30]
Row 3: (4 sc, inc) 6 times, ch 1, turn [36]
Row 4: 6 sc, ch 6, skip 6, 12 sc, ch 6, skip 6, 6 sc, ch 1, turn [36]
Row 5: sc in each st, ch 1, turn [36]
Row 6: 7 sc, inc, 3 sc, inc, 12 sc, inc, 3 sc, inc, 7 sc, ch 1, turn [40]
Row 7: sc in each st, ch 1, turn [40]
Row 8: 7 sc, inc, 4 sc, inc, 14 sc, inc, 4 sc, inc, 7 sc, ch 1, turn [44]
Row 9: sc in each st, ch 1, turn [44]
Row 10: 8 sc, inc, 5 sc, inc, 14 sc, inc, 5 sc, inc, 8 sc, ch 1, turn [48]
Row 11: sc in each st, ch 1, turn [48]
Row 12: 10 sc, inc, 5 sc, inc, 14 sc, inc, 5 sc, inc, 10 sc, ch 1, turn [52]
Row 13: sc in each st [52]
Row 14: 10 sc, inc, 6 sc, inc, 16 sc, inc, 6 sc, inc, 10 sc, ch 1, turn [56]
Rows 15 – 18: sc in each st [56] 4 Rows
Do not bind off in the corner, we are beginning the vest border.
Vest Border
IMPORTANT NOTE: (the exact number of stitches are not super important, make sure not to make too few stitches that the vest puckers, but not too many that the vest ruffles)
Start of with a ch 1 then make 1 sc in the same st. Make 15 sc up side of the vest. At corner, make 1 sc, ch 1, 1 sc.
Make 23 sc across the original starting ch around the neckline.
At corner, make 1 sc, ch 1, 1 sc.
Make 15 sc down the side of the vest, sc in each st across the bottom, sc in the last st & sl st into the ch 1 of vest.
Fasten off and weave in ends.
Bow Tie
With color for Bow Tie:
Ch 14, join in the round
Rows 1 – 3: sc in each st [14] 3 Rounds
Leaving a long tail, use it to wrap around the center to divide each side of the bow. Use the rest of the tail to secure bow tie at the neck.
Finishing Touches
Glue small buttons onto the front of the shirt or embroider them. (Skip this step if you are making Mr. Humphrey for a small child.)
Add a little color to Mr. Humphrey’s cheeks with some blush.
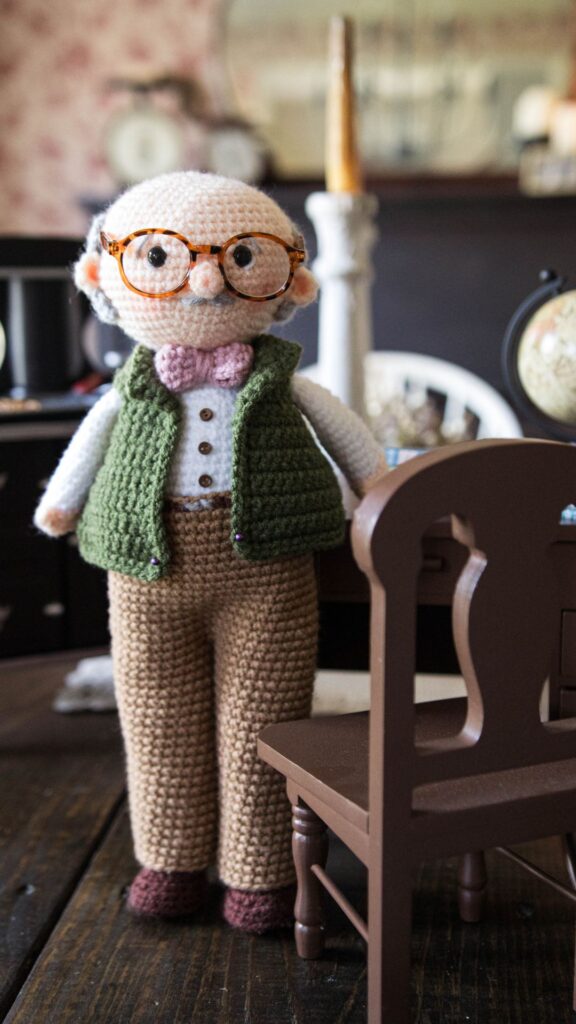
Place his glasses on his face!
Give him a little hug and kiss to bring him to life!
Pin for Later!


I love watching your videos, I made a bubbles the catster and for the very first time I did pretty good
I tried to send you a picture of it but it wouldn’t send to you
It keeps telling me no such address ?
Oh how wonderful! You can email me at [email protected]! Would love to see him!