How to Crochet an Amigurumi Doll (FREE Pattern & Video Tutorial)
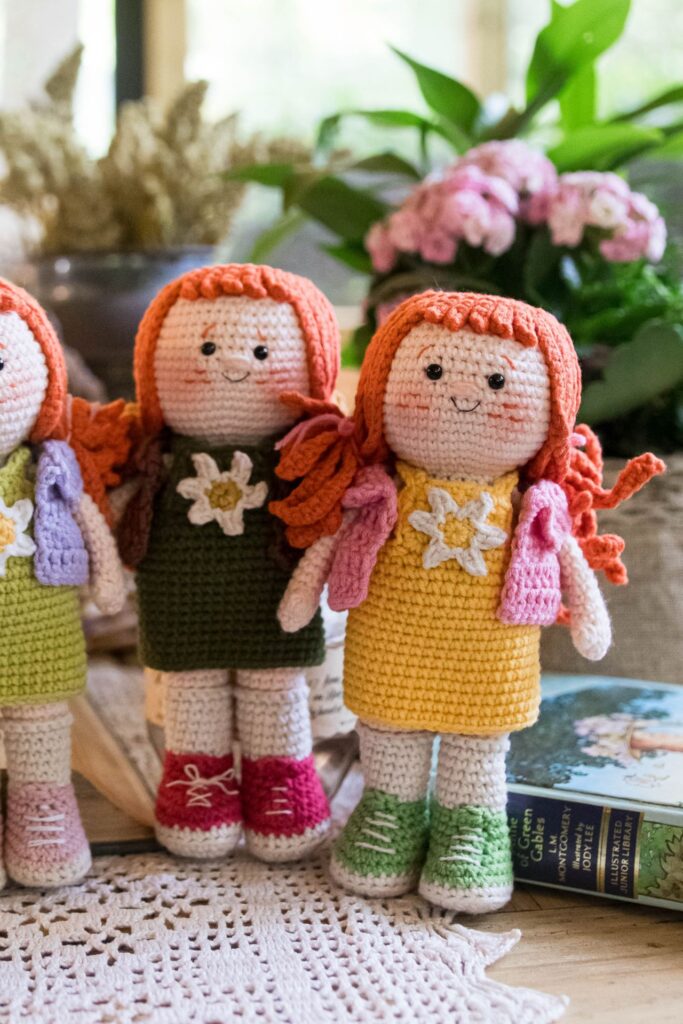
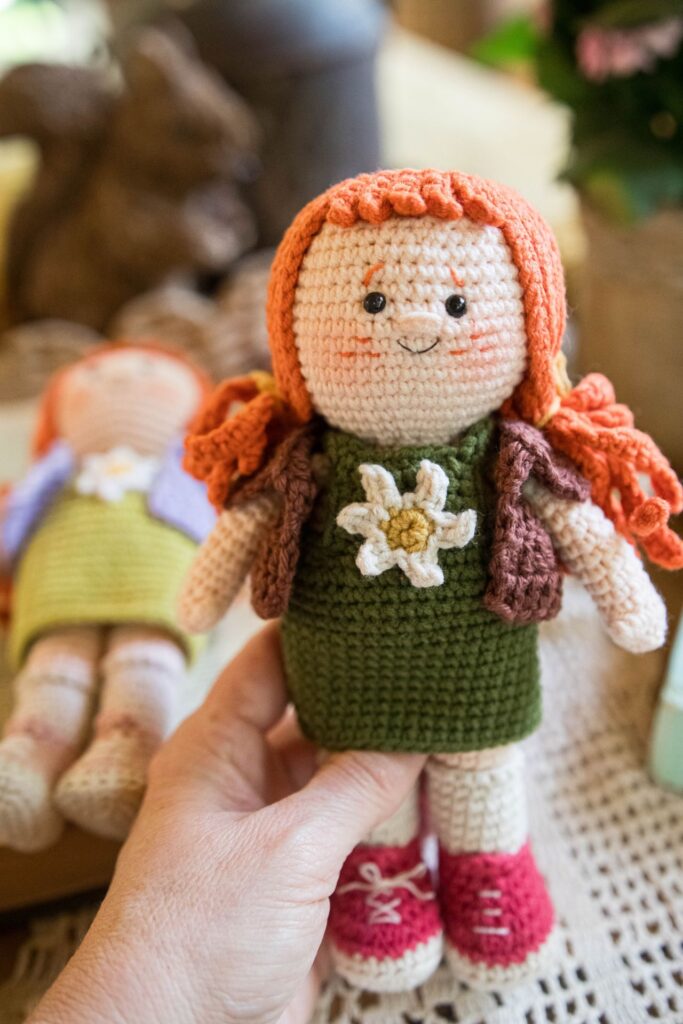
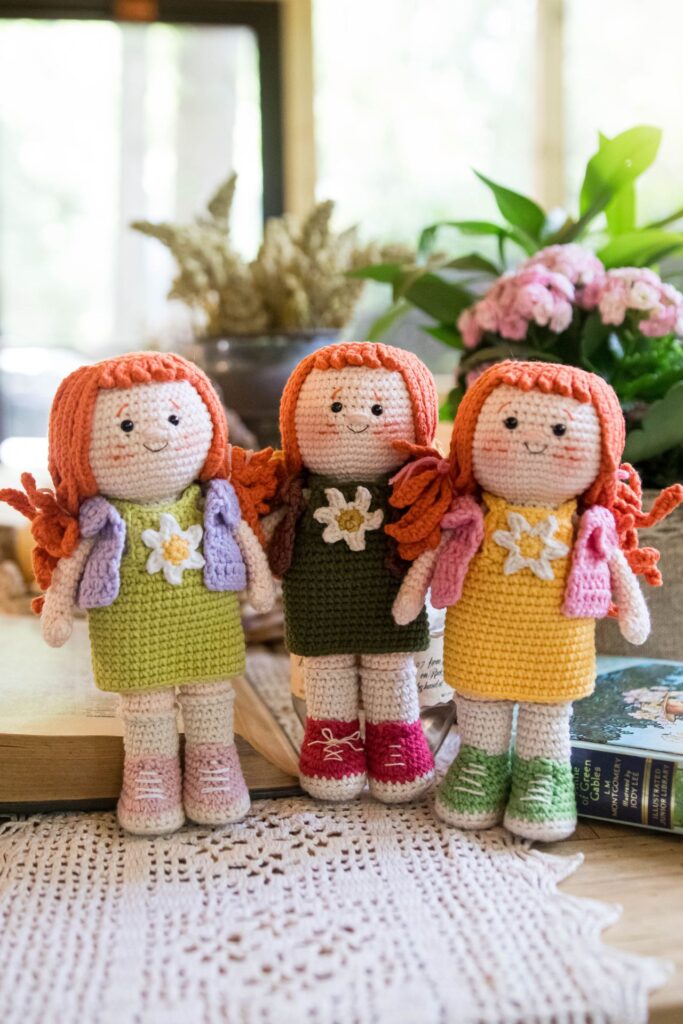
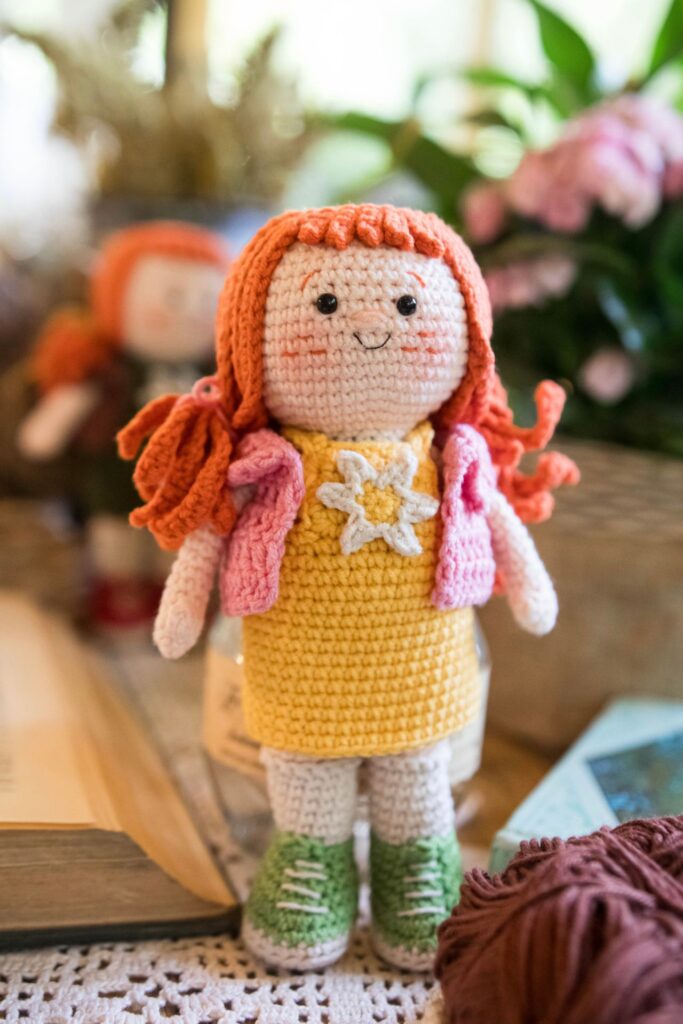
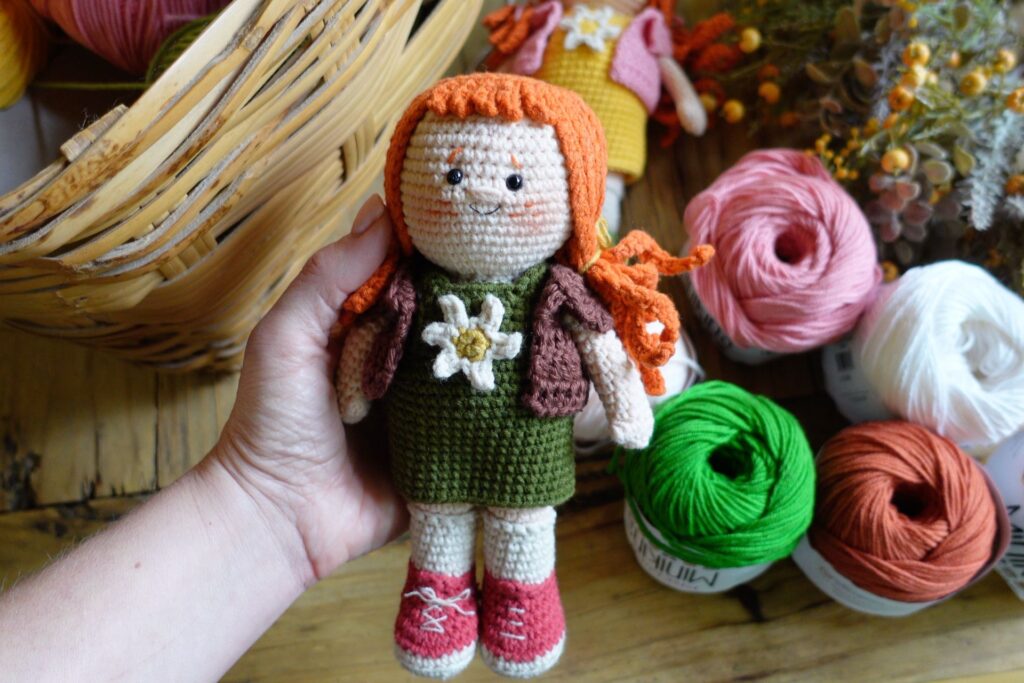
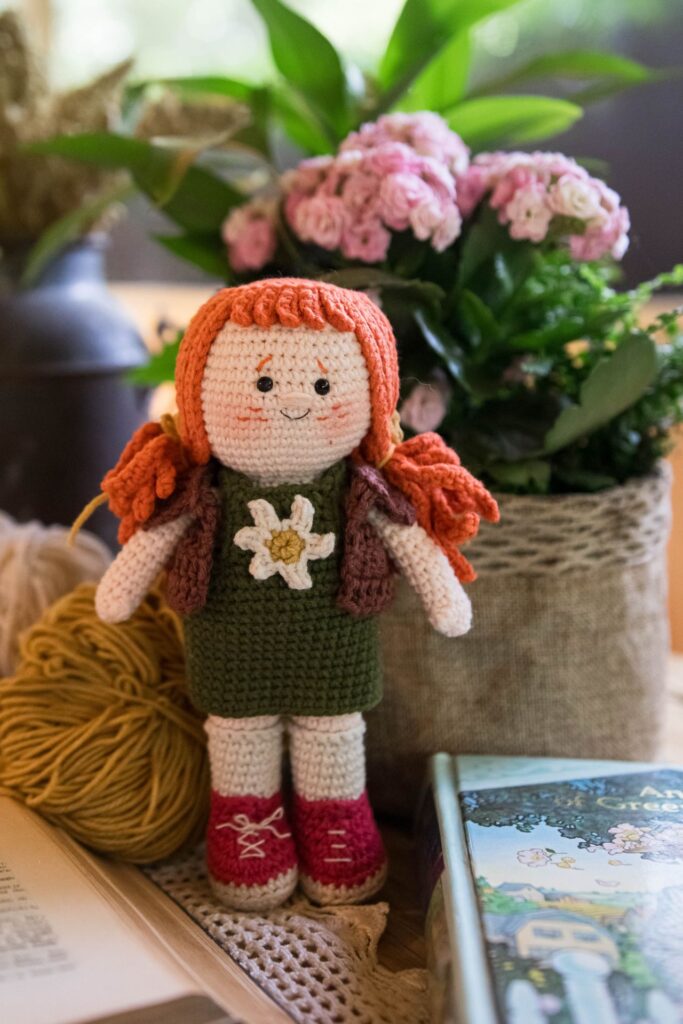
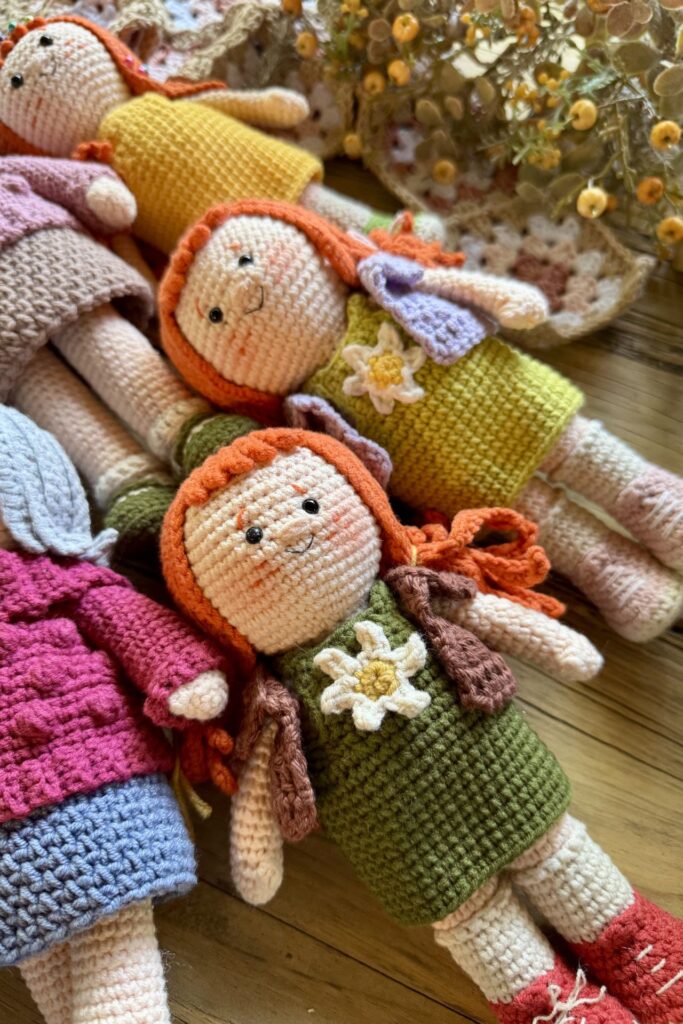
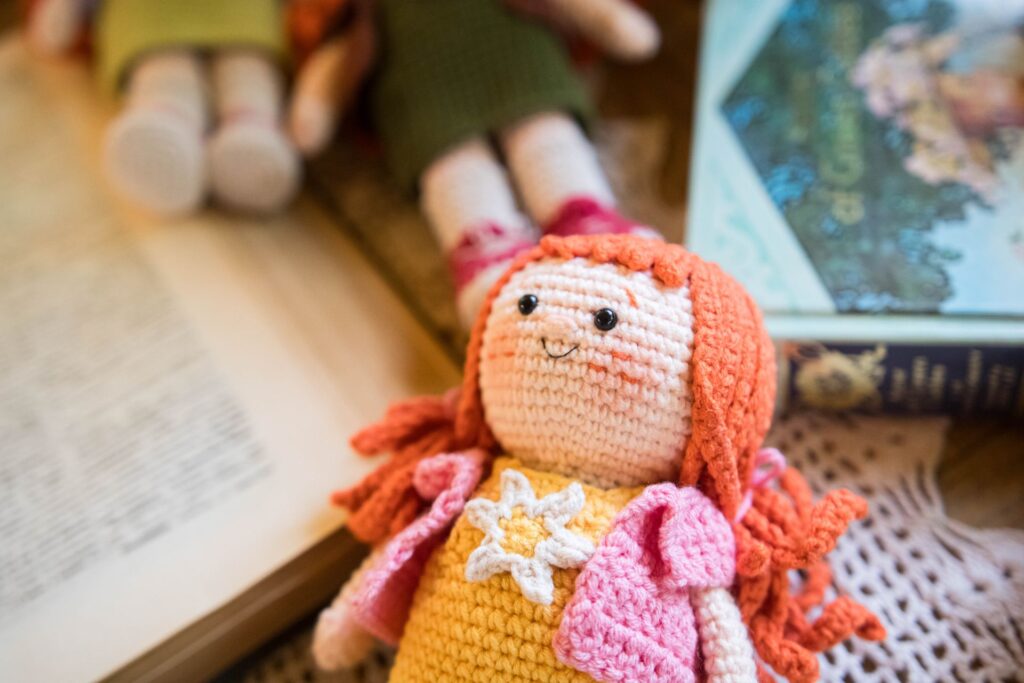
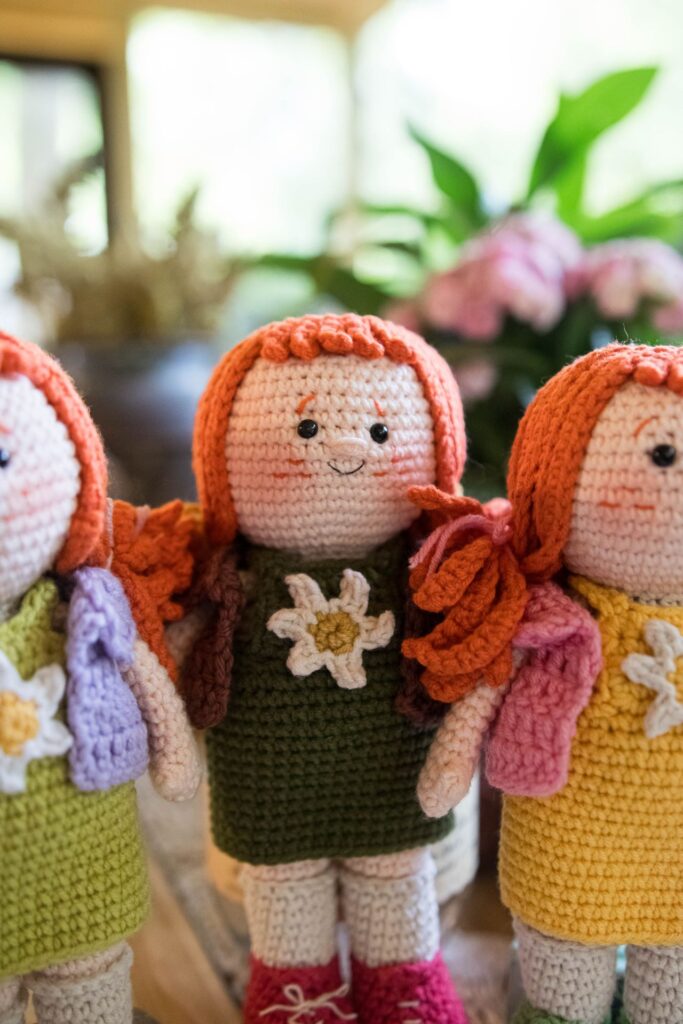
Crochet your very own amigurumi doll with this free pattern and step-by-step video tutorial! Perfect for intermediate crocheters, this charming project features adorable details like her bright red pigtails, sweet overall dress, cozy little vest, and delicate daisy appliqué.
You’ll find the full written pattern, complete supply list, and plenty of helpful tips to guide you every step of the way as you create a handmade keepsake to treasure for years to come.
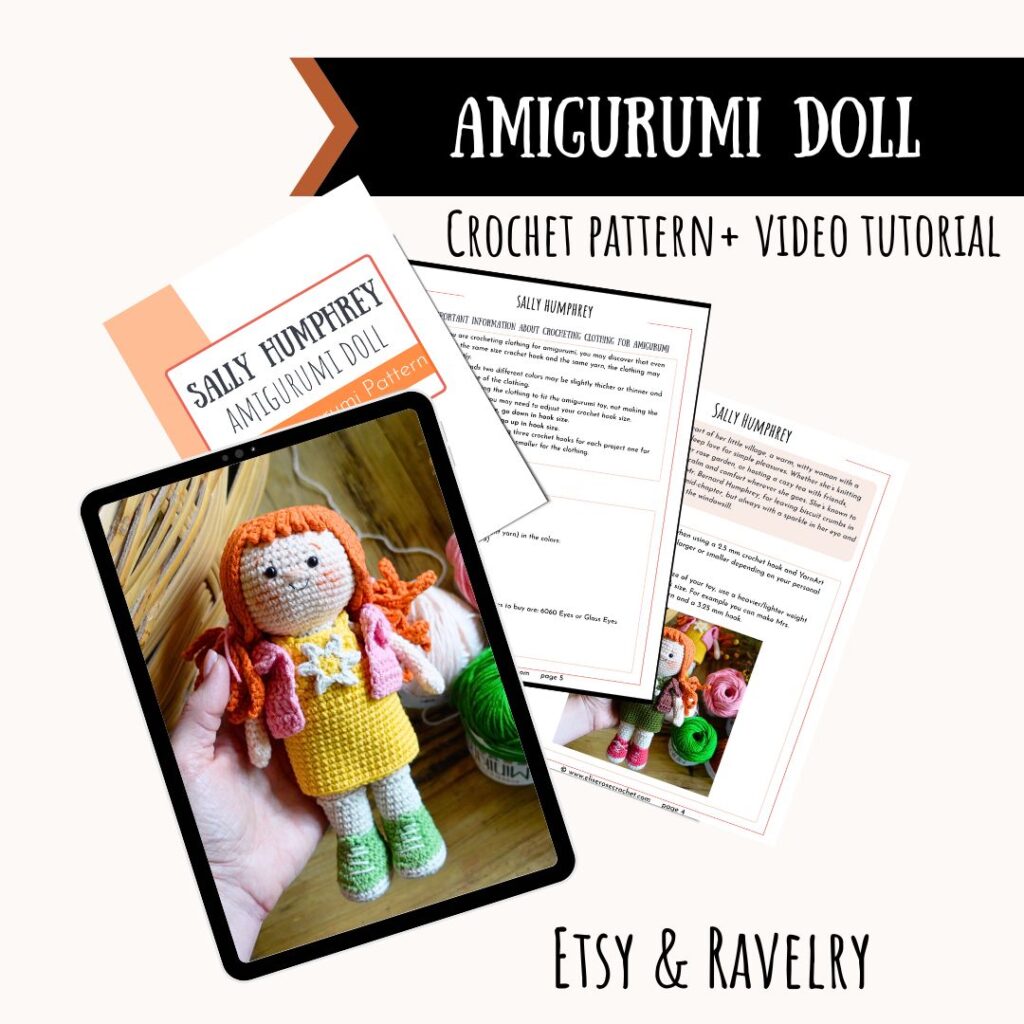
FREE Crochet Pattern: Amigurumi Doll
In this post, you’ll find the full free written pattern plus a step-by-step video tutorial to guide you through every stitch. Perfect for intermediate crocheters, you’ll practice classic stitches like the magic ring, single crochet, and double crochet while bringing Sally Humphrey to life.
What you’ll need: sport weight yarn in six colors, a 2.5 mm crochet hook, safety eyes, stuffing, and a yarn needle. I’ve also included tips for adjusting clothing fit, so your doll turns out just right.
Whether you’re making her as a gift, adding her to your handmade collection, or crocheting for fun, this amigurumi doll will be a project full of personality.
Who Is Sally Humphrey?
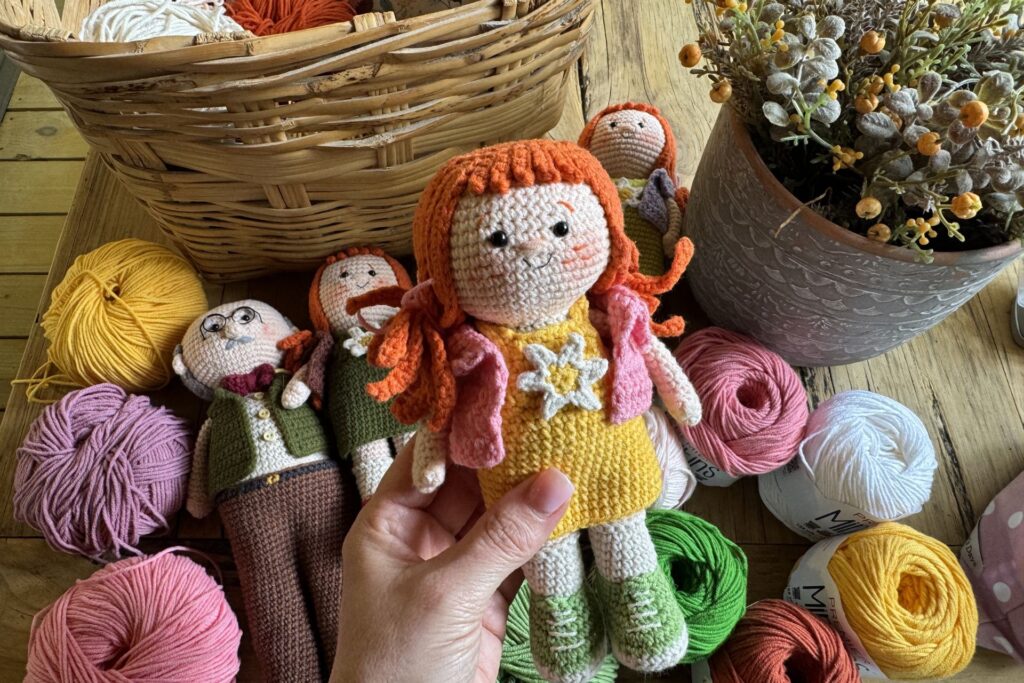
Sally Humphrey is a girl with spunk in her heart and a little pep in her step. She’s up for any adventure and dreams of all the daring things she will do when she grows up. For now she enjoys catching fireflies, taking home frogs in her pockets and playing hide and seek with any and everyone who will play along. Sally’s favorite people in the whole wide world are her grandparents Mr. & Mrs. Humphrey, whom she spends every summer with. You’ll find her baking cookies with her grandpa and learning how to crochet from her grandma.
Check Out the FREE Amigurumi Grandma Pattern Here
Check Out the FREE Amigurumi Grandpa Pattern Here
Thank you so very much for crocheting my amigurumi doll pattern. My sincerest hope is that you enjoy every minute of your toy making process.
This pattern is standard to most amigurumi toys. We will be crocheting in continuous rounds. The Sally Humphrey amigurumi pattern is meant for advanced beginners/intermediate crocheters.
Remember that toy making is a process. It doesn’t have to be perfect and every toy you make will be an opportunity to improve your skills. I’ve learned something from every toy I’ve made.
FIND THE FULL VIDEO TUTORIAL HERE
Amigurumi Doll Sizes
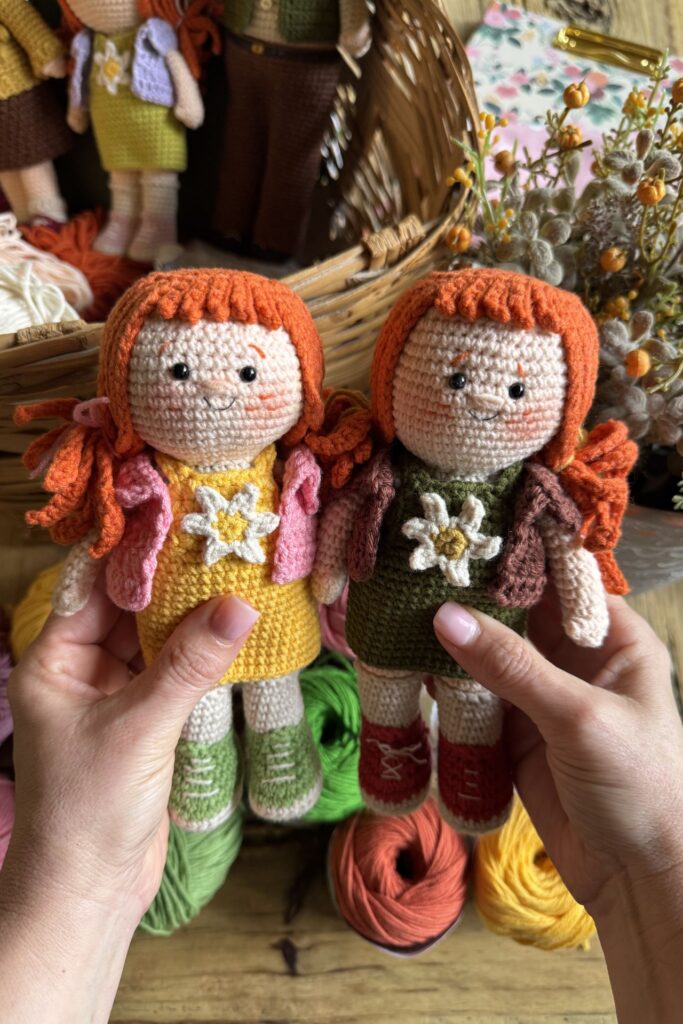
Sally Humphrey is 7.5 inches (19 cm) long when using a 2.5 mm crochet hook and YarnArt Jeans yarn. She may be a little larger or smaller depending on your personal tension.
If you would like to change the size of your toy, use a heavier/lighter weight yarn and adjust your crochet hook size. For example you can make Sally Humphrey with worsted weight yarn and a 3.25 mm hook.
Important Information about Crocheting Amigurumi Clothing
When you are crocheting clothing for amigurumi, you may discover that even when using the same size crochet hook and the same yarn, the clothing may not fit perfectly.
Within yarn brands two different colors may be slightly thicker or thinner and can change the size of the clothing.
Because we are making the clothing to fit the amigurumi toy, not making the toy to fit the clothing, you may need to adjust your crochet hook size.
If the clothing is too large, go down in hook size.
If the clothing is too small, go up in hook size.
This is why I recommend having three crochet hooks for each project one for the main toy, one larger and one smaller for the clothing.
Materials Needed For Crochet Amigurumi Grandma
This post contains affiliates links and at no cost to you I may earn a teeny tiny commission if you choose to purchase them. Please know that I only recommend products I use and love! Thank you for supporting Elise Rose Crochet! You can read my full (and slightly boring) full disclosure here.
#2 Sport Weight Yarn in 6 colors
YarnArt Jeans (Fine/Sport weight yarn) in the colors:
- Body=Pinkish/Orange (73)
- Hair=Orange (85)
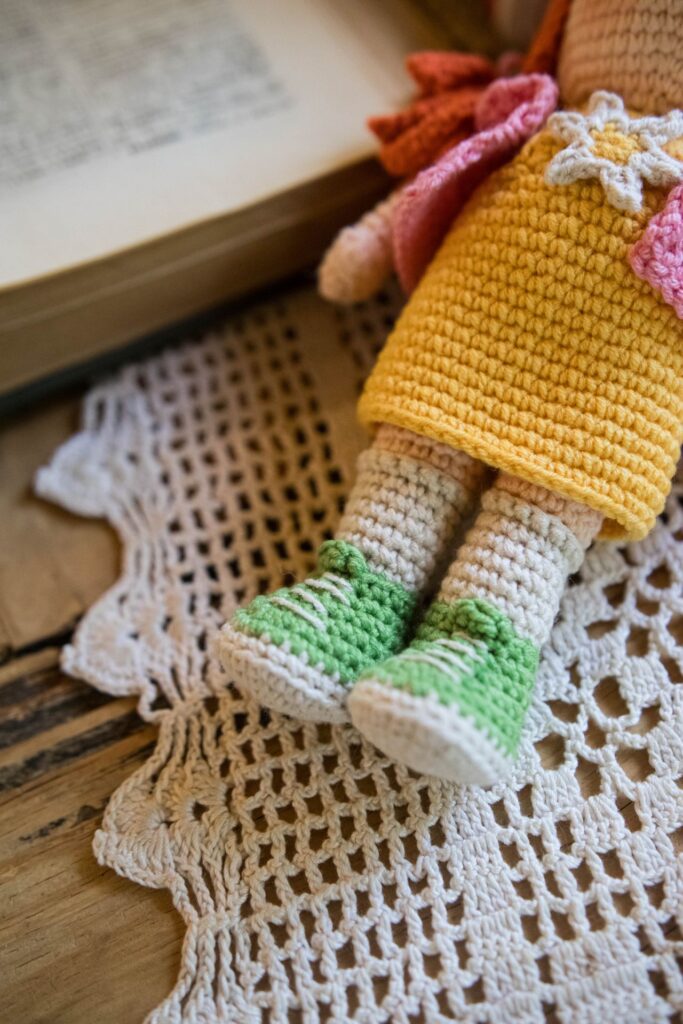
- Shoes=Green (69)
- Dress=Yellow (35)
- Socks=Cream (05)
- Vest=Pink (36)
Or Premier Minikins in 6 colors: https://referral.premieryarns.com/w948z
- Shoes: Lucky (20)
- Socks: White (01)
- Body: Bisque (05)
- Hair: Pumpkin (32)
- Dress: Marigold (14)
- Vest: Sherbert (06)
5 mm safety eyes – my favorite places to buy are: 6060 Eyes or Glass Eyes Online
- Yarn Needle for weaving in ends
- Scissors
- Polyfil stuffing
- Stitch markers
- Fabric Glue OPTIONAL but Highly Recommended for gluing on hair
Key – Pattern Written in US Crochet Terms
- ch = chain
- sts(s) = stitch(es)
- slst = slip stitch
- sc = single crochet
- hdc = half double crochet
- dc = double crochet
- inc = increase = 2 sc in one space
- dec = decrease = sc2tog
- BLO = back loop only
- FLO = front loop only
- sk = skip stitches
- sc3tog = single crochet 3 together
- 3 dc bobble = [yarn over, insert hook in stitch, yarn over and draw up a loop, yarn over, draw through 2 loops on hook] three times in same stitch, with four loops on hook yarn over and draw through all 4 loops
Amigurumi Doll Notes
•Sally Humphrey is crocheted using continuous rounds.
•Mark the beginning of each round with a stitch marker.
•Keep an accurate count of your rounds and number of stitches per round.
•The number in front of the stitch abbreviation stands for how many stitches worked. For example: “6 sc” would mean “work one sc in each of the next 6 stitches”.
•The number in brackets at the end of a round indicates how many stitches you should have after working that round.
•The best way to stuff is to do a little at a time.
•Lightly stuff the lower part of the arms near the hand only.
Sally Humphrey Amigurumi Doll Pattern
We will start with the shoes beginning with crocheting on the opposite side of the chain.
FIRST LEG – starting with shoe color
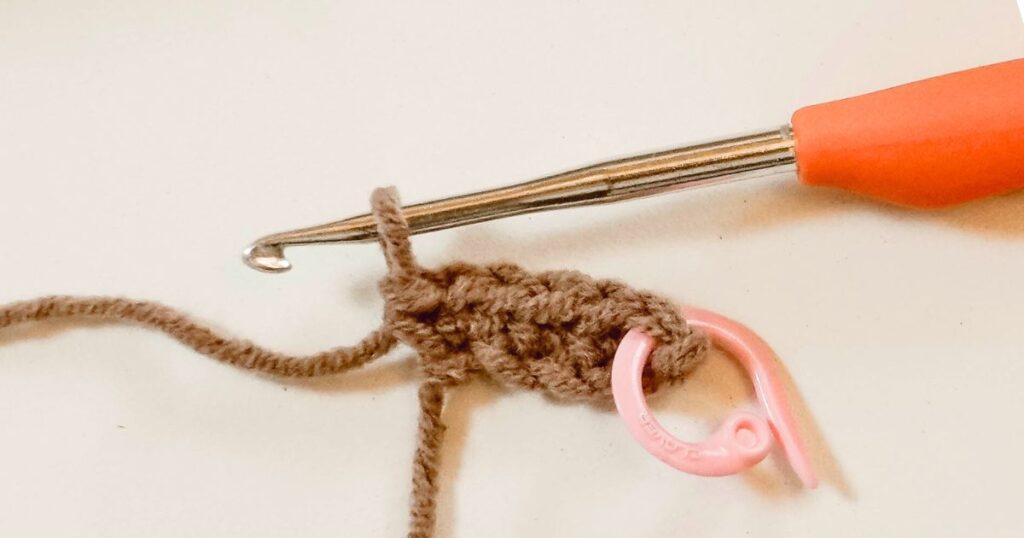
- Chain 5
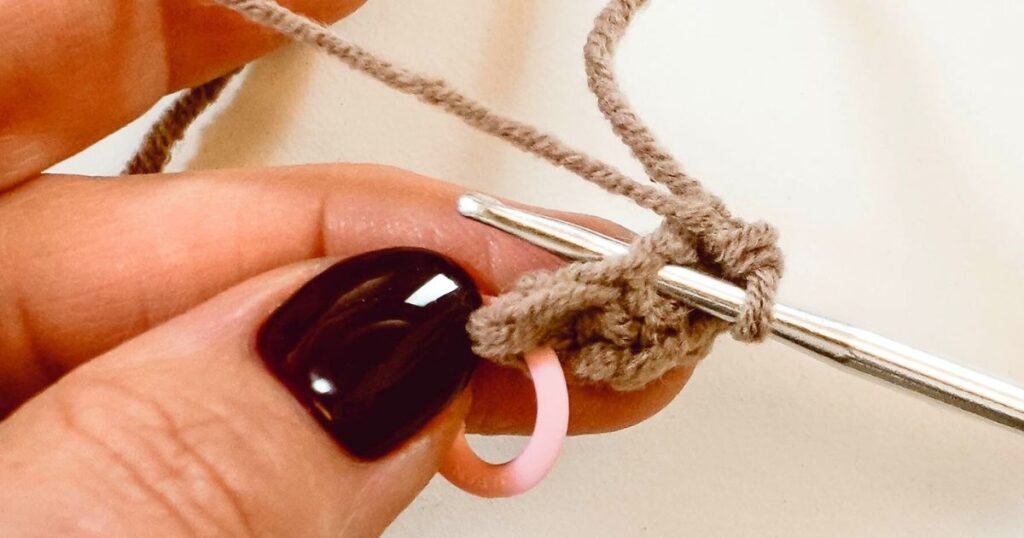
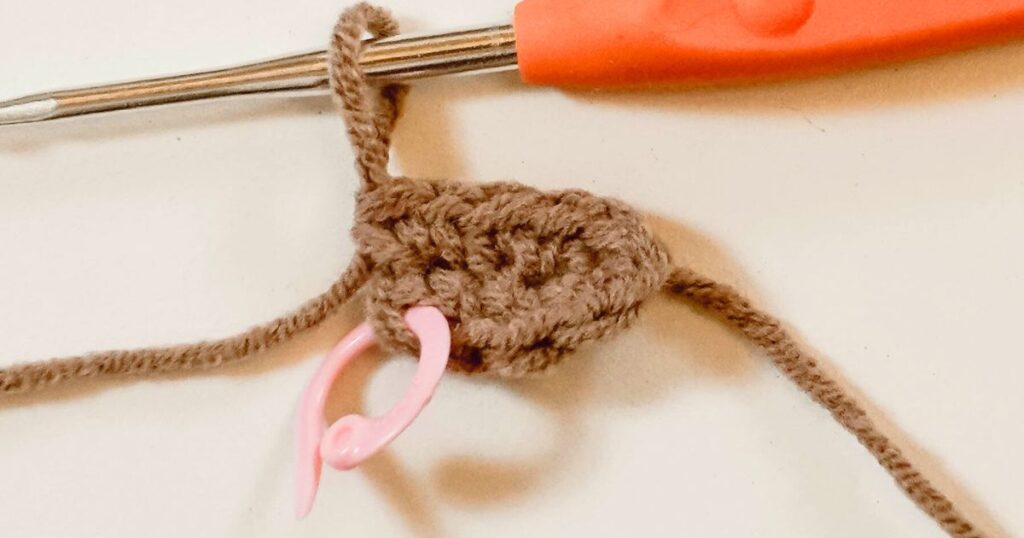
- Round 1: starting in 2nd ch from hook, 3 sc, make 3 sc in last st, on the other side of the ch, 2 sc, inc [10] (PHOTOS 1, 2 & 3)
- Round 2: inc, 2 sc, inc, 1 sc, inc, 2 sc, 2 inc [15]
- Round 3: inc, 4 sc, inc, 2 sc, inc, 4 sc, 2 inc [20]
- Round 4: 2 inc, 5 sc, inc, 2 sc, inc, 6 sc, inc, 2 sc [25]
- Round 5: sc in each st BLO [25]
- Round 6: 11 sc, inc, 2 sc, inc, 10 sc [27]
- Round 7: 11 sc, 4 dec, 8 sc [23]
- Round 8: 10 sc, 3 dec, 7 sc [20]
- Round 9: 9 sc, 2 dec, 7 sc [18]
- Round 10: 8 sc, sc3tog, 7 sc [16]
- Round 11: sc in each st [16]
Change to sock color
- Round 12: sc in each st BLO [16]
- Rounds 13 – 17: sc in each st [16] 5 Rounds
Change to skin color
- Round 18: sc in each st BLO [16]
- Rounds 19 – 25: sc in each st [16] 7 Rounds
- Fasten off first leg
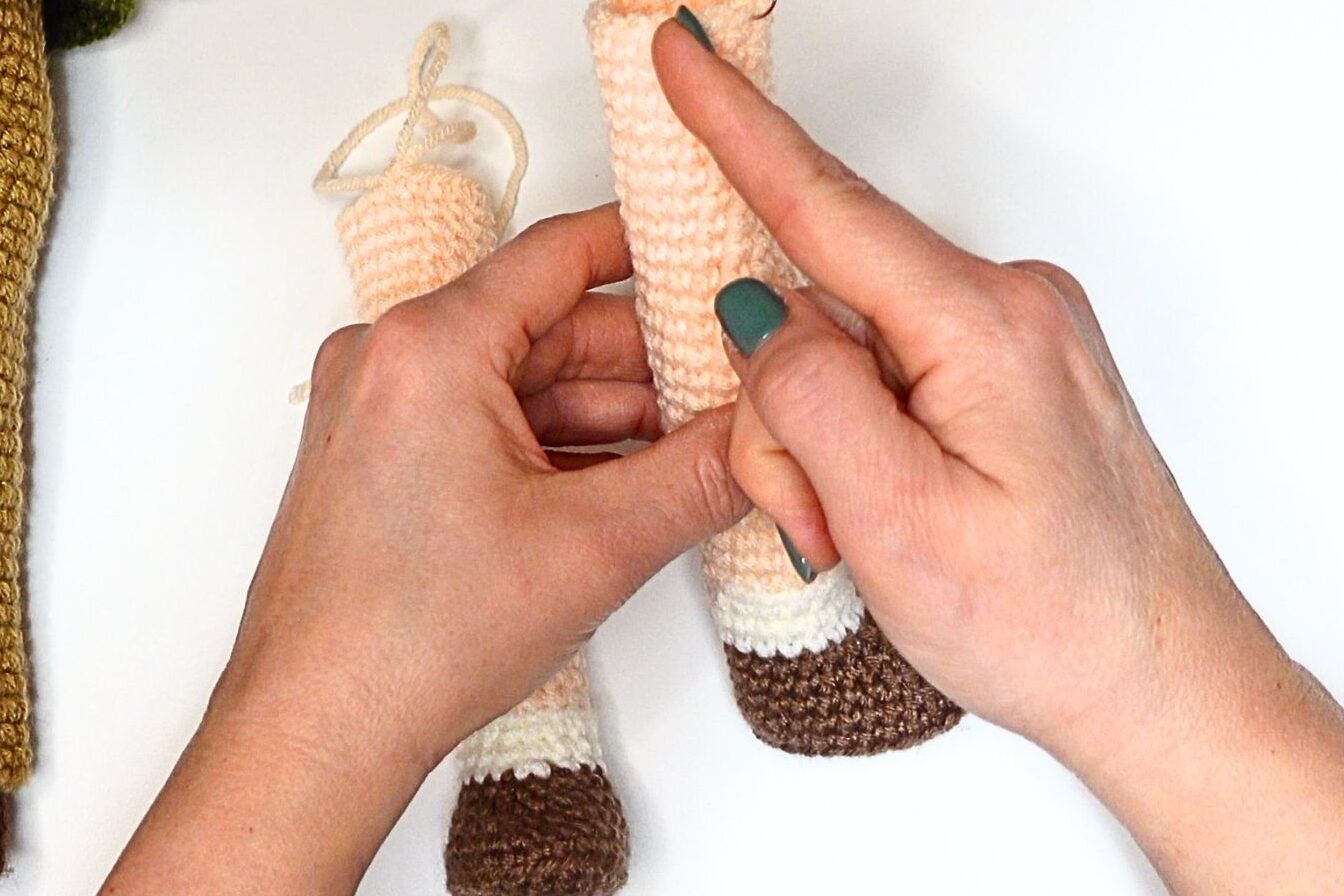
Second Leg
Make Leg 2 the same as Leg 1 through Round 25 (do not fasten off).
Make 1-2 more sts (or to inside of leg). Attach to the center inside st of Leg 1. Mark the joining st with a stitch marker to be the new first st of the round.
- Round 26: finish sc around 1st leg, join to 2nd leg with sc, finish the round with sc [32]
- Video Help: See 32:44 in the tutorial for joining the legs.
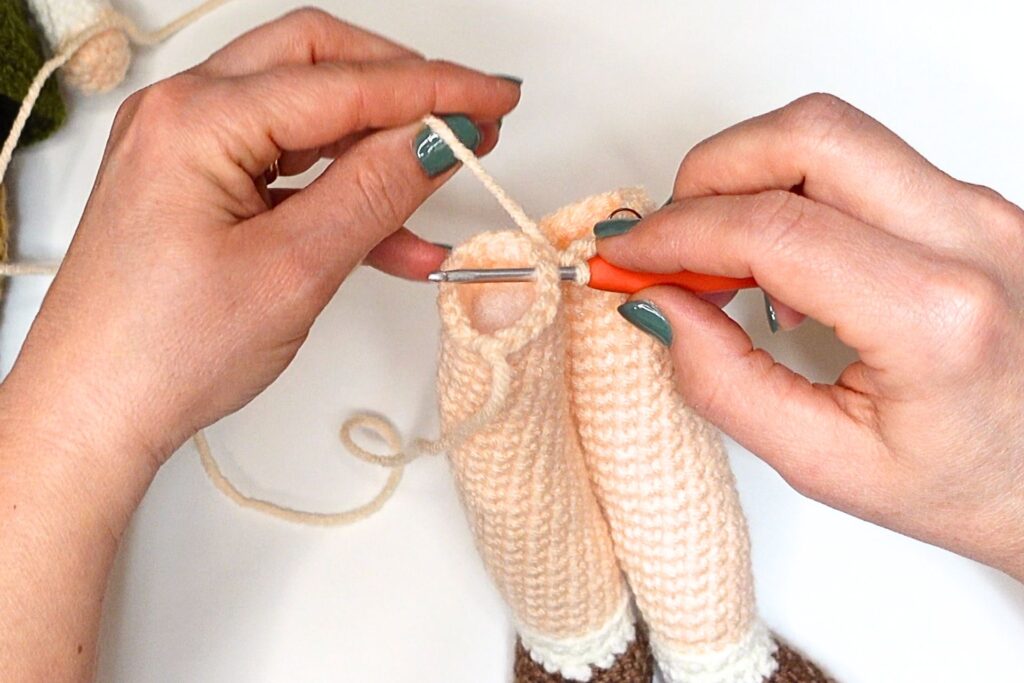
Legs are joined, we are now onto the body – Stuff the legs firmly and stuff the body as you work.
- Round 27: (7 sc, inc) 4 times [36]
- Round 28: (5 sc, inc) 6 times [42]
- Rounds 29 – 32: sc in each st [42] 4 Rounds
- Round 33: 23 sc, change to shirt color, 19 sc (if you don’t have the same st count, that’s ok, just change the color at the back of the body)
- Rounds 34 – 36: sc in each st [42] 3 Rounds
- Round 37: (5 sc, dec) 6 times [36]
- Round 38: sc in each st [36]
- Round 39: (4 sc, dec) 6 times [30]
- Round 40: (3 sc, dec) 6 times [24]
Stuff the body.
- Round 41: sc in each st [24]
- Round 42: (2 sc, dec) 6 times [18]
- Round 43: 11 sc, change to skin color, 7 sc [18] (if you don’t have the same st count, that’s ok, just change the color at the back of the neck)
- Round 44: sc in each st [18]
- Round 45: inc in each st [36]
- Round 46: (5 sc, inc) 6 times [42]
- Round 47: (6 sc, inc) 6 times [48]
- Round 48: (7 sc, inc) 6 times [54]
- Rounds 49 -57: sc in each st [54] 9 Rounds
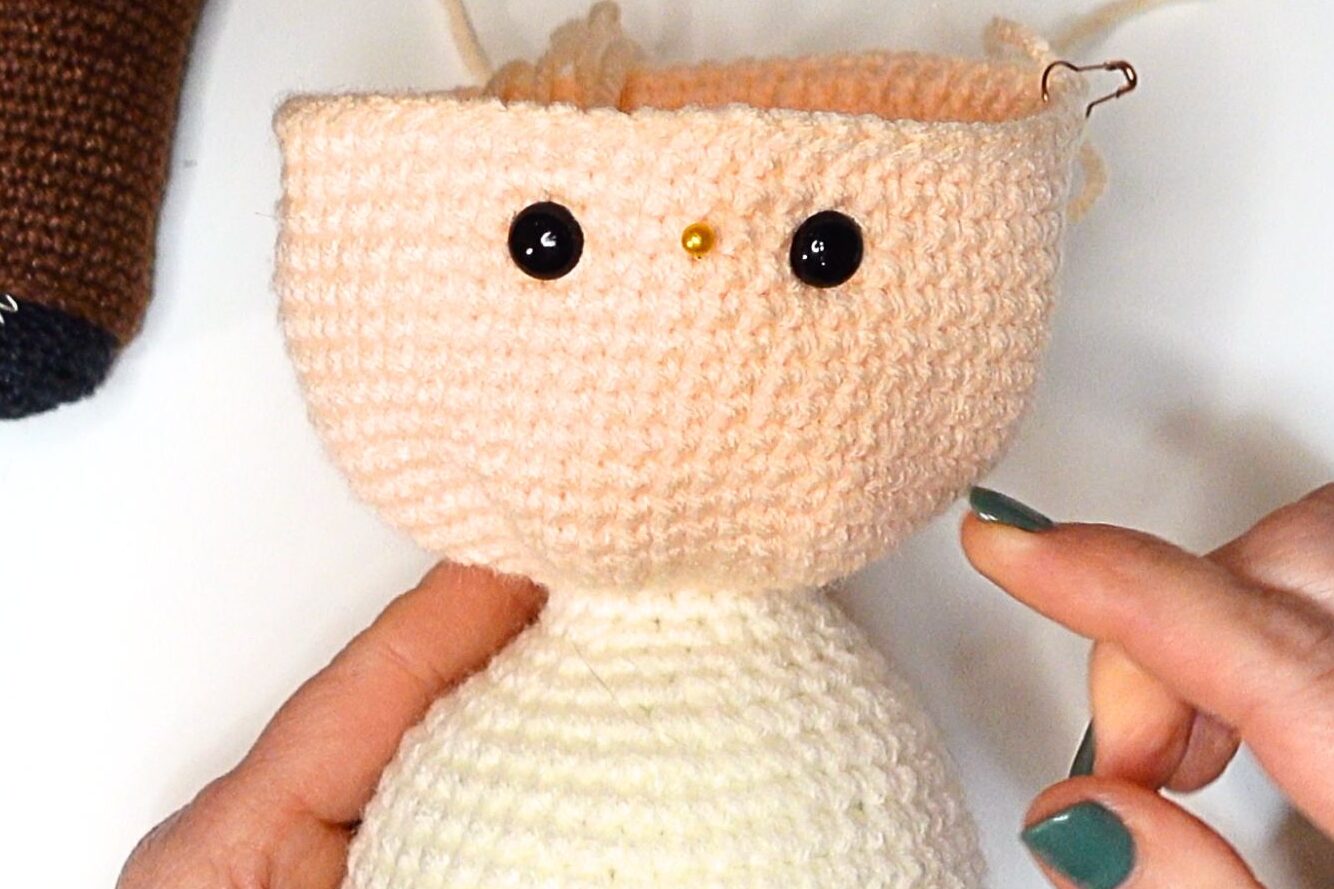
Attach eyes at round 54, 4 – 5 sts apart
While the head is still open, this is a good time to embroider the nose eyebrows, smile and freckles. See the video at 56:50 to see exactly how to do it.
- Round 58: (7 sc, dec) 6 times [48]
- Round 59: (6 sc, dec) 6 times [42]
- Round 60: (5 sc, dec) 6 times [36]
- Round 61: (4 sc, dec) 6 times [30]
- Round 62: (3 sc, dec) 6 times [24]
- Round 63: (2 sc, dec) 6 times [18]
- Round 64: (1 sc, dec) 6 times [12]
- Round 65: dec 6 times [6]
Fasten off and take needle through FLO of 6 remaining stitches and pull closed.
Amigurumi Arms
RMS (make 2) – with skin color
- Make 6 sc in magic ring
- Round 1: (1 sc, inc) 3 times [9]
- Round 2: sc in each st [9]
- Round 3: 1 sc, 3 dc bobble, 7 sc [9]
- Rounds 4 – 12: sc in each st [9] 9 Rounds
Change to shirt color
- Round 13: sc in each st BLO [9]
- Rounds 14 – 17: sc in each st [9] 4 Rounds
Fasten off and leave a long tail for seaming. Attach at round 42.
Video Help: See 1:34:56 in the tutorial for hair placement.
Amigurumi Doll Hair
Video Help: See 1:34:46 in the tutorial for help with the hair.
HAIR CAP – with hair color
- Make 6 sc in magic ring
- Round 1: inc in each st [12]
- Round 2: (1 sc, inc) 6 times [18]
- Round 3: (2 sc, inc) 6 times [24]
- Round 4: (3 sc, inc) 6 times [30]
LONG STRANDS (9 in total)
- Step 1: slst to next st
- Step 2: ch 25
- Step 3: starting in 2nd ch from hook, sc in each st [24]
- Repeat steps (1 – 3) 8 more times
SHORT STRANDS/BANGS (5 in total)
- Step 1: slst to next st
- Step 2: ch 5
- Step 3: starting in 2nd ch from hook, sc in each st [4]
- Repeat steps (1 – 3) 4 more times
LONG STRANDS (9 in total)
- Step 1: slst to next st
- Step 2: ch 25
- Step 3: starting in 2nd ch from hook, sc in each st [24]
- Repeat steps (1 – 3) 8 more times
EXTRA LONG STRANDS (7 in total)
- Step 1: slst to next st
- Step 2: ch 30
- Step 3: starting in 2nd ch from hook, sc in each st [29]
- Repeat steps (1 – 3) 6 more times
End by making a slst into the 1st st to close the gap.
Fasten off and choose to either leave a long tail for sewing OR weave in ends and use fabric glue to secure hair (my preferred method).
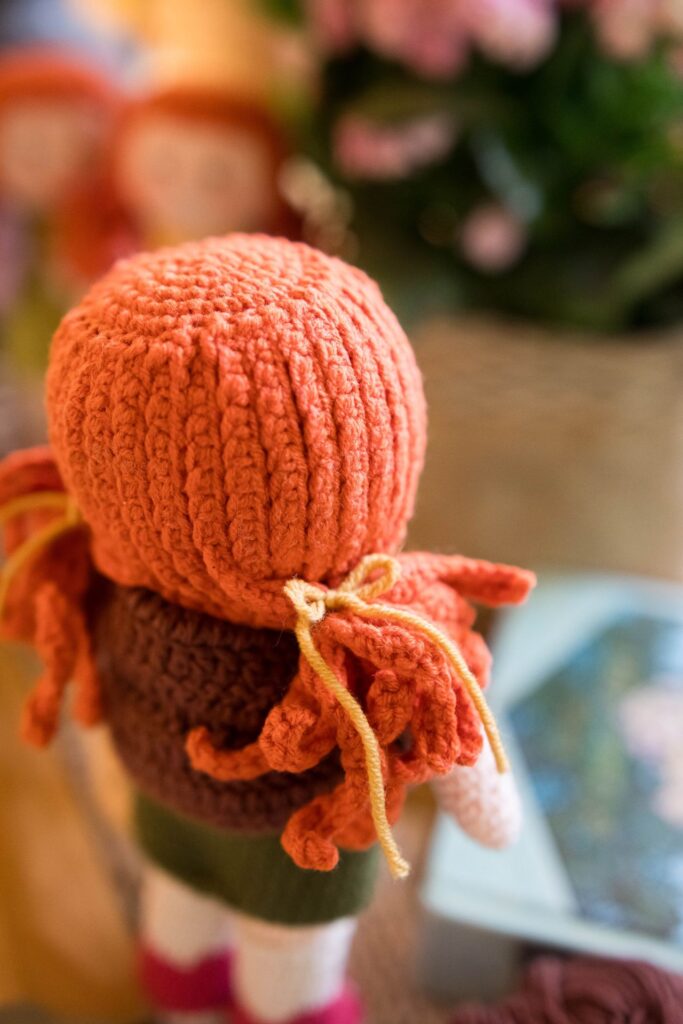
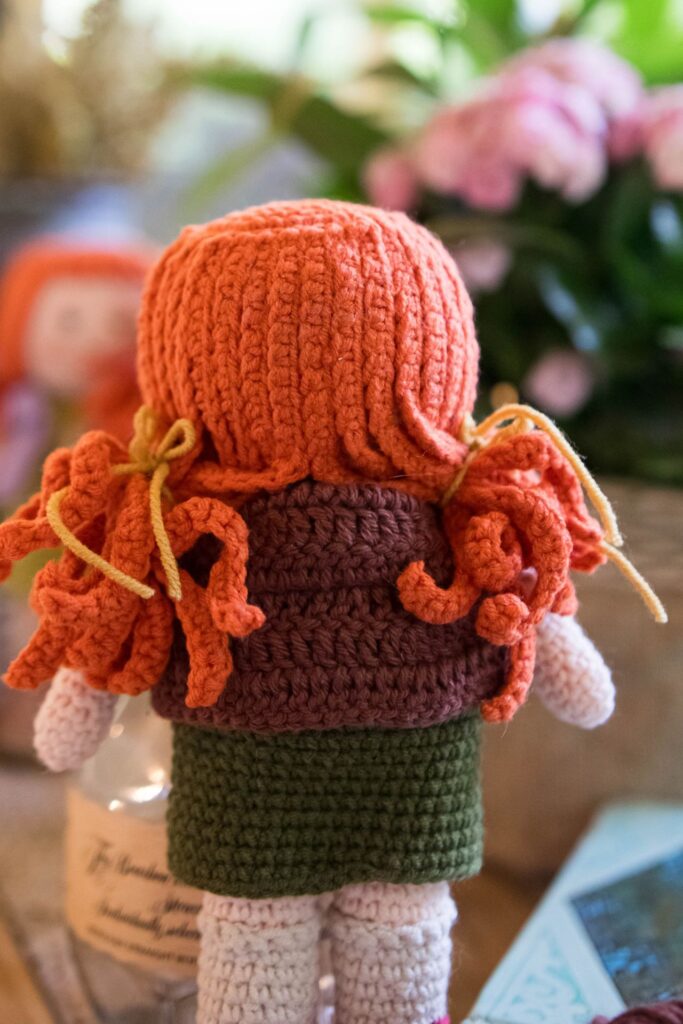
Center middle of magic ring from hair cap onto center middle of head. Before gluing or sewing down hair, pin each hair strand in place. Make sure to secure hair to chin length, around Round 48 of head.
Divide hair in half at back. Using a clear hair tie, secure each pig tail at the side of the head, behind the arms.
Use pins to keep hair in place while it dries. Can take up to 24 hours to fully dry.
Crochet Doll Dress
Video Help: See 1:59:00 in the tutorial for help with overall dress.
OVERALL DRESS
NOTE: Ch 1 does not count as a stitch
Starting with front panel of overalls:
- Ch 8
- Row 1: starting in 2nd ch from hook, 7 sc, ch 1, turn [7]
- Rows 2 – 4: sc in each st, ch 1, turn [7] 3 Rows
- Row 5: ch 30
- Round 6: join to other side with sc to first st of front panel (mark as first st of round), 6 sc across panel, 30 sc across ch [37]
- Round 7: sc in each st [37]
- Round 8: inc, 5 sc, inc, 9 sc, inc, 9 sc, inc, 10 sc [41]
- Rounds 9 – 20: sc in each st [41] 12 Rounds
- Round 21: 28 sc, sl st to next st at center back of dress, fasten off and weave in ends (if you don’t have the same st count, that’s ok, just fasten off at the middle back of the dress)
OVERALL DRESS TOP BORDER
Join yarn at front right corner where dress panel and original ch meet.
- Make 3 sc up 1st side
- Make 3 sc in last st (the corner at the top, right of panel)
- Across top of panel, 5 sc, 3 sc in last st (the corner at the top, left of panel)
- Make 4 sc down 2nd side of panel
- Make 15 sc across original ch of dress
- Slst to next st at center back of dress, fasten off and weave in ends (if you don’t have the same st count, that’s ok, just fasten off at the middle back of the dress)
OVERALL STRAPS (Make 2)
- Join yarn at front panel corner with slst
- Ch 14
- Join to opposite back with slst
- Turn work and sc 14 back up ch
(We are criss crossing the overall straps)
- Join in front in next to front strap with slst
Fasten off, weave in ends.
DAISY APPLIQUE – with yellow color
Video Help: See 2:32:55 in the tutorial for daisy applique
Make 6 sc in magic ring
Join to first st with slst, fasten off and either leave a long tail for sewing or weave in end if gluing on daisy applique
With white
Join in any st with slst
Step 1: ch 3
Step 2: starting in 2nd ch from hook, 2 sc
Step 3: slst to next st
Repeat Steps (1 – 3) 5 more times for a total of 6 petals
Sew or glue applique to center of overall front panel.
Crochet Vest for Amigurumi Doll
Video Help: See 2:13:44 in the tutorial for help making the vest.
NOTE: Ch 3 counts as st
- Ch 32
- Row 1: Starting in 4th ch from hook, dc in each st, turn [30] (first skipped ch 3 counts as a st)
- Row 2: ch 3, dc in each st, turn [30]
- Row 3: ch 3, dc in eah st BLO, turn [30] (this creates the fold for the collar)
- Row 4: ch 3, 3 dc, ch 5, sk 5, 12 dc, ch 5, sk 5, 4 dc, turn [30]
- Row 5: ch 3, 2 dc, inc, 5 dc (across ch), inc, 4 dc, inc, 5 dc, inc, 5 dc (across ch), inc, 3 dc, turn [35]
- Row 6: ch 3, 5 dc, inc, (6 dc, inc) 3 times, 7 dc, turn [39]
- Row 7: ch 3, 6 dc, inc (7 dc, inc) 3 times, 7 dc, [43]
Fasten off and weave in ends
Amigurumi Doll Details
SOCK DETAILS:
- Using the same color as the sock, turn the toy upside down and attach the yarn with a sc to the front loop from Round 18 at the back of the sock:
- sc in each st around [16]
Fasten off and weave in ends
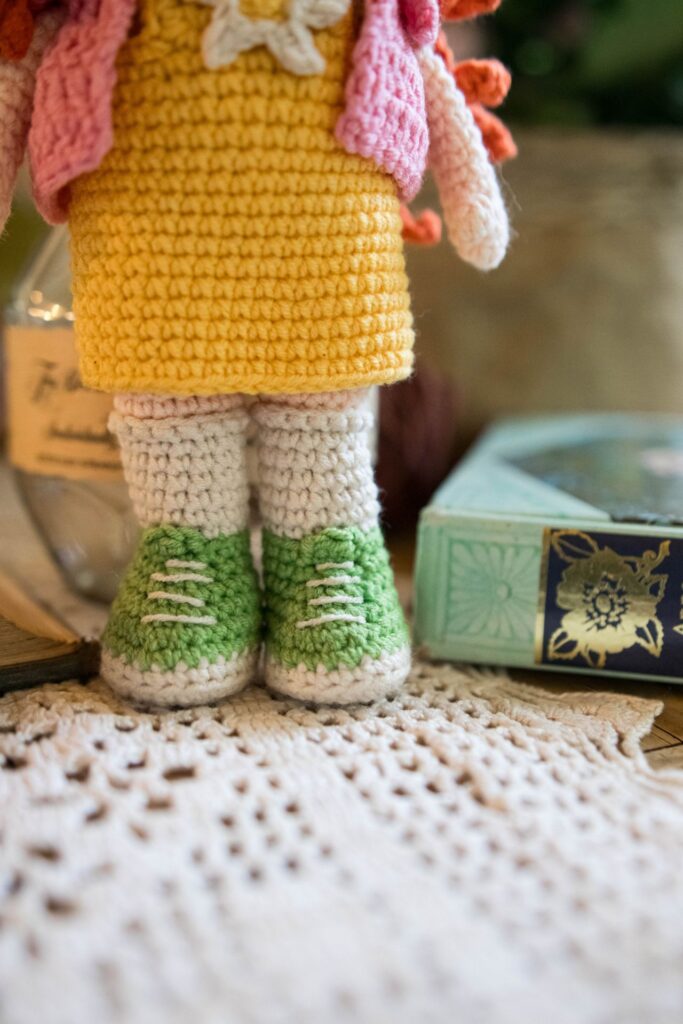
SHOE TONGUE: with shoe color
Identify the three middle front stitches from Round 18 (the top of the shoe)
- Using the same color as the shoe, turn the toy upside down and attach the yarn with a sc to the right front loop from Round 18.
- In the center st, make a hdc
- In the 3rd st, make a sc
Fasten off and weave in ends
Video Help: See 2:39:09 in the tutorial for help with details.
ADDITIONAL DETAILS:
- Embroider eyebrows with one strand of hair color yarn (if not previously done).
- Embroider smile with one strand of black embroidery floss (if not previously done).
- Add 3 small back stitches across face, underneath eye for freckles, do this on each side for a total of 6 freckles (if not previously done).
- Add blush to cheeks.
- Add yarn bows to each pigtail.
- Wet or steam block clothing if needed.
©2026 Elise Rose Crochet, Elise Speed. All rights reserved. This pattern is for personal use only. This pattern, or any parts may not be reproduced, distributed, resold, translated, published or posted in any way either online or print.
You have permission to sell handmade & hand finished Sally Humphrey toys on a limited basis. Please add “Designed by Elise Rose Crochet” on listing information as well as any tag attached to the toy.
Pin for Later